
Painting Nose Wheel Cover and Avionics Bay
9 May 2018 — Today I spent a good 45 minutes prepping the avionics bay between the panel and F22 bulkhead for paint.
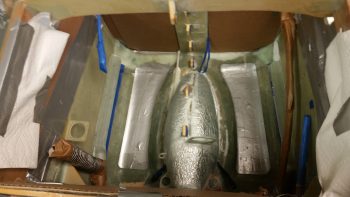
As you can see, I eventually just created a large box by sealing off the leg and other smaller holes on each side.
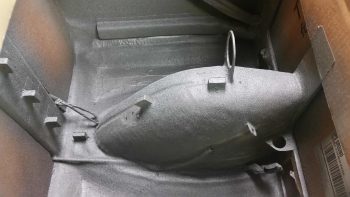
After everything was taped up, I shot the nose wheel cover and surrounding avionics bay area with some self etching primer.
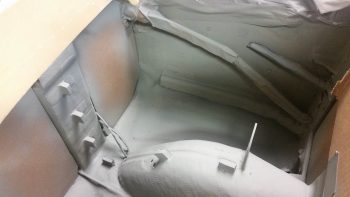
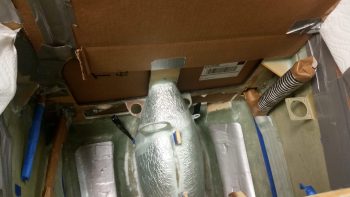
After the primer cured, I then shot the nose wheel cover and surrounding avionics bay with Duple-Color trunk paint (yes, folks, TRUNK paint . . . ha!).
I tried to lay the paint down in 2 lighter coats, but there were a number of odd angles where I had to get the can in closer then I wanted…. and it laid a much heavier, sloppier, wet coat in those areas. Luckily this paint proved itself as the forgiving sort and self leveled as it dried.
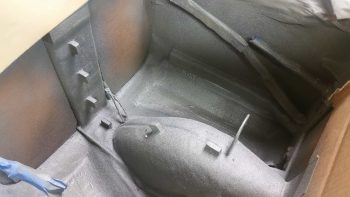
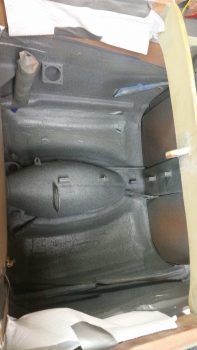
It may be odd, but having grown up the son of a cabinet maker and carpenter, and doing a fair amount of wood working myself, I just couldn’t bring myself to cover up what I think is a really cool build aspect of these planes: the triangular Spruce stringers in the lower fuselage corners. With the clear MGS that I use it looks like a bare wood strip down there and the hash cuts we make at intervals to install them is just a fun design feature in my book. So… I covered each side’s stringer with tape to protect it from paint…. call me crazy! (I prefer “eccentric” . . . ha!).

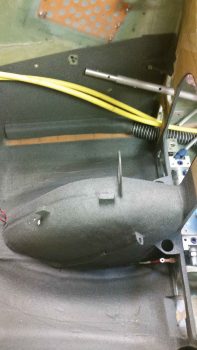
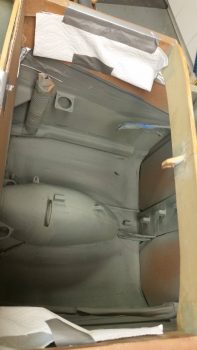
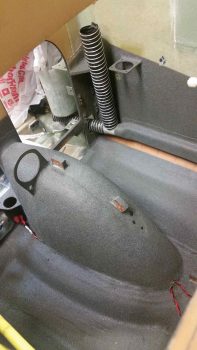
I carefully pulled out all the cardboard blocks and removed the protective tape from all the wires, cables and components. Yes, I’ll admit the majority of this painting endeavor is for simple cosmetic reasons. There was some junky looking spots I had going on here, and for the most part I try to avoid adding weight with paint. Also, as you can see by my stopping point on the sidewalls, it really is for the view that we see when peering into either leg hole.
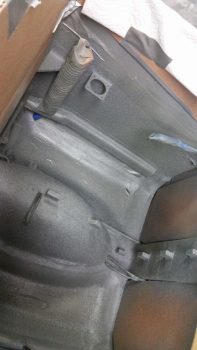
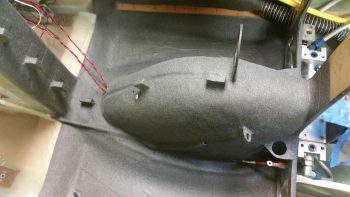
Here I covered up some unsightly areas on the aft side of F22.
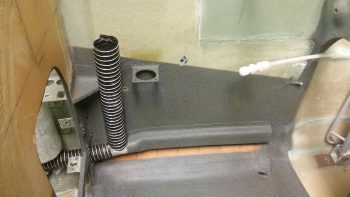
And here we have the left side foot heating vent duct with attached SCAT tubing. I have to say, I’m really digging this paint color!
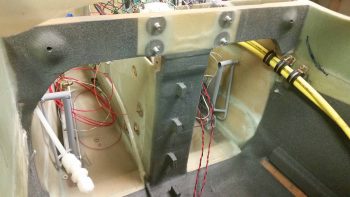
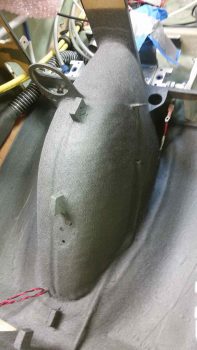
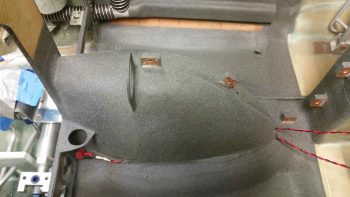
My decision in painting the sidewalls and some of the floor was a bit of scope creep in my initial task of painting the nose wheel cover (BTW, I couldn’t bring myself to remove the duct tape for the eventual anti-skid inserts off the floor just yet… it looked too good and I didn’t want to spoil it!). Clearly (IMO anyway) I couldn’t NOT paint the insulated NB cover. Although an unpainted NB cover would have been an interesting discussion generator, it badly needed a good color of paint on it (again … IMO).
You can also see that my personal preference is to leave components their natural color if I can. I see a lot of canards where once all the wiring and hardware is in, then it all gets blanketed with a coat of paint. I think that style looks good as well, and serves to clean up & declutter the fuselage visually… I just prefer to preserve components sans paint if I can.
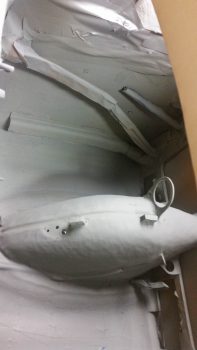
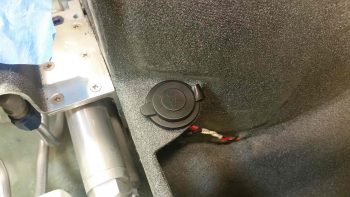
With the USB charger bracket and surrounding area finished to paint, I decided to go ahead and quickly install the USB charger port in its bracket and connect the wires.
•••