Chapter 12 – Canard Installation
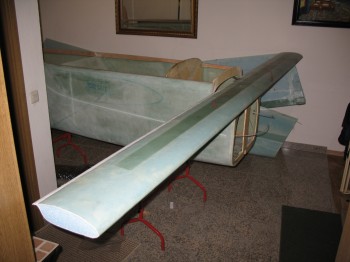
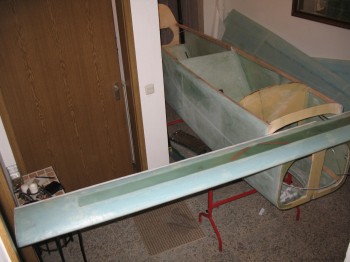
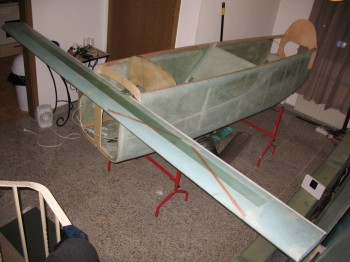
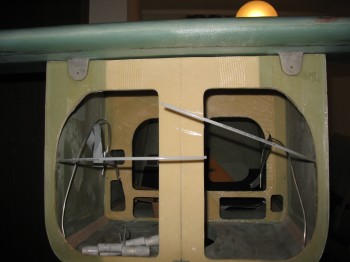
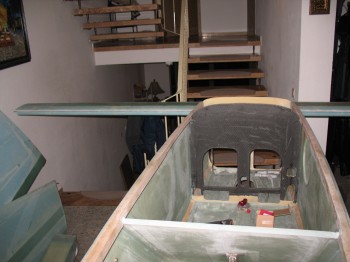
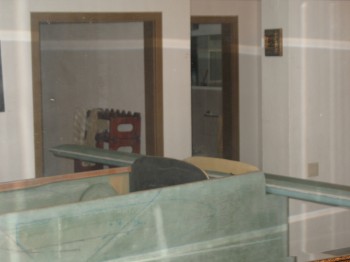
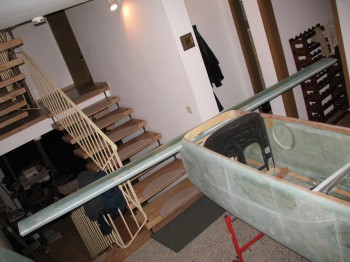
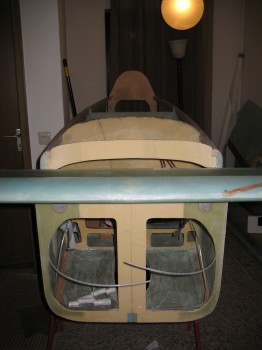
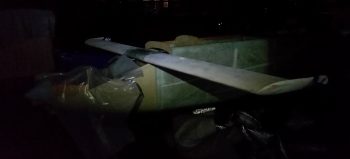
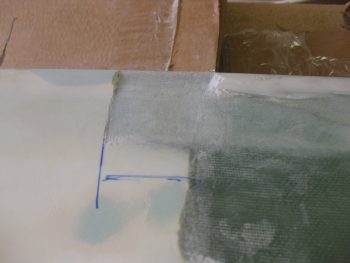
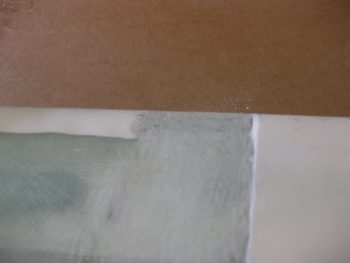
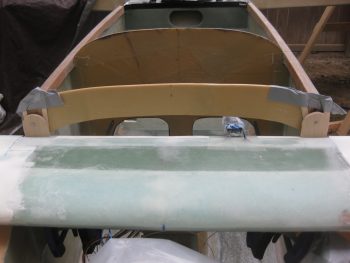
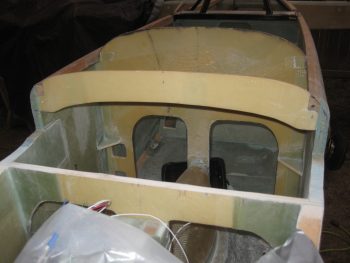
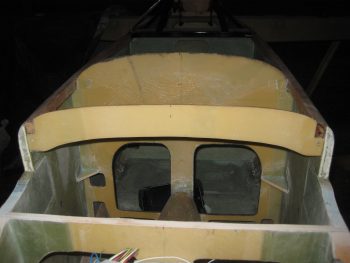
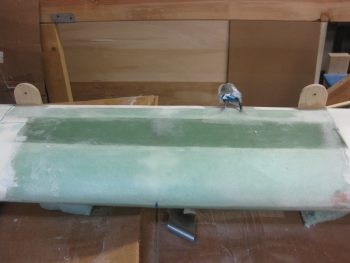
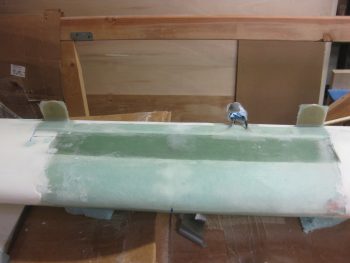
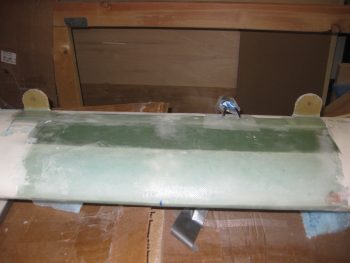
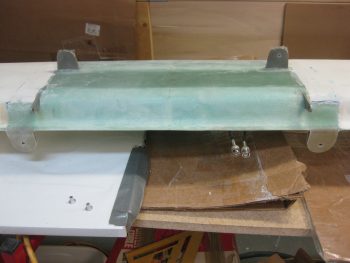
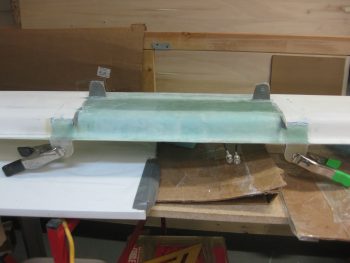
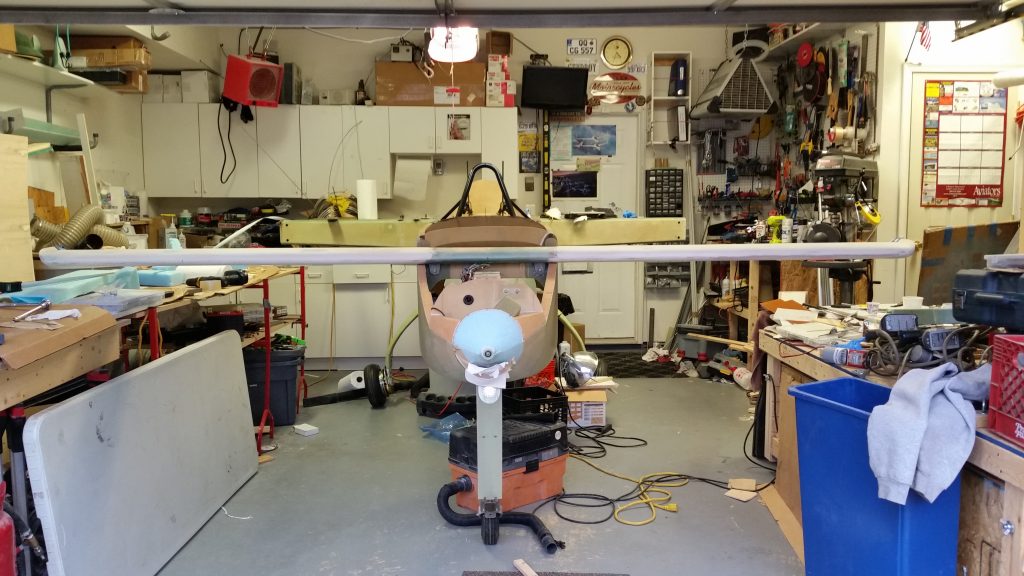
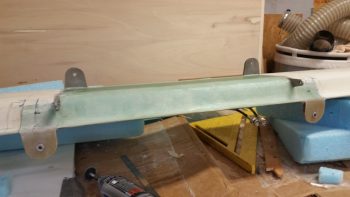
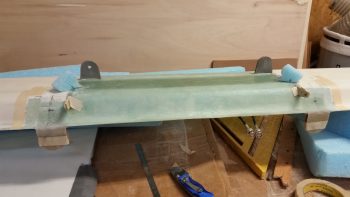
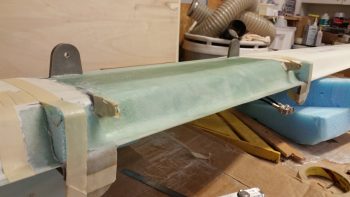
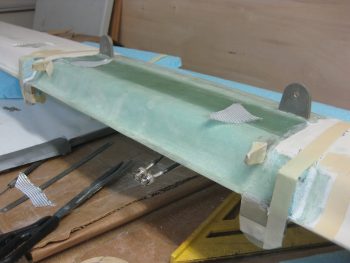
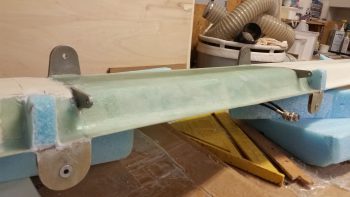
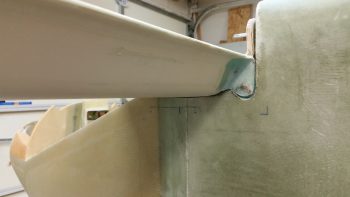
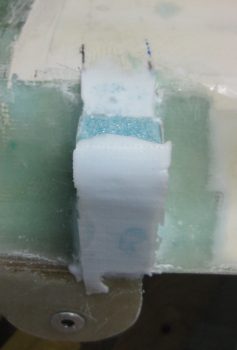
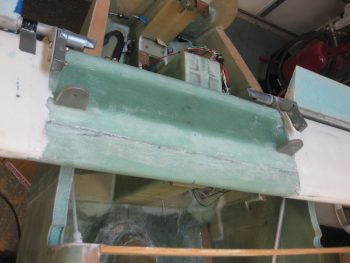
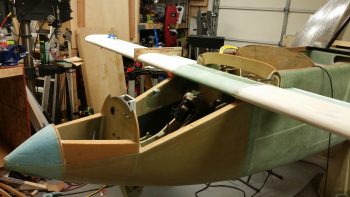
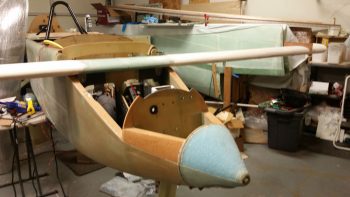
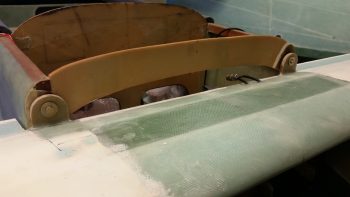
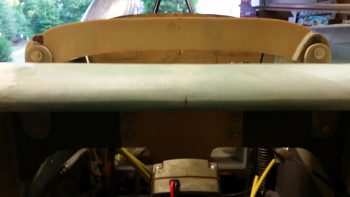
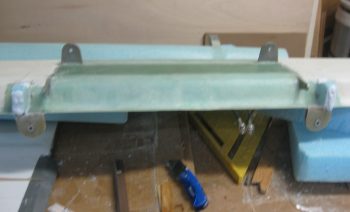
15 May 2013 — There was a lot of rough, prickly glass along this front overlay so I wore my heavy-duty construction gloves to take the canard into the house for an initial Chapter 12 – Canard Installation mock-up.
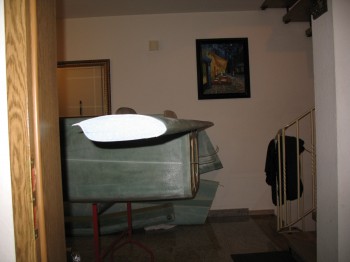
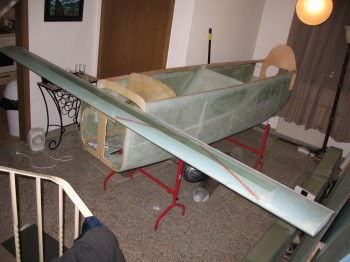
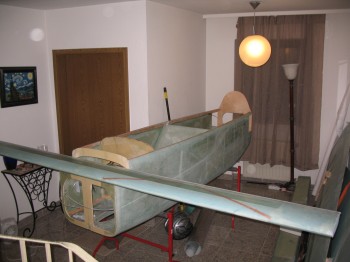
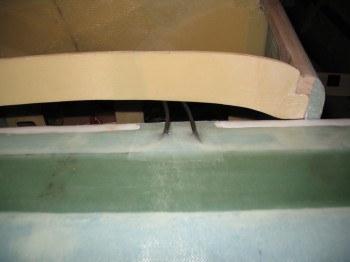
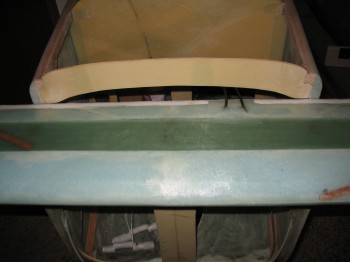
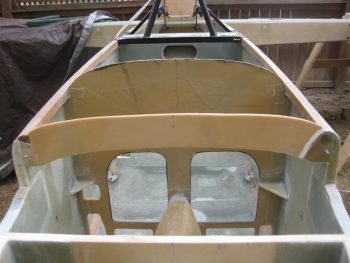
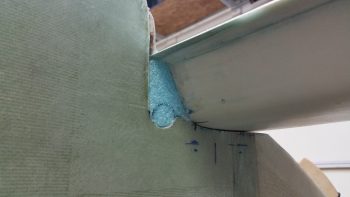
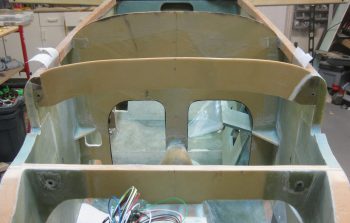
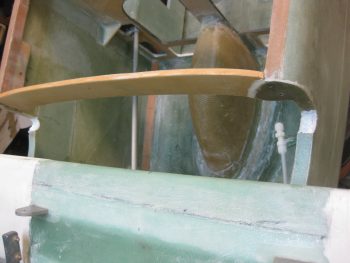
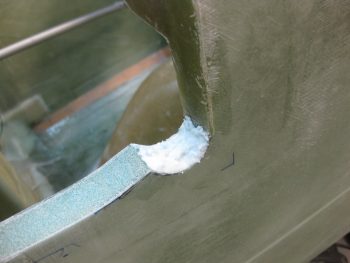
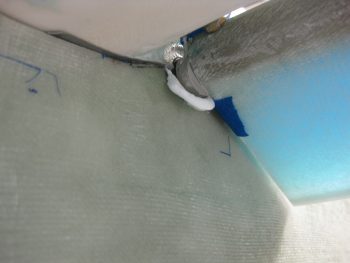
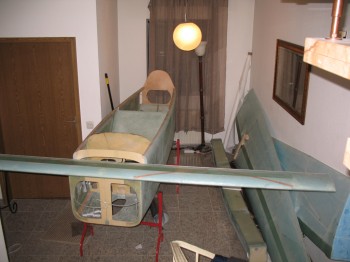 I got the canard in the house and test fitted it to the fuselage. I’m stoked at how it’s all coming together. My antenna cables’ exit location from the canard was spot on.
I have to say I was extremely pleased with the initial canard fitting!
•••
18 September 2016 — After re-reading Chapter 12 in the plans on the canard installation, I then got to work on prepping as much as I could get in tonight for the upcoming canard install.
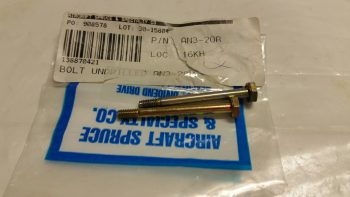
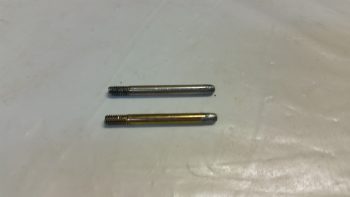
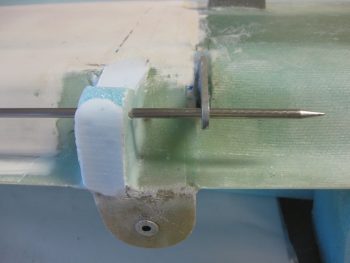
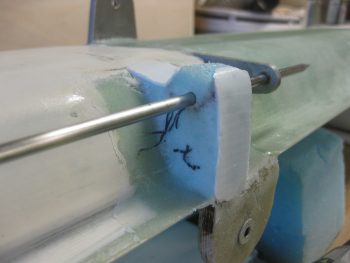
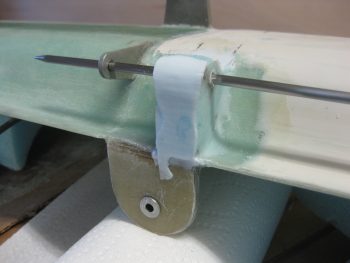
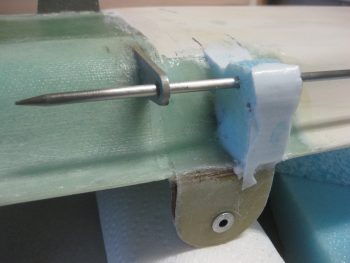
I started by rounding up my two AN3-20A bolts that will be modified to be used as the top canard tabs alignment pins.
I cut the heads off the bolts and then rounded them over some. I’m not getting too particular here since I don’t plan on actually using these as alignment pins. Instead, I’ll be going the route of a fair number of other builders who drill a hole all the way through the longeron doublers and then install a long AN3 bolt with a nutplate to secure the top tabs of the canard. Reportedly, this makes installation & removal of the canard much easier, and I’m all about making things easier.
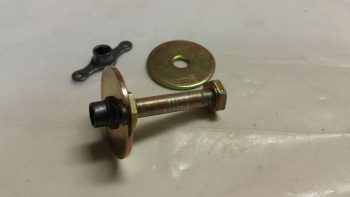
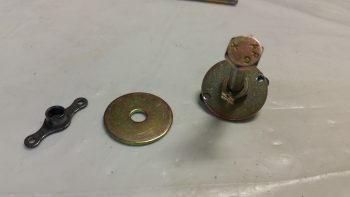
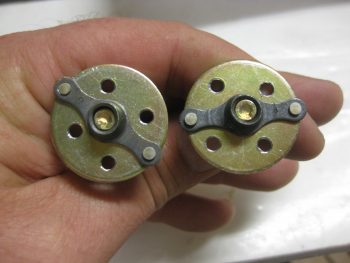
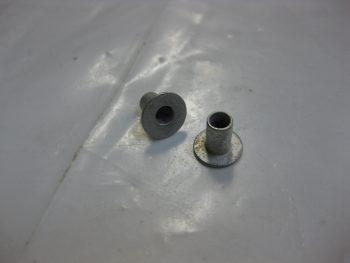
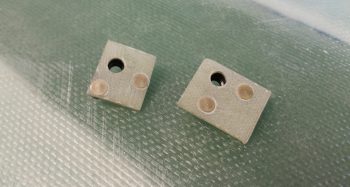
After finishing the alignment pins, I then started working on the nutplates that will be used to retain the main canard mounting bolts on the bottom mounting tabs. Interestingly, Chapter 12 doesn’t describe any of the steps for making these nutplate assemblies, but instead merely refers the builder to the diagram on Page A7. On A7 it shows a K1000-4 nutplate riveted to a AN970-4 washer. The rivets actually appear to be drawn as Cherry pop rivets, but flush rivets are called for by part number.
To keep the nutplate centered on the washer, I used an AN4 bolt with a regular nut on the side opposite the nutplate.
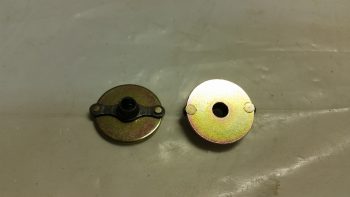
I then drilled the holes using the nutplate as a guide. You can see that these holes are very close to the edge, but I doubt it really matters much since compression will keep the nutplate tight against the washer. Let alone the fact that this all gets permanently mounted to the aft side of F22 under a ply of BID.
And here’s the final product.
•••
19 September 2016 — Today was quite the rainy day, at least up until about 1700. I started out this morning by doing some much needed updates on this website. That took well over 2 hours. No worries though, because the forecast for the rain kept slipping later as to when the rain was going to stop. Originally the rain was due quit about 1300, but alas, that was not to be.
I used my time indoors to write out a detailed To-Do list for the canard installation. I reread Chapter 12 of the plans, reread the install section of the Roncz Canard Installation Instructions, and then did some online crosschecking of some of my fellow Long-EZ builders blog.
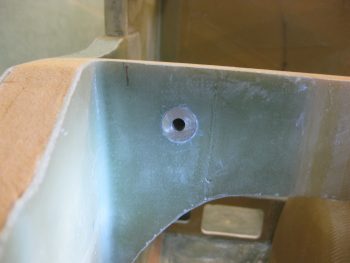
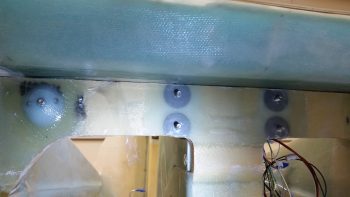
One thing I noted was on Dave Berenholtz’s blog, which was that he drilled holes into the AN970-4 washers that serve as the base for the K1000-4 nutplates — the entire assembly used for mounting the main 1/4″ canard bolts. He drilled the holes as flox anchors, which is of course a common practice for Clickbonds. Since there is understandably a fair amount of torque applied to these nutplate assemblies, I decided it was worth the 10 minutes to drill these flox anchor holes.
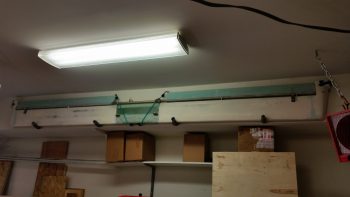
After cleaning and organizing the shop for about a good hour, it was time to take down the canard from its storage perch on high.
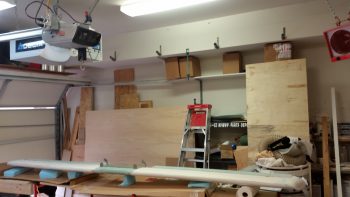
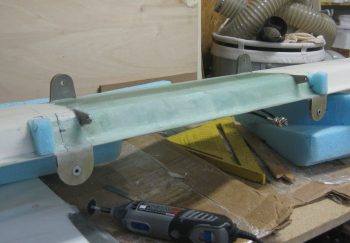
I carefully took it down and set it on a bed of cardboard & scrap blue wing foam pieces. I then spent a good half hour removing the elevators.
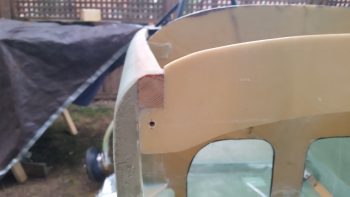
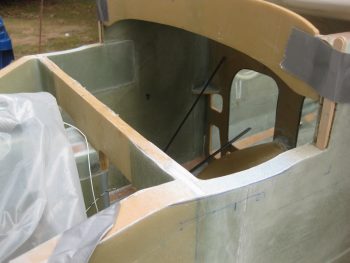
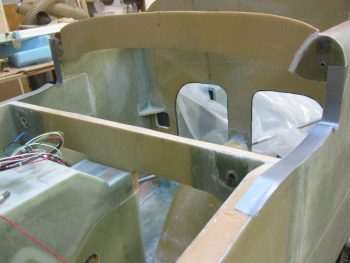
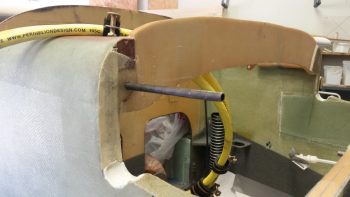
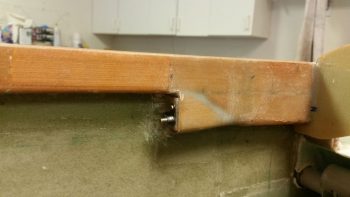
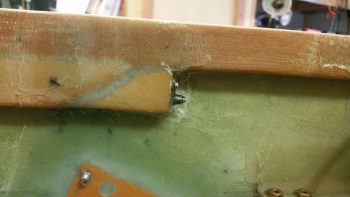
Before hauling the canard out to the plane, I went ahead and drilled 3/16″ holes into the spruce longeron doubler (actual doubler not shown here, just F28). As per plans, I’ll run a #10 drill bit into these holes, which are for inserting the 3/16″ canard alignment pins that the canard upper tabs mate to. I’ll be using these alignment pins to mount the canard, but then I’ll modify the canard doubler by adding a wedge to square it off, drill this hole all the way through, then install a K1000-3 nutplate on the aft side of the newly extended/shaped canard doubler. The mechanism for keeping the top tabs in place will be a longer AN3 bolt that will simply screw into the face of the top mounting tab (with a washer of course), through the doubler and into the nutplate assembly on the aft side of the doubler.
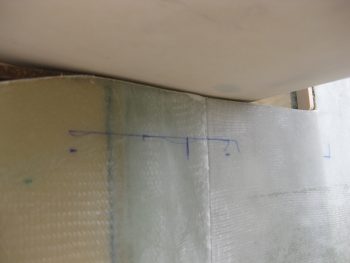
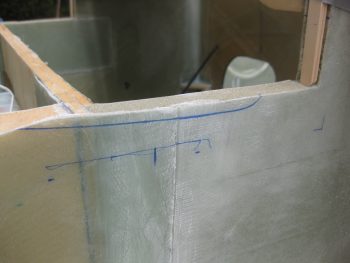
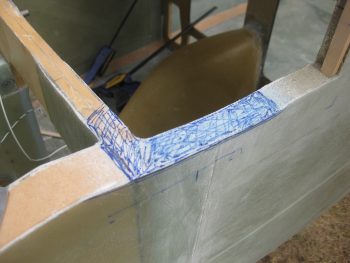
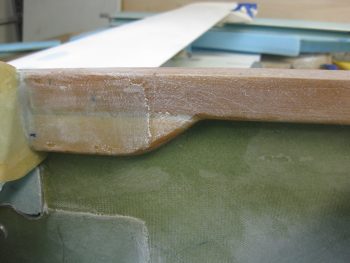
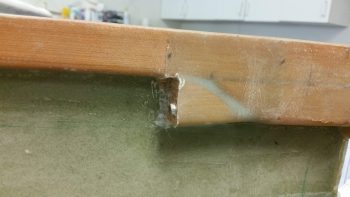
You may note by the chicken scratch marking below that I missed the memo on shaping the front of the top longeron & fuselage correctly. I will go back and correct that, I just wanted to get the canard mounted first.
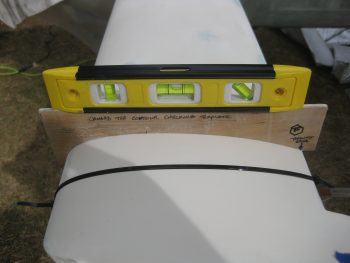
Mike Beasley had this little contraption in his build photos, which is nothing more than a nail mounted on the marked center line of a scrap piece of wood, that is then mounted on the CS Spar’s CL. This is an EZ method for having a standard reference point for helping determine sweep while mounting the canard.
Although it was nearly dark, I decided to get the canard onto the fuselage to at least collect some actionable intelligence for tomorrow. I should note that besides having to spend half an hour getting the rainwater out of my “canoe” earlier, the soft ground also allowed the entire wing/spar/fuselage set-up to settle and thus move off the 0° mark in both the fwd/aft and left/right axes by a whopping 0.1°. I’ll attend to the leans tomorrow, but for tonight I just wanted to get a general idea of what shimming I was going to have to do, and answer the question: “What size spacers (shims) do I need?”
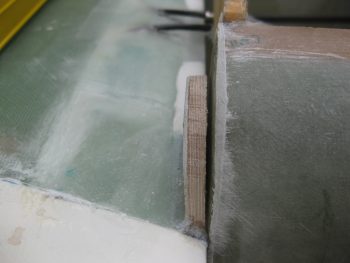
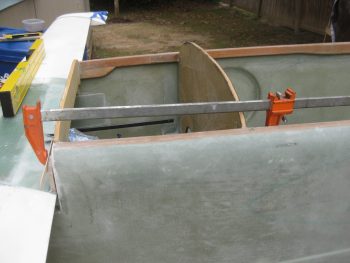
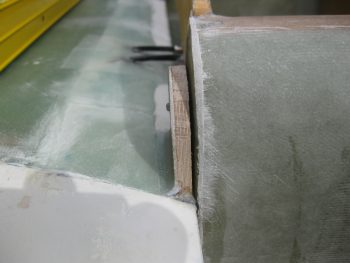
Below you can see that for sweep I’ll need about 0.15″ (2 small Popsicle sticks) on the left side face of F28 for the canard to be even. With these spacers in place, I got 114-1/16″ for both left & right sides from my spar CL reference point block to the outboard forward corner of the elevator cutout. From the aft outboard corner of the wing I got 174″ on the dot on the right side, and about 1/32″ less than that on the left side.
Also, just as a point of note, I remeasured the aft outboard corner of both wings to the tip of the pitot tube and am still spot on at 247-5/8″ for each side.
To level the canard at the spar caps, it look likes I’ll need to add a shim/spacer about 0.165″ thick to the right side fuselage. I’ll have to tweak this since I’ll most likely have to contour the sides of the fuselage immediately below the canard to get the canard to set in correctly, at which point I’ll merely make the right side contour 0.165″ higher than the left.
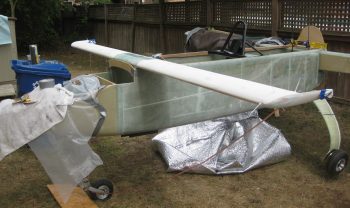
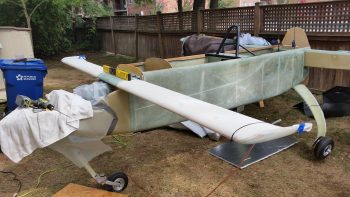
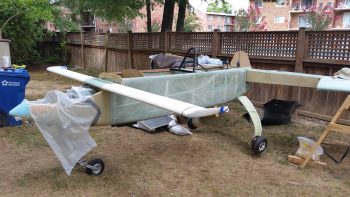
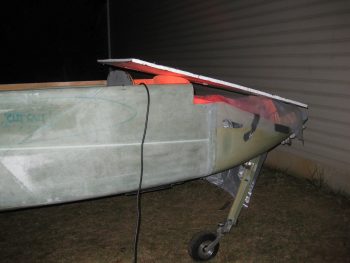
I realized I hadn’t got a pic of the canard on the fuselage, so even though it was fully dark outside, I took this shot.
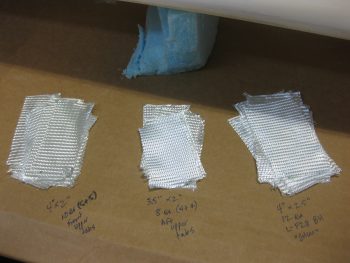
My final official act of the evening was cutting a myriad of BID patches for the upper alignment tabs and the 0.15″ spacer that will be glassed to the left front of F28 (after determining actual spacer thickness & confirming the number of plies required).
•••
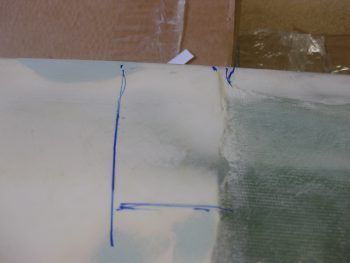
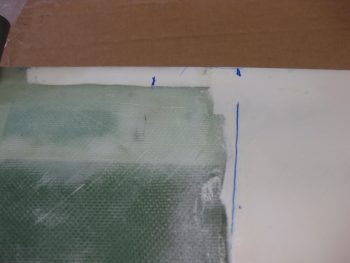
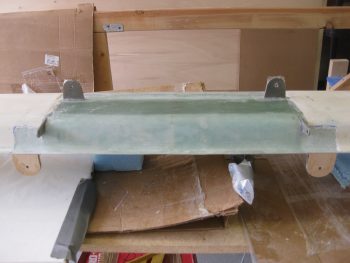
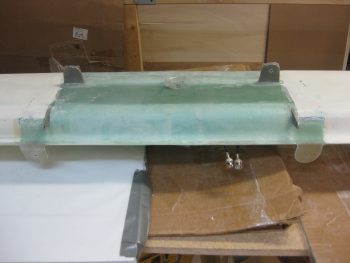
20 September 2016 — Today I started off clearing off the micro & finishing material from the top TE of the canard where the upper alignment tabs need to be glassed in. I marked the spots first, for the right side, then the left . . .
And then cleared out the finish and sanded it down in prep for 5 plies of BID.
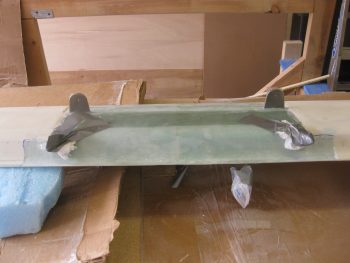
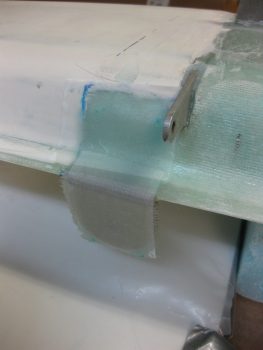
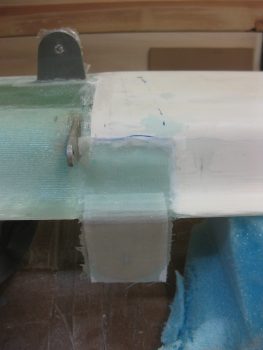
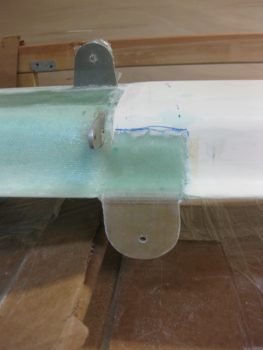
Although I didn’t take any “before” pics, I then did the same thing for the bottom side of the canard. The alignment tabs will get 4 plies of BID on the aft/bottom side of the canard.
After checking the fuselage and spar to ensure all was still square, I then mounted the canard on the fuselage. It seemed after the rain yesterday that the airplane had settled a bit, and it may have ever so slightly. But my measurement across the aft ends of the longerons today revealed some spar-to-longeron mounting glass that was sticking up just a hair that would cause some erroneous level readings yesterday.
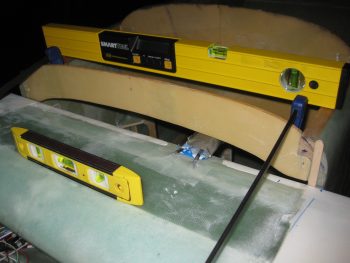
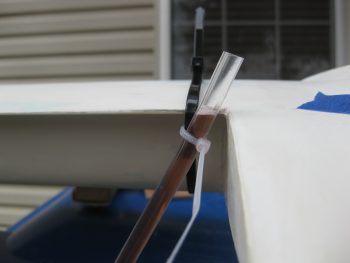
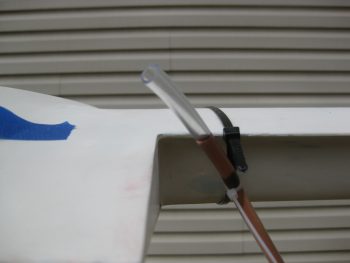
In addition, I used a very simple Side A-to-Side B water level on the canard today, as well as using levels to ensure that it is level from side to side.
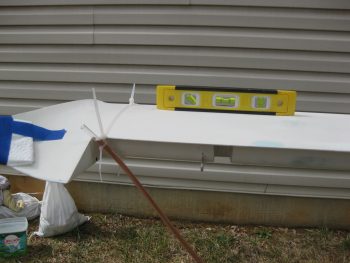
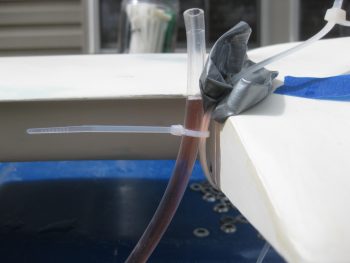
Here’s the right side water level showing it aligned with the canard TE.
I still had to shim up the right side about 0.160″ to get the canard level. A little more than my estimated 1/8″ required to offset my twisted fuselage, but I’ll live with it vs. rebuilding my fuselage!
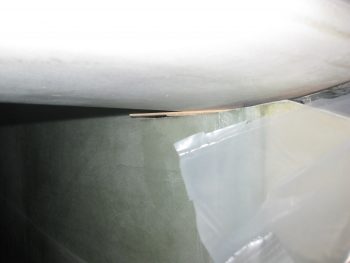
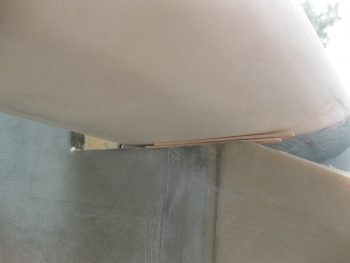
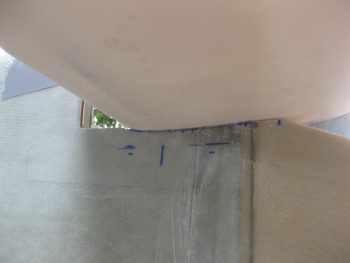
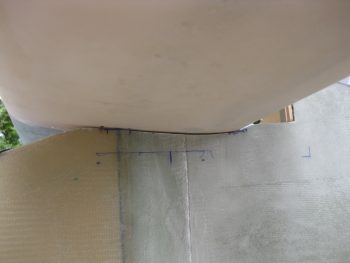
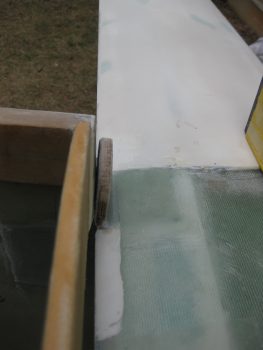
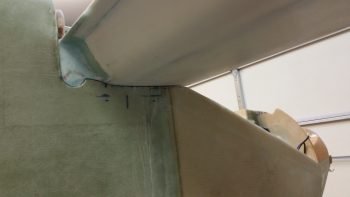
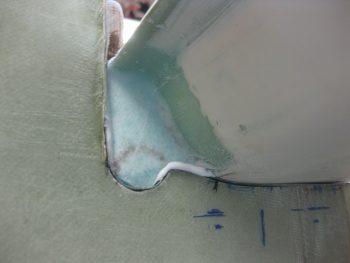
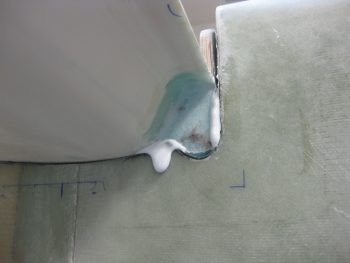
I wanted to show a pic of the gap between the canard and F22. Today I plan on minimizing that gap by contouring the sides of the fuselage to match the bottom-side canard profile.
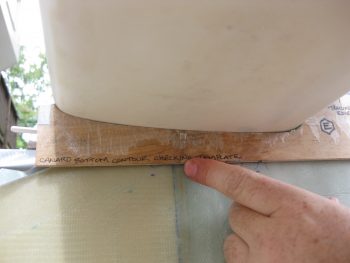
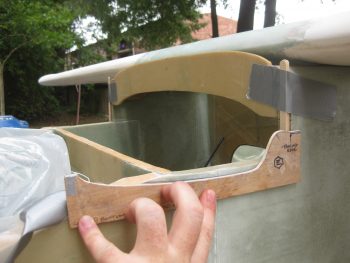
In fact, I dug out Template “E” to help me do just that. First, I measure the normal lower profile of the canard, making a few alignment marks along the bottom edge of Template “E”.
Then, I figured out how much I needed to lower the left side canard and marked those lines below the bottom edge line of Template “E”.
I then moved the canard off the F22 “shelf” so that I could have access to sand out the bottom F22 profile. This happened at least 20 times today, trial and error being the order of the day!
With the lower marks in place, I simply matched the lower straight edge of Template “E” to the lower marks and then marked along the top edge of it which gave me the correct contour I needed for the bottom of the canard.
I then sanded down a significant portion of the area above the profile line above, and then kept checking for the high points (as shown below)… marked those and proceeded to sand them… with prejudice! Again, this process was repeated countless times!
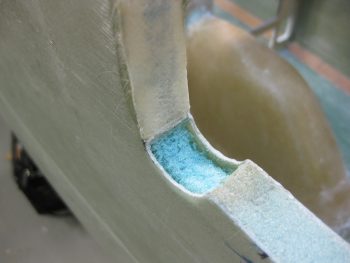
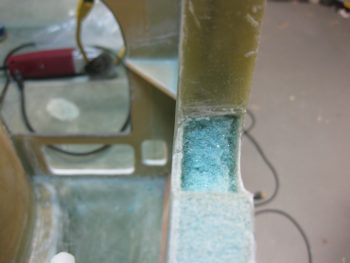
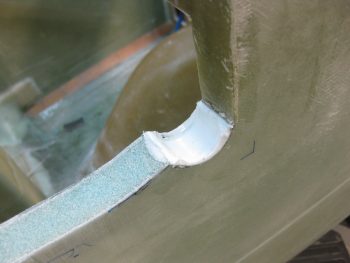
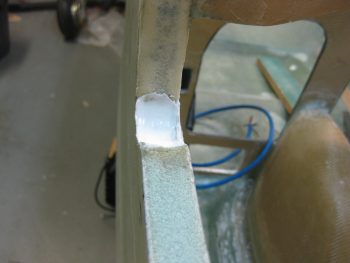
Here’s a shot of the fuselage sidewall cutouts. Notice the left is much deeper than the right sidewall. Which accounts for my lopsided fuselage (ahhh, the sins of the past….).
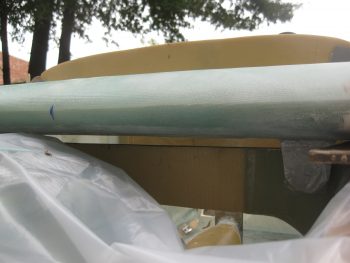
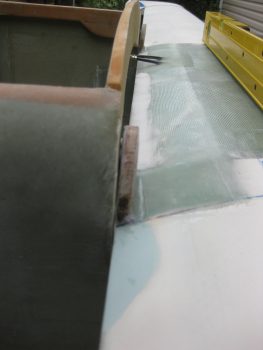
Here’s a couple more shots with the canard in place, from below.
As I did hundreds of times today, I then rechecked the level on the top of the canard. I was having a devil of a time getting the canard to stay level whenever I tweaked the incidence. Of course the Roncz canard mounts with the lower tabs at an angle (unlike the GU canard), so keeping the bottom tabs tight wasn’t allowing me to get the canard Leading Edge (LE) nose up for the proper incidence. The whole herding cats thing was in full swing here, so I decided to minimize my variables and work with the known quantities I had on hand.
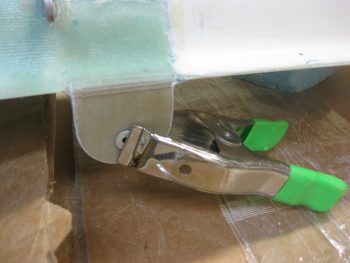
To keep the lower mounting tabs clamped, but then still be able to dial in my incidence by getting the canard TE down –thus, in essence the LE up– I decided to use my upper alignment tabs to do just that, align the canard! So with some trial & error, and the main mounting tabs secured with clamps, I was able to use the height of the upper alignment tabs to dial in the correct incidence WHILE at the same time keeping correct sweep and level.
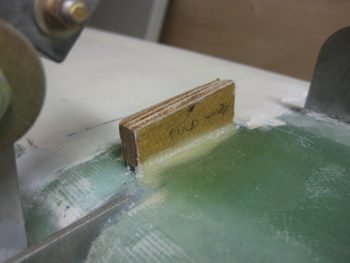
Of course this is NOT the order that the plans have you do all this, since in the plans you drill a #10 pilot hole through the lower tabs first, then mount the upper alignment tabs later. But the original plans are dealing with a straight-flat-bottomed GU canard that required no contouring of the fuselage sides. I tried to prognosticate any future issues by doing it this way, and I couldn’t think of anything that would come back to bite me, so I proceeded to drill, trim & mount the Birch plywood (vs foam) for the upper canard alignment tabs.
That kept the canard sweep & the level dialed in. But I of course re-checked both to ensure all was good!
Continuing on with my working the known variables theme, I went ahead and glassed the front mating face of F28 to dial in my sweep with the newly mounted upper alignment tabs. I figure I’d work the canard install elements in the same way they are presented in Chapter 12 of the plans: SWEEP ⇒ LEVEL ⇒ INCIDENCE.
It may be a bit difficult to see in the pic below, but I then cut wedges in the foam sidewall uprights that are adjacent to F28.
I then filled these foam wedges with flocro just prior to laying up 12 plies of BID on the left side (remember, I need to bring this side face out 0.155″) and then laid up one ply BID on the right side. I was going to only layup 11 plies of BID on the left side, but went ahead and added one more so that I could the glass the right side with 1 ply of BID as well.
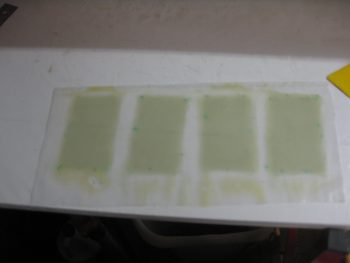
I had already wetted the 12 plies (in 4 sets 3 plies) of BID out before filling in the foam with flocro, so when I got back into the shop I merely squeegeed out the excess epoxy.
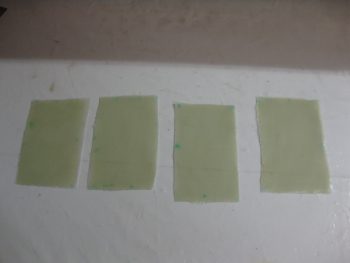
I then cut each set of the 3 plies of BID in prep for layup.
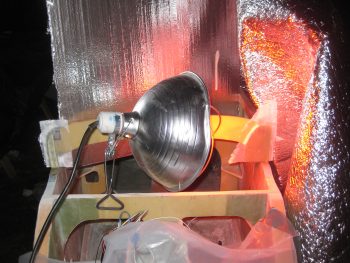
Here’s a shot of the heat lamp on the 12 ply BID layup. Let’s just say that it cured fairly quickly!
With the F28 bulkhead spacers in place, I then set my sights on glassing the front side of the upper alignment tabs with 5 plies of BID each. I do have to state that my 5 min glue must be old because it was still a bit rubbery even after about 25 min. I’m only going to layup the front side BID so that if need be I can heat up the tabs and move them forward or aft. Not an optimal way of doing this most likely, but I really saw no other way of dialing in the incidence without spending an enormous amount of time making wedges for the lower mounting tabs…which just didn’t seem nearly as efficient as doing it this way.
I sanded away the gummy 5 min epoxy on both tabs…
Then wetted out 2 sets of 3-ply BID and 2 sets of 2-ply BID to give me a total of 5 plies for the layups for both the left & right tabs.
I then laid up the forward tab faces with 5 plies of BID, after troweling in some dry flox fillets in the mating corners. I then peel plied the lower, horizontal part of the layup for a smooth transition into the canard top surface.
After a couple of hours, I then razor trimmed the upper tab glass.
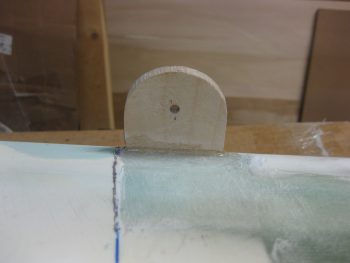
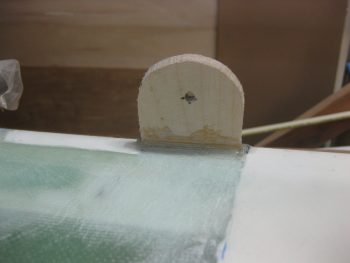
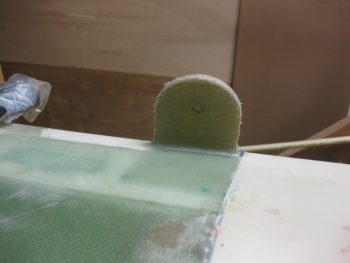
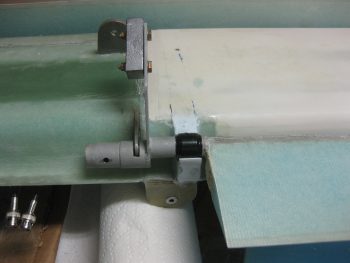
Here’s a shot of the left upper tab after I razor trimmed it.
Much to do before Rough River!
•••
21 September 2016 — I started out today by double checking my BID spacer pad layups on the front side of the F28 bulkhead. The left-side 12-ply spacer came out fine, but the single ply on the right side seemed to have some issues (i.e. delam around the #10 hole) … no worries since this is mainly for spacing and I can clean it up later.
I redrilled the #10 hole into the canard the doubler on the face of F28 (I also redrilled the #10 hole into the top alignment tabs).
Here’s a closeup of the 12-ply BID spacer laid up on the front side of F28. Just as a point of note, since this a spacer and not structural I used my old batch of MGS 335 on this so as to not waste the good stuff!
With the new spacers built into the airframe on the face of F28, I gave them a test run when I re-installed the canard.
The left side alignment tab was leaning forward just a hair more than I liked, creating a gap towards the top where it should have been much closer to the F28 12-ply BID spacer.
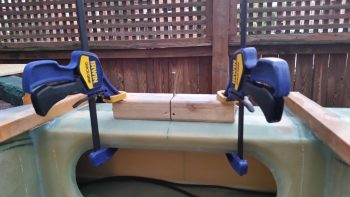
I clamped the left alignment tab tight against the new 12-ply BID spacer on F28 & then very carefully hit it with a heat gun.
I left the clamp on the alignment tab for probably 45 minutes and when I finally popped off the clamp, the alignment tab looked much better . . . well . . . aligned! ha!
I’ll make a point here that after installing the canard this go around I then measured my left and right sweep from my center measuring block clamped to the top CL of the CS spar, as I had a myriad of times. However, I did it while I still had the left side alignment tab clamped tight… and it showed. I’ve been normally getting 0.06″ delta max between each side on sweep, and this time it was about 1/8″. This of course went back to normal as soon as that clamp came off, although it may have been exaggerated just a hair by the shenanigans of that 1-ply of BID on F28 over on the right!
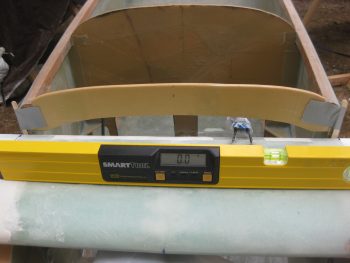
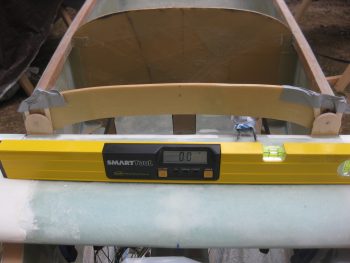
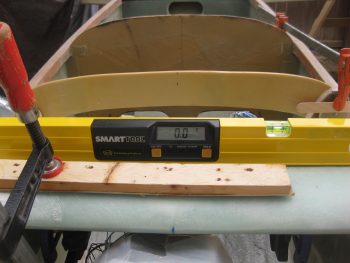
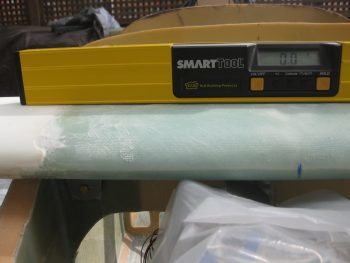
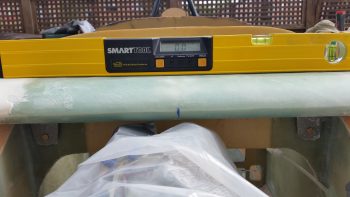
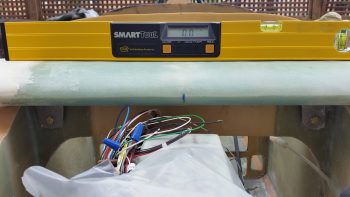
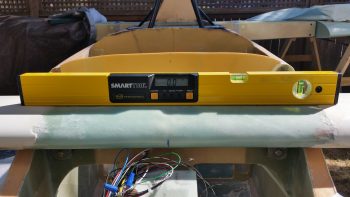
With sweep looking good, and it being the first official trial run of the day on the canard, I fired up my water level and immediately got this! It may be a good day Maynard! I also confirmed this with my digital level at the canard CL.
Right side water level:
Left side water level:
I then honed in on setting the incidence. I’ve come to the conclusion that somewhat like my fuselage, my canard too has a very slight twist. This may be (in part) due to the fact that I got the cores from Feather Light and they are still using the hotwire method off the original templates. Don’t get me wrong, they make a quality product, but there were some minor idiosyncrasies with the canard cores. Plus, obviously my being a Neanderthal builder clearly doesn’t help! Ha!
I have to tell you that I would probably freak out a bunch more if I didn’t consistently see Burt making allowances for us lesser beings in the plans. Chapter 12 says if one has a twist in one’s canard, then one should mount it with that in mind and average out the twist in one’s canard: “If your canard has a slight twist, set the average incidence equal to the longerons.”
Yes, there are those among us who would willingly cast the first “there is no such thing as a slight twist!” and/or “rebuild! rebuild!” stones, but I am more of the mind & in line with many of our pragmatic generals who say things like: “perfection is the enemy of good enough.” Not that I don’t strive for perfection, I just clearly fall short quite often in this nebulous world that we call a Long-EZ build. Thus, as John Roncz himself (relayed via Marc Zeitlin) once told a pummeled-by-peers Cozy builder: “see how it flies before you change anything” (paraphrased)… I think I too will do the same.
End Rationalization Transmission!
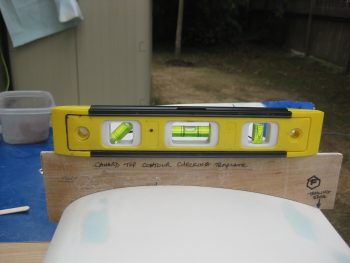
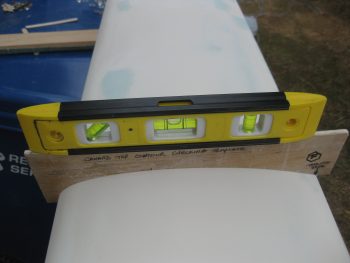
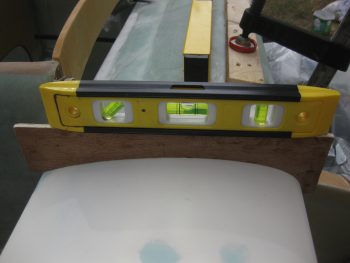
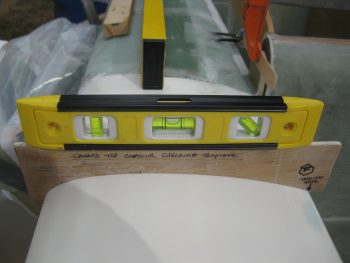
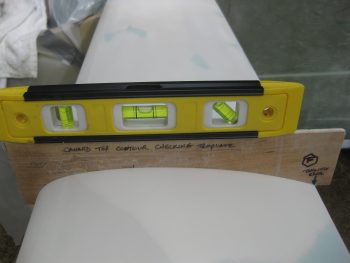
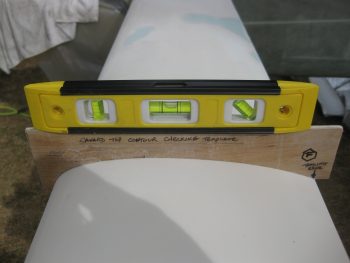
Therefore, without further ado, here are my incidence readings, starting from the canard right outboard side and moving to the left side. You’ll note the right is LE high and then eventually makes it way to LE comparatively lower on the outboard left side. One point of note, after messing with this for hours, my tolerance standard became anything within the inner most hash marks on the level.
One final point of note. I find it amazing that I can sight down the canard and barely see any twist, with all look nice & laser straight, but this template definitely does do its job by finding that twist in regards to incidence.
Right canard: Outboard to inboard.
Left canard: Inboard to outboard.
I spent another half hour tweaking the SWEEP, DIHEDRAL and INCIDENCE. To tweak the dihedral & incidence just a hair more, I clamped the right side canard down just a smidge… which totally did the trick.
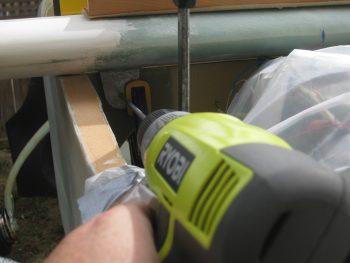
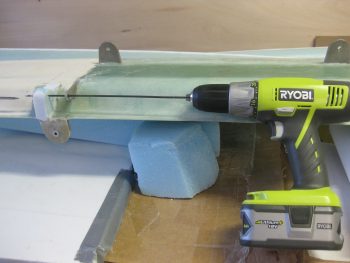
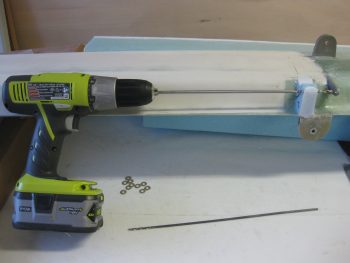
With everything looking good and all my variables locked in place, I pulled the trigger and drilled out the canard main mounting tabs with the long #10 bit. [Note: Although it looks like I’m ‘free-handing’ it here with the drill, I’m not. I have small level with “V” grooves on the bottom that I actually hold on the drill bit shaft and I also set a 2×4 90° from the canard face close to the drill. It may not be a perfect 90°, but it’s pretty darn close.]
I started with the right side bolt and made sure everything stayed aligned by quickly checking my alignment variables again.
With the right bolt in place, everything still looked fine so I drilled the left side mounting tab with the #10 bit. Below is a shot with both AN3 bolts in place on the main canard mounting tabs.
Looking a lot more official on the canard mount with AN3 bolts actually keeping the mounting tabs in place to F22!
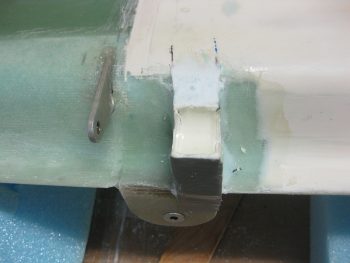
With the lower tab pilot holes drilled and the correct position of the upper alignment tabs confirmed, it was then time to glass the aft & lower side of the alignment tabs with 4 plies of BID.
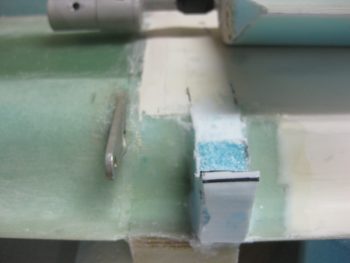
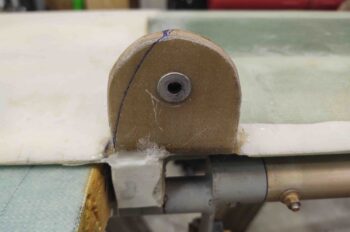
I started by sanding a radius at the Birch plywood tabs and the canard TE junction as per plans.
I then laid up 4 plies of BID on each lower side of the canard onto the tabs, and peel plied the layups.
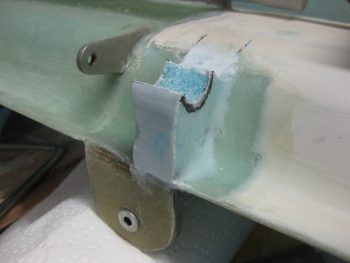
Here are the tabs after I pulled the peel ply, razor cut the overhanging glass & then sanded the edges .
I then re-drilled the #10 hole into the alignment tabs.
I gathered up my CN2s (that I bought from the Cozy Girrrls).
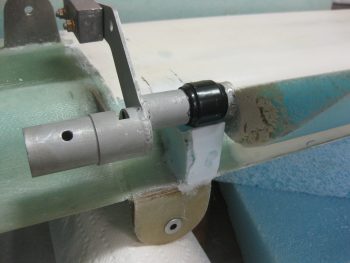
I then drilled the out #10 holes in the alignment tabs to 1/4″, since the outside diameter of each CN2 bushing is 0.243″.
I used wet flox to install the CN2s into the upper alignment tabs.
Here’s a close up shot of a CN2 installed into the upper alignment tab.
My garage door spring snapped so I worked that issue (thanks Murphy!) for about 45 minutes before bringing the new & improved canard out to test on the fuselage. The CN2s kicked the tops of the alignment tabs forward just a bit, but everything still lined up just fine.
I don’t have any action shots of drilling out the #10 holes on the canard main mount tabs to 1/4″, but here’s the end result below: AN4 1/4″ bolts in their respective holes!
And at this point, I would definitely say the canard is OFFICIALLY MOUNTED!
Of course there is still much work left to be done! I left the canard in place for a while to give the CN2s a chance to really cure in place, and then after about an hour I moved the canard off its shelf and out of the way in order to drill the 1/4″ holes out to 5/8″ using the spot face tool.
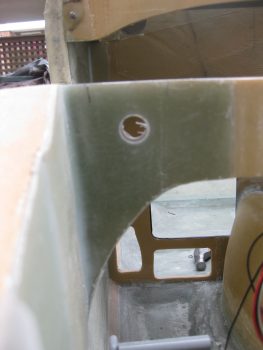
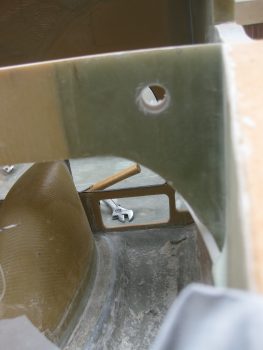
And here are the new & improved 5/8″ canard mounting holes.
And a bit closer shot of each side.
I then inserted the CNL bushings into the freshly drilled 5/8″ mounting holes to mark them for trimming.
I then trimmed both CNLs down on the table saw just as I did with the LWA9s for the wing to CS spar mounting, and then whipped up some wet flox & mounted them into F22.
Here’s a shot of the glow coming from the heat lamp in the nose used for keeping the CNLs warm during curing.
Here’s the same pic, only this time I used a flash.
Tomorrow,I’ll be heading down south to meet up with Marco and then we’ll both fly to Rough River in his new Long-EZ.
•••
22 September 2016 — This morning I finished tweaking last night’s blog post & updated my to-do task sheet for mounting the canard. Not a lot left to do on the actual canard mounting itself, but I will be working on mounting the elevators & fitting them to both the canard & the fuselage sidewalls. I’ll then of course have to fill in some fuselage sidewall in the corner of the F22/F28 shelf once I account for where exactly the elevator tubes will traverse the fuselage side walls.
After getting the requisite administrivia out of the way, I took the canard out to the fuselage and mounted it with the AN4 bolts into the freshly floxed-in CNL bushings. Wow, is that fit TIGHT! I didn’t realize why it was SO tight until I tried sliding an AN4 bolt into one of the CNL bushings even without the canard on… Whew, that is tight tolerance!
As you can see my canard stayed level. I checked the sweep and am still showing about 1/8″ off on one side, but I’m certain I can clean that up. I guess this morning’s canard mounting is truly the first real test, eh?!
Happy with this morning’s results, I was running around cleaning up & prepping to put the fuselage & wings back in the shop –which of course I still don’t have full on access to via the big garage door. I then got a call from the garage door company saying that they were going to be a couple of hours late. Well, enough time I sez to myself to flox in & glass the canard lift tab nut plates!
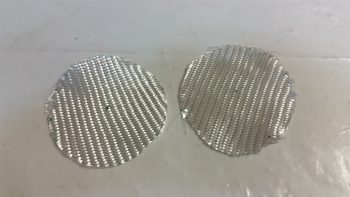
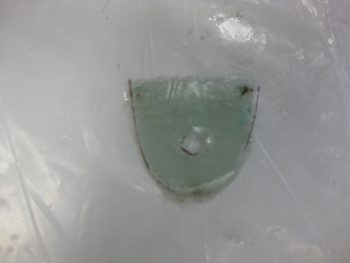
I grabbed some scrap BID and cut it into two 3″ circles, one BID ply for each nutplate assembly as per plans.
I prepped two slightly shorter AN4 bolts with a light coat of grease on the threads to keep those guys from becoming a permanent part of the nutplate assemblies, and then I pre-deployed my stuff to the fuselage.
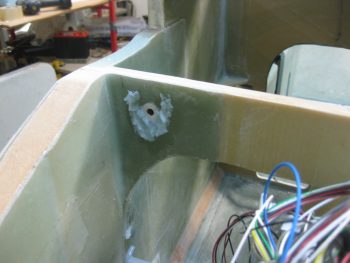
After I was all prepped, I then whipped up some epoxy and flox with fast hardener and glassed these suckers in! (Of course Marco called just as I started . . . persistent bugger in trying to slow my build down! Haha!)
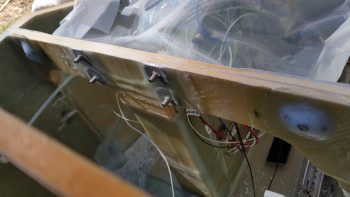
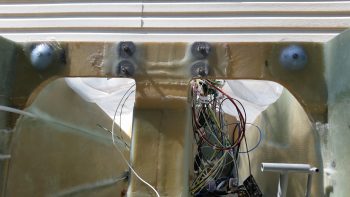
Here’s another shot of the floxed & glassed canard lift tab K1000-4 nutplate assemblies. (Guess my aft side F22 needs some TLC… and cleanup, huh?)
•••
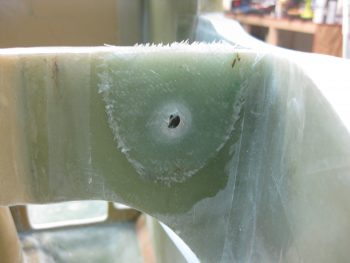
8 October 2016 — I started today by filing down & sanding the right CNL bushing that holds in the AN4 bolt for the right canard lift tab. It was sticking out about 0.030″ past the surface of the F22 glass so I wanted to level it with that glass. It took about 20 minutes, but I finally got it.
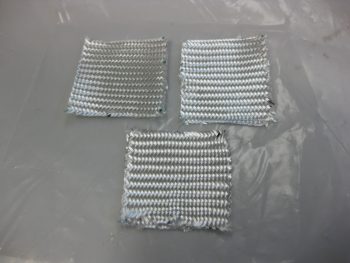
I measured the lift tabs on the canard to get the measurement for the BID pad that needed to go under the left side canard lift tab. I cut 6 squares approximately 2″ x 2″ and then stacked them in sets of 2 for prepregging.
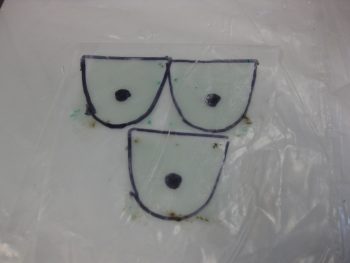
I then made up a template to use for cutting out the BID pads for the general shape of the lift tab, and to also mark where a hole needed to be made for the bolt to pass through. I was originally thinking I might clamp the lift tab in place then drill the 1/4″ hole after it cured, but that was most likely problematic with a nutplate sitting in the way … Uh, hmmmm. Maybe just a tad easier to start out with the bolt hole in place and then use the AN4 bolt as the clamp, since then it would be set at exactly the right place anyway! (Sorry for the blurry pic…)
After wetting out the BID, I then used my template and marked up the 3 sets of 2-ply BID squares.
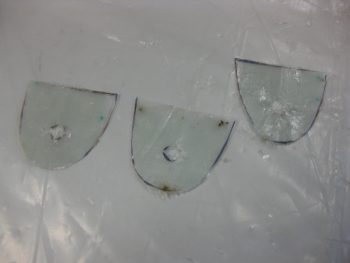
I then cut them out.
And combined them to make one big prepreg set with 6 plies of BID.
I then laid up that BID on the left side canard mount CNL embedded in F22.
I added a bit of flox just to smooth it all out while the tab was under compression.
For the right side I merely added a bit of flox to take up any gap there might be.
I then mounted the canard & bolted it in place. I measured the canard from the CS spar CL to each canard tip and then from each end of the CS spar to the each canard tip as well. I was incredibly relieved that all the numbers were close to perfect. Moreover, when I lined up on the extended CL of the fuselage, you can see in the pic below that the canard is about as perfectly aligned in relation to the CS spar as you can get. And if the canard is lined up nicely on the spar, it should line up very well with the wings as well!
[Note: This is one reason I had planned to mount the canard when I did, to allow for getting out front and ensuring it was aligned…. I just didn’t account for having only 2 feet in front of the nose as I did on the side of my house. So this is the first time I’ve got to step back and look at my mounted canard from the front & at a good distance.]
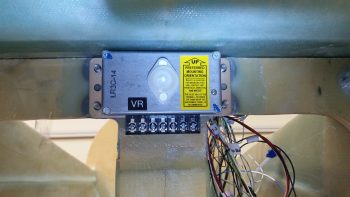
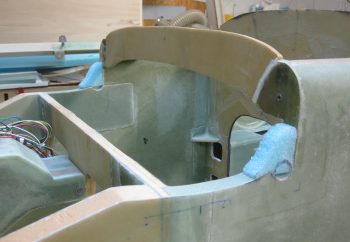
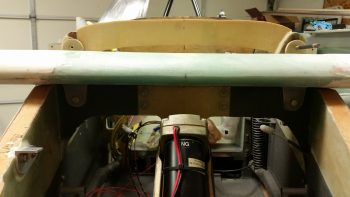
Finally . . . I was having a text discussion with Marco and sent him the pic below. Now, since I had to remove a bunch of F22 material on the top to level out the front edge, it never dawned on me that I might make it impossible to mount the voltage regulator . . . if the bottom of the canard was too close to the top F22 edge and prevented me from mounting the Voltage Regulator.
I went upstairs and grabbed the Voltage Regulator and then put it in place. It slid right in with no haggling. Yay!
•••
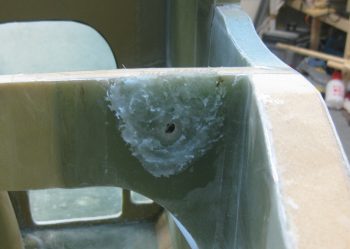
10 October 2016 — Below is the final results of yesterday’s efforts. As you can see, the spacer pads are in place for the canard lift tabs.
•••
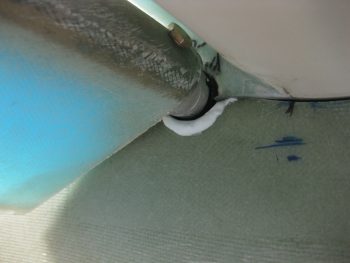
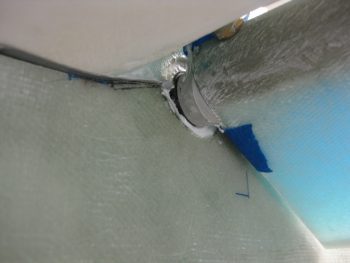
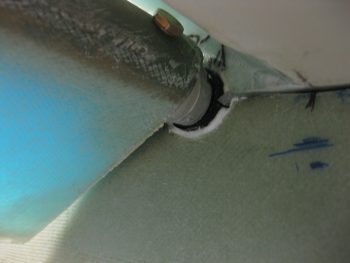
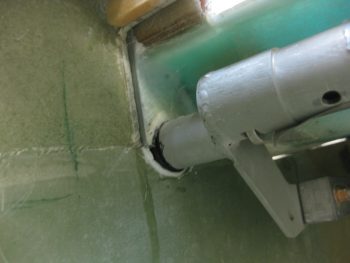
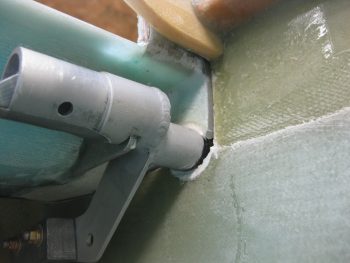
11 October 2016 — Today I moved on with figuring out how to seal the gaping hole on aft side of the canard when mounted into the fuselage. Here I have Cozy-style torque tube offsets that operate concentrical & thus only require a round hole with a very small gap around the traversing tube (versus the SLOT that the stock elevator torque tubes require on the side of the fuselage), and yet immediately in front of it is still a huge open gap that must be filled in lest the cold air continue to spilleth into my craft.
I called Chrissy from the Cozy Girls since A) they make these parts, and B) they installed these parts on their Cozy. She confirmed my idea that you simply create a small piece of “fuselage wall” on the aft side of the canard so that when the canard is removed in somewhat normal fashion, then the “false” wall piece comes off with the canard. I asked this question of Dave B. down in OZ and he confirmed it with a simple diagram that is actually in the Cozy plans, that shows this small filler piece.
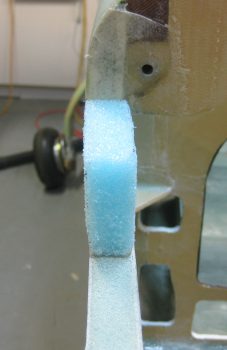
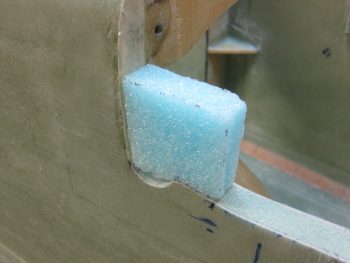
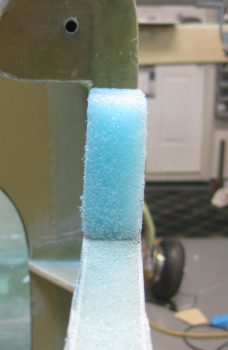
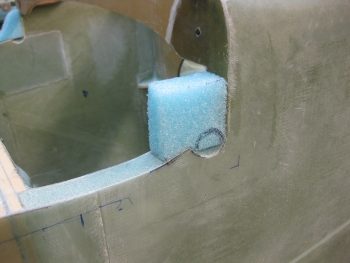
With a scant bit of knowledge in my brain, I trudged forward in order to defeat the evil dark forces that is COLD AIR spilling into the cockpit! I collected a bunch of 3/4″ pieces of Divinycell foam but then quickly realized that while these side walls do contain 3/4″ pieces of Divinycell foam, they are certainly not 3/4″ thick after a fair amount of glass laid up upon them (more like 0.87″). So, to get the right current thickness of the fuselage side wall and then also to save weight –since this is only really a plug to block air– I decided to use blue wing foam and cut/shape the starting block foam myself.
I started with the right side…
And first shaped the bottom angled portion and the aft vertical edge (aft is left in pic).
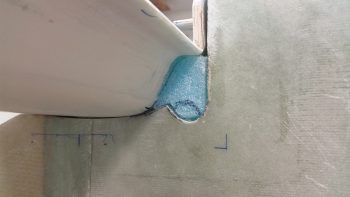
I then eyeballed it with some test fitting on the canard TE to take a good majority of the foam off the front side of it, where it mates to the canard TE.
Here’s the left side piece…
Initial fitting…
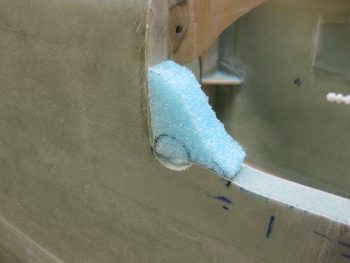
And more foam removed from the front side (of the left piece) in prep for final shaping.
I then finalized the shaping & fit of the canard aft filler pieces on the canard itself. With these about 70-80% good on shape, I then remounted the canard . . .
And finalized the shaping & fitting of the canard filler pieces. I’ll remove the circular area for the torque tube offset cross tube after I glass the filler pieces in place.
I then removed the canard and lightly Dremelled & sanded the finish off about 1″ outboard of each filler piece in prep for a 1-ply BID layup on each side of the respective filler pieces.
I then taped up the areas around the filler piece mounting locations for a little anti-gunk protection.
I then whipped up some micro and glued the pieces in place.
I taped the canard filler pieces in place and let them cure for a bit to allow them to better hold their position on the TE when I laid up a BID ply on each side.
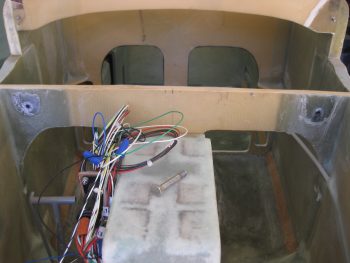
As the micro was setting up I mixed up some pour foam and filled in the holes at the inboard end of each elevator (these are holes that I had to make to bolt the elevator tube to the outside torque tube offset connecting piece). I also filled in the gap at the top of the GIB seat & the CS spar (pour foam pics shown below).
A bit later I whipped up some more epoxy & flox. I created flox fillets in the corners of each filler piece & canard junction (pic below). I then laid up 1 ply of BID on each side of each filler piece overlapping from a 1/2″ to 1″ onto the canard TE (sorry, I didn’t get a pic of the actual layup).
Since the garage was about 68°, I set up heat lamps on the filler piece layups and let it cure for a while as I sanded the GIB seat back top in prep for glass (again, pics below).
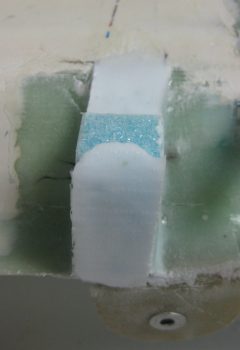
Here’s how my canard filler pieces came out. They need a bit more tweaking on the fit & finish, but definitely not bad at all. I’m really happy with how they turned out!
•••
12 October 2016 — Today I turned my sights on getting the canard install much further along. I taped up the edges of the canard “shelf” on the fuselage sides to protect it from micro.
I then whipped up thick micro and slathered the edges of each canard filler piece on the canard . . .(always gotta have at least one blurry pic!)
. . . and then mounted the canard on the fuselage. As you can see with the right side below, the taped fuselage edge is pushing the micro into the blue foam edge of the canard filler pieces. I wiped away the excess micro oozing out.
Here’s a shot of the left side with excess micro oozing out as well.
I cleaned that up. Then I left the canard alone all evening to let the micro cure.
While the micro cured on the canard, I tackled an item that’s been on my Canard To-Do Sheet for quite some time. I’ll be adding a piece of Spruce just aft of each longeron doubler to both strengthen it & to square it off to allow for a long AN3 bolt to get mounted through the longeron doubler & out F28 to hold the canard upper alignment tabs in place.
This mod seems to be quite common in the Cozy world, and I decided to do it for certain after assessing the geometry of how my canard is mounted. You see, the stock plans elevator tubes has you cut out the notch for the elevator tube mainly aft & horizontally of the canard, which means the canard simply slides in forward to aft when mounting. Perfect for the use of the alignment pins sticking out of the F28 & longeron doubler.
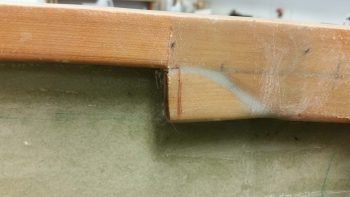
But with my offsets –at least the way I have mine configured– the canard slides in from front to back, but because the way my fuselage sidewall is cut the canard goes over a bump and has a significant vertical motion that occurs when I’m installing it. That’s why I currently have to completely remove the alignment pins and then reinsert them every time I take the canard on/off.
So I made 2 Spruce longeron doubler extension pieces, cutting them with my hand held jig saw.
I then cut 2-plies of glass to cover each one of these guys.
I sanded and prepped both sides.
I then applied a liberal amount of flox to ensure their was grip between flox and the right side longeron doubler extension. I then laid up the right side 2-plies of BID & peel plied it (but no heat lamp!).
I then laid up the left side as well.
With my original micro of the evening cured, I pulled off the canard to reveal the new mating edges of the canard-mounted filler pieces.
I then pulled the tape off the fuselage and was pleased that I had no major issues with dried micro stuck somewhere that it’s not supposed to be!
•••
13 October 2016 — First thing today I checked the layups on my longeron doubler extensions. I pulled the peel ply and cleaned them up a bit.
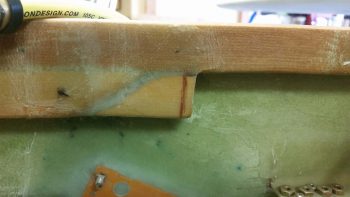
The left side looked good as well. The extension piece may look like it’s drooping a bit on the aft side, but this is due to my wanting a bit more wood to drill into since my 3/16″ upper alignment pin hole angles down slightly.
Well, as you can see here!
And it angles even more so on the right side (which I didn’t think it did) so I should have angled the extension piece just a tad more… oh well, it will definitely work.
I then started work on shaping the canard filler pieces to “wrap” around the elevator torque tube offsets. To get a good idea of the alignment, I started by drilling a 1/8″ hole through the inboard hinge bracket, through the filler piece at nearly the exact spot the hinge pin would pass through.
I then hopped over to the outboard side and drilled a #10 hole through the filler piece using the 1/8″ hole as a pilot hole.
I then simply pressed the hinge pin through with Eze.
I then repeated the same process on the right side (which is the left side of the canard).
With a known center point on each filler piece, I then carved out a circular area around it as a starting point for fitting in the torque tube offset.
I then started the cycle of test fitting the tape-wrapped torque tube offset into the filler piece. I would cut and sand some of the filler piece material off, then test the torque tube offset. Repeat.
Here’s the first round, with the black mark showing more filler piece material that required extrication.
After a few cycles I got so that there was a very small gap around the tape-covered torque tube (which is exactly what the tape is for).
With a better idea of exactly how much material required removal from the left side, my first material-removing step out of the gate on the right-side canard was much more substantial.
Of course it still took a few cycles to get it dialed in.
Using my trusty round Perm-a-grit sanding tool along the way (still love these things!!).
And Voila! Fini!
I then dug out the foam on both filler pieces in prep for some Flocro.
Since this is simply filler material to block air, I used my OLD MGS 335 epoxy that I bought years ago and whipped up some Flocro. I applied it liberally into the freshly dug troughs in the filler pieces.
And then mounted both elevators in place.
Of course I had to scrape a lot of excess Flocro that oozed out, but afterwards it all looked nice & tidy. I then left the elevators, filler pieces & canard alone to let the Flocro cure.
Finally, I then decided to prep the foam for the fuselage side of the torque tube offsets, where it too will get some flocro. When this flocro goes in, it will finalize the other half of the elevator torque tube mounting hole –of course the elevators with their taped-up torque tube offsets, as well as the canard, will have to mounted for this flocro to be shaped correctly.
Nonetheless, it gave me something to do for 5 minutes.
•••
15 October 2016 — Today I knocked out the main tasks for denying unwanted cold air to enter the fuselage via the elevator control tube transition into the fuselage. As you’ve probably seen, I filled in the gap immediately behind & under the canard with the Cozy plan’s “filler piece” and then filled in the area immediately around the torque tube offset with micro/flocro–both on the fuselage and canard “filler piece” sides. Well, that’s what I finished today, so read on dear reader . . . read on!
I started off today by test fitting the canard, with the elevator torque tubes still taped up with electrical tape approximately 0.090″ thick, to the fuselage/nose. After I ensured it fit, I took it off, flipped it upside down and trimmed up some of the micro on the canard side. I also lightly coated JUST the electrical tape with WD40 as a release agent so that I wasn’t taking an unintended action of permanently gluing my canard to the fuselage!
I then whipped up micro (actually flocro) using fast hardener and put it into the areas on the fuselage where the elevator control tubes (torque tube offset) transition the fuselage sidewalls.
Here’s a closeup of the left side immediately prior to me setting the canard in place.
And this is the left side immediately after I set the canard in place. Note the flocro oozing out of the seam. You can see the same for the right side below.
I then cleaned up the excess flocro from both the left and right sides.
And here’s a couple shots of the inboard torque tube transition points.
Later my flocro was pretty much cured so I popped the canard off the fuselage and found this . . .
and this. Not too shabby if I say so myself. And moreover, I say: “Goodbye cold air!”
Below is the canard side after I pulled the electrical tape off the elevators. You can see the micro did a great job on this side as well. It all still needs to be cleaned up & tweaked, but I’m glad this is starting to wrap up (a slight pun).
•••
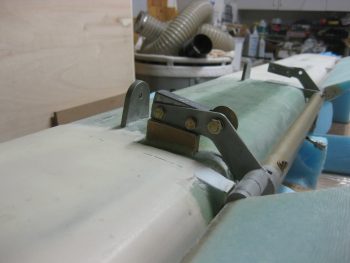
20 October 2016 — Today I cleaned up the BID layups securing the 1/4″ thick Finnish Birch plywood piece that was pressed into service as the elevator control stop. It does exactly what its official title states in that it stops the elevator from traveling more than 30° down. Do I have an elevator up control stop? Well, technically it’s the trailing edge (TE) of the canard, but let’s hope that I don’t use it much!
Here’s a closer view of the elevator control stop.
•••
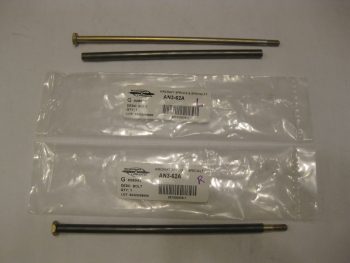
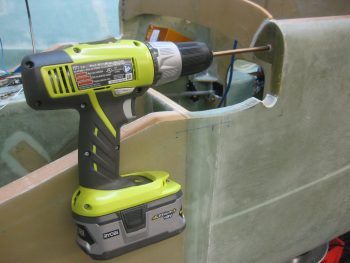
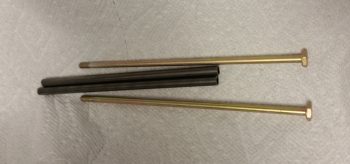
14 November 2016 — Today I cut the 4130 steel tubes to length that will be used as bolt inserts in the longeron doublers for mounting the 2 newly acquired AN3-62A bolts. These assemblies will hold the canard in place at the upper mounting tabs in lieu of the plan style pins. The bolts look a bit curved due to the camera angle, but they are in fact straight!
•••
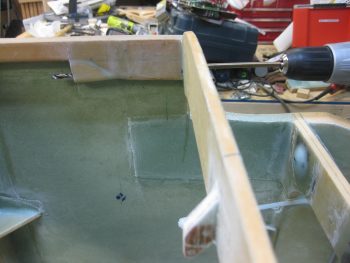
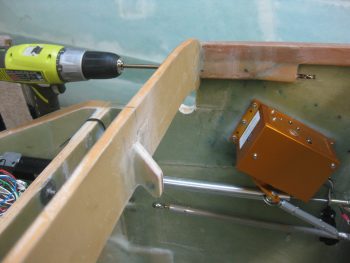
18 November 2016 — Today I decided to use my long 1/4″ drill bit to expand the #10 holes in the longeron doublers + the new extensions. The 1/4″ hole is for the 4130 sleeves that will provide a solid channel for the long AN3-62A bolts that I will employ on the top canard alignment tabs vs. the plans alignment pins. This is a mod I had seen in passing before, but I really took note of it after checking out what my buddy Dave Berenholtz was doing on his upper canard alignment tabs.
I drilled the left side first.
And then the right . . .
•••
24 May 2018 — Today I reorganized the fuselage in the shop to allow me to mount the canard. I then got the canard down off its perch and mounted it to the fuselage. The mounted canard will provide some data on the final nose build and also facilitate finishing some prerequisite nose tasks before starting in on the nose and canopy builds proper.
Although still a bit tight with just a tad bit of finagling required, I was quite happy with the fit of the canard and the “ease” of getting the canard mounting bolts installed.
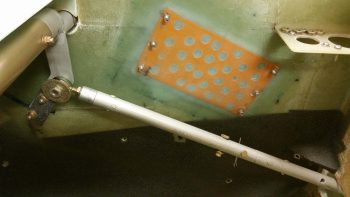
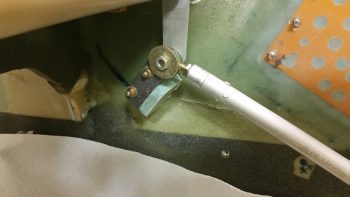
I also tested out my new 5/8″ elevator control rod that appropriately enough only has ONE hole for the pitch trim servo arm attach (Just say NO to extra holes!).
I then rounded up some scrap 3/8″ PVC foam that had a ply of BID glassed to each side and used it as the elevator up-travel control stop. I whipped up a small amount of flox with fast hardener and also used a small dab of 5-minute glue to secure the control stop to the right fuselage side wall. As you can see, I used the actual elevator control arm as a sort of jig.
The way I knew the elevator control arm was in the right position was by using the elevator angle template to ensure I was at the max 15° elevator up travel. I’m actually just a hair lower than I can get the elevator to travel, but any higher up and it starts to contact the canard TE, so this is a good position for the elevator control stop.
Since I had access to the aft side of elevator control up-travel stop, I laid up a ply of BID with the requisite flox fillet.
•••
25 May 2018 — Today I prepregged 1 ply of BID and 1 ply of UNI to layup on the forward side of the elevator up travel control stop. I decided that this would be strong enough with just the foam tab piece sticking out 90° from the sidewall and scrapped glassing in the perpendicular triangular piece that I had cut for this setup. I then of course peel plied the lay up.
A few hours I pulled the peel ply and trimmed up the edges. Nice and simple, and strong, and it worked a treat!
I then gathered up my two long (and quite expensive) AN3-62A canard upper mounting tab bolts along with their associated thin-walled 4130 tube sleeves.
I ran a long 1/4″ drill bit through the holes to ensure they were nice and clean with a good diameter to fit the sleeves, at which I point I used straight epoxy and very wet flox to install the bolt sleeves into the holes through the F28 longeron doubler and the squared-off extensions I added.
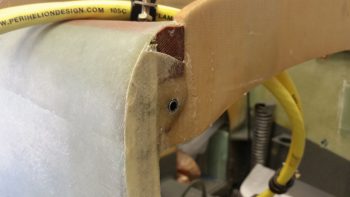
Here’s the final install of the right bolt sleeve into the right F28 longeron doubler and the squared-off extension. The left was the same as this.
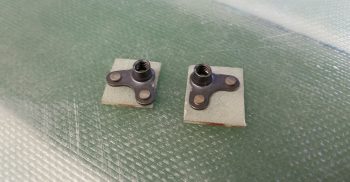
While the canard upper mounting tab bolt sleeves cured in their new longeron doubler locations, I then whipped up some K1000-3 90° nutplate assemblies using spare G10 Garolite pieces I had on hand –which I didn’t even have to cut! (How’s that for being laz… er, efficient?!)
BTW, I didn’t make them match in size because I prefer the larger sized one with bigger surface area to grip the flox, but the smaller one would of course work as well.
When I did a final fit with the canard in place, I must have been off a hair in my initial measurements with the bolts, since after install their would be no thread showing on either side. Hmmm…. clearly the longeron doubler would need to be trimmed because I wasn’t forking out even more cash for longer bolts. I just wish that I had figured this out prior to installing the 4130 sleeves!
Once I set myself to the task it really wasn’t that big of a deal. I started by drilled a small series of holes just a few millimeters apart. Then used the Fien saw with a straight blade and narrow wood chisel to remove the wood and glass from around the protruding 4130 tube, respectively for each side of course.
I then used a cutoff wheel on my Dremel to make quick work of trimming down the protruding thin-walled 4130 steel tube sleeve on each side.
I then test fit both sides and it looked as if my trim job had done the trick to provide me with enough thread exposure to ensure a good bolt fit.
I then technically mounted the canard for the first time ever! (In regards to its final configuration… <grin>)
It was hard to get both top and bottom canard mounting bolts showing with the lighting, but here’s my attempt.
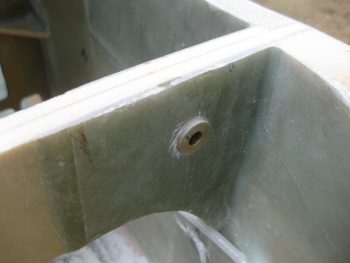
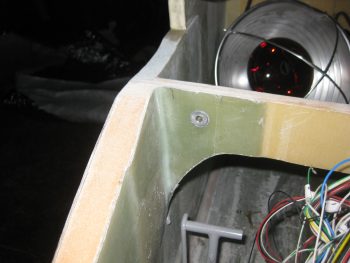
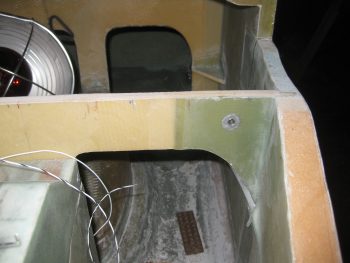
And here are the canard upper mounting tab bolts’ nutplate assemblies floxed into place on the aft end of the (trimmed) F28 longeron doubler extensions. Admittedly, I got a bit more thread on the left side than I was looking for, but as long as the bolt isn’t bottoming out on the thread shoulder before it’s secure (and at first appearances it is not) than all is good!
•••
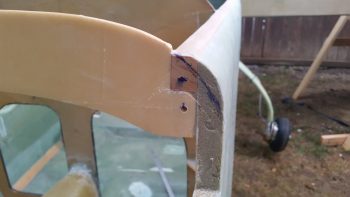
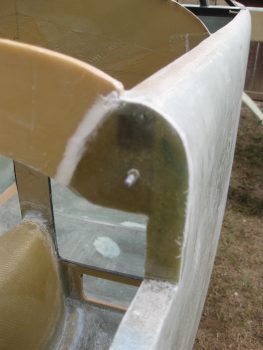
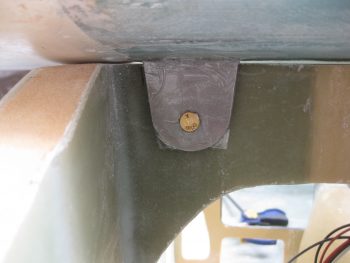
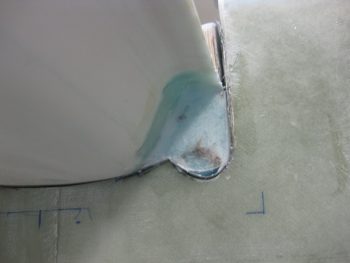
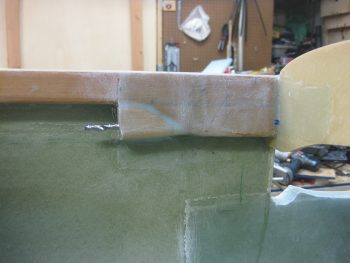
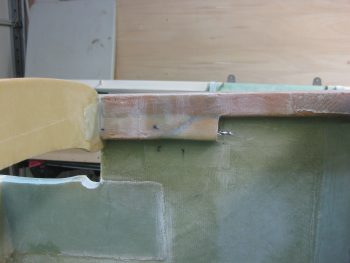
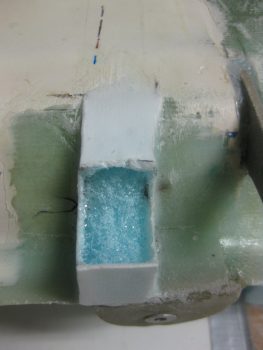
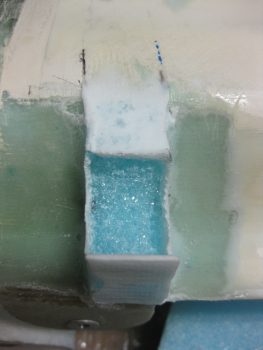
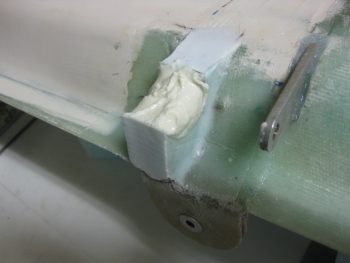
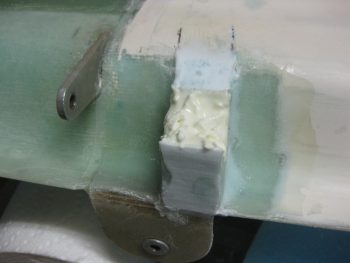
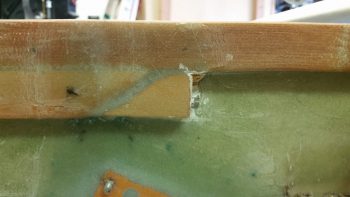
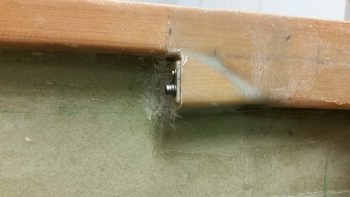
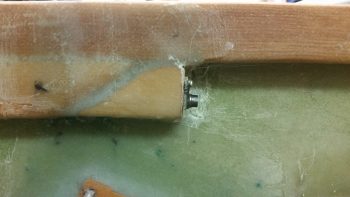
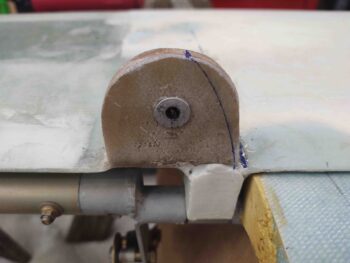
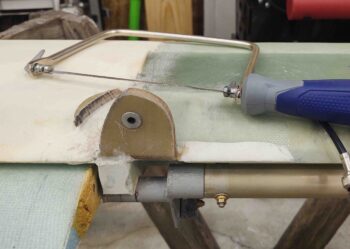
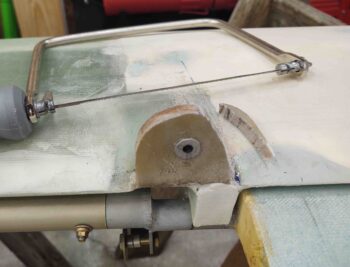
18 October 2020 — Today I popped the canard onto the fuselage to check out the fit and look with the upper nose completed. I quickly realized that when I had last installed the canard, the top nose area around the front end of the longerons was much fatter. With the new trimmed F28 outboard edges, it made the canard upper mounting tabs a bit wide on the outboard side. I marked the mounting tabs and then removed the canard.
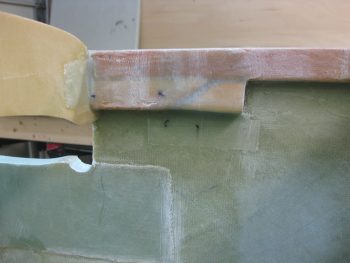
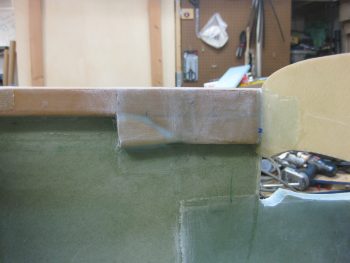
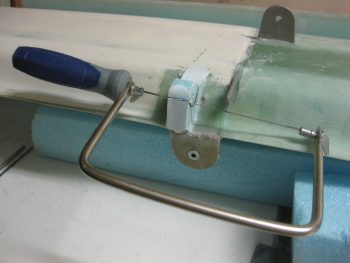
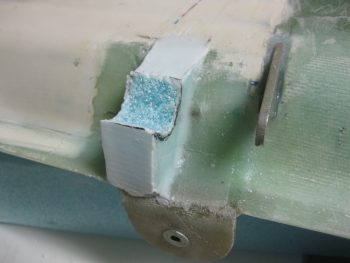
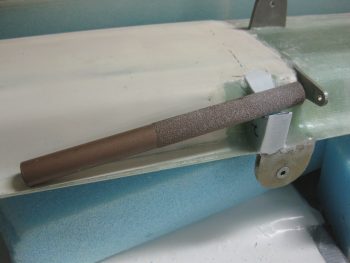
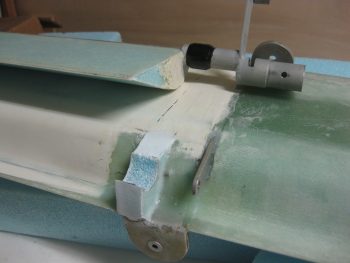
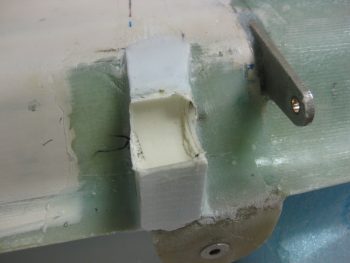
Well, in my fervent quest to get yet one more thing off the To-Do list tonight, I grabbed my coping saw and trimmed down the outboard excess on the upper canard mounting tabs. I’ll certainly have some sanding to do to finalize the shape and fit, but the major lifting on getting these to shape is done.
•••

