
After my last full night of work (my last blog post) I finally caught the flu bug that both my wife and stepson battled through. I thought I had dodged a bullet, but it hit me like a freight train that night, and throughout most of the next day and night (yesterday). I slept a ton, feel much better now and am back at it.
I’m guessing there will be a lot more of these somewhat disparate reportings in the next week or so until I finally get to the point of primarily focusing on final electronics/ avionics, fuel system final checks/flushing and engine install/first start prep. I guess final flight control rigging will be in that mix as well . . . yes, still a good bit to do (sigh).
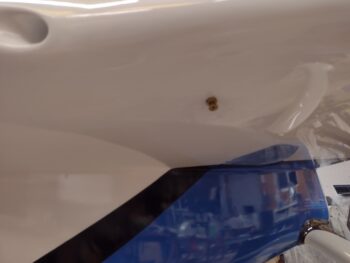
First off, my last blog post was incomplete, as I failed to report the gooping up (with Permatex #2) of threads and final install of the strake fuel tanks drains. Here those are:

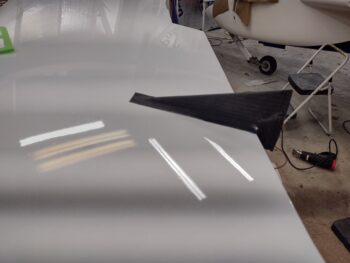
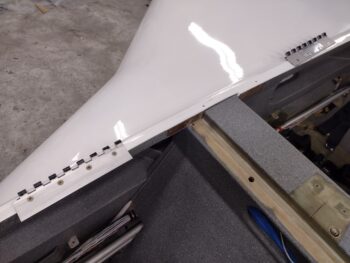
Today I started out by removing the peel ply and cleaning up the left wing outboard trailing edge fence. I then marked it for trim, and after removing all the tape from the wing, set it back in place.
I’ll note that I had a few layup/micro tasks on my to-do list, but after my shop heater ran out of my final on-hand kerosene supply, I had to dump any tasks that required a warmer environment as the shop temp was low-to-mid 50s.
I did get the GIB lower seatbelts installed using the hardware ID’d in the plans.

I also took a surprisingly longer amount of time than expected to get the GIB right sidewall kickplate installed, as it was being finicky going in (some slight sanding required for final install).

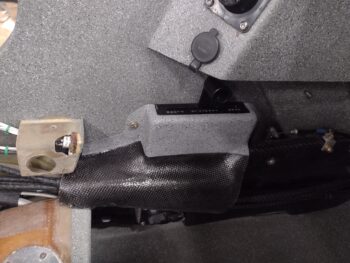
On the left side it took me longer to find the correct hardware than it did the few minutes to install the GIB throttle quadrant and throttle/mixture cable protective cover. Task complete.
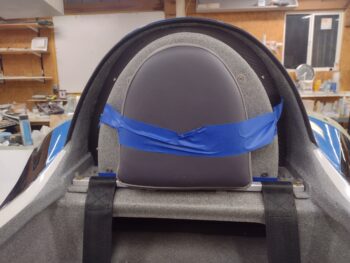
Still in the GIB realm, I quickly mounted the D-deck front cover, then taped the GIB headrest pad to that to ensure my mounting location for the pad to cover is good. Note the dark blue tape at the bottom which was my original guess of where the bottom of the headrest pad had to be at or above to clear that seatbelt upper strap crossbar (which I did in the house, confirmed in the shop).
I also installed both the front and aft bottom canopy hinges.
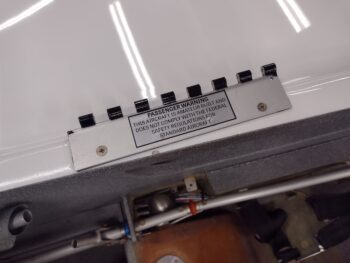
A couple comments on the canopy aft bottom hinge:
First, I applied the FAA mandatory passenger warning in pretty much the same spot that Mike Beasley did his on the canopy’s aft lower hinge plate, although I liked his sticker better but couldn’t find it (silver letters with black background).
Second, I’ll note that I used my cordless hammer drill to drive the hinge screws while I secured the nuts with a wrench on the bottom side of the longeron. I had one screw that had jacked up threads, which caused my drill to jump and take a good ding out of the longeron paint —I of course had everything protected but this minor edge… go figure! No big deal… just add it to the paint touch-up list (queue another dramatic sigh).
I then got to work on installing the canopy latch rod and hooks down the left longeron. Besides pushing my 2100 rendezvous to have dinner with my wife, I also came to horrific realization (at first determination) that I have burned through nearly my entire stock of MS21042-3 aircraft grade nuts. How?! Who knows. I guess I needed way more than I expected to finalize all the installs on this bird.
. . . or more likely there is a full bag of them hiding somewhere in my shop. Regardless, I got the GIB side of the canopy rods & hooks to final install.

And since I couldn’t finish off the forward side canopy rod & hooks, in an act of sheer and utter defiance, I installed the fire extinguisher… with its requisite bracket of course (take that!! whoever!!!)

Ok . . . still nugging it all out. One step at a time.