Today was another barn-burner hot day… I was soaked to the bone in less than 20 minutes. Thus I’m looking at some type of additional shop cooling options, since layups and such are not designed to be an 80/20 mix of epoxy and sweat!! (I digress…)
I started off by removing the weights from atop the left fuel line on/off valve, exposing the pair of yellow zip ties that are securing the valve body to the top edge of the foam/fiberglass support pedestal… which by the way measures about 2″ wide x 2.1″ high.
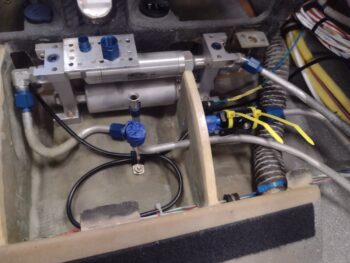 I then cut the zip ties to reveal the position of the left fuel line on/off valve in its unencumbered state. Also, once installed, I’ll safety wire the valve lever into the open position (as it sits) vs closed, which is 90° up from its current position.
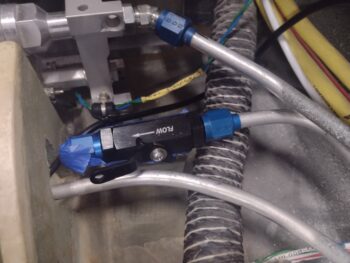 In prep for the final glassing of the valve support pedestal, I removed the valve.
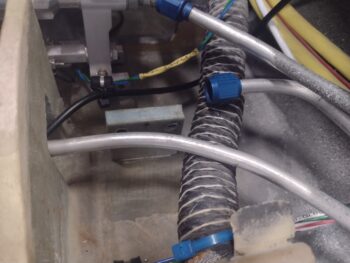 I then prepregged 2 sets of 2-ply BID in 2″ x 2″ squares (yes, a lot of “2”s!)… and after applying a flox fillet in the corners of the support pedestal and fuselage floor, I then laid up the aft side BID tape. And then peel plied it of course.
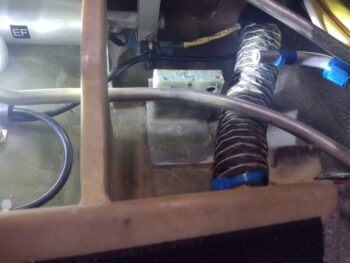 I then did the same thing on the front side of the valve support pedestal… the only difference on this side being that the epoxy was getting more gummy since I was using fast hardener and the heat was insane! But I got ‘er done, just under the wire!
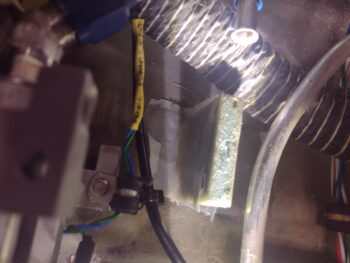 Tomorrow I’ll pull the peel ply and clean up the edges of the cured securing BID before getting to work on the last cross-connect tube between the left fuel line valve and the fuel tank selector valve input port.
Again… pressing forward (hot and slow!!)