
Yes, the strakes are finally finished. In that the fuel caps are now installed… more on that below.
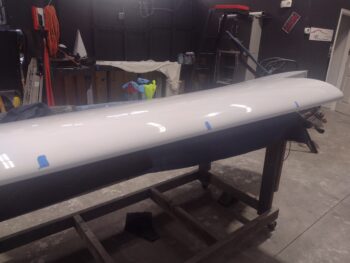
Another milestone is that the vortilons are installed on the right wing. Here are the marked up tape lines at the vortilon intervals along the leading edge.
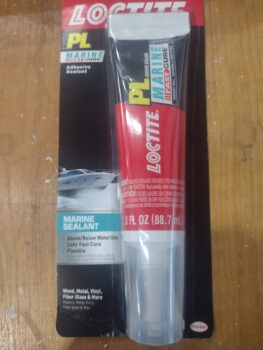
I wanted to use white RTV but couldn’t find any anywhere. Steve Beert recommends a product that is over $20 a tube, which seemed a bit of an overkill. I had some marine 5200 adhesive that I was going to use, but as I read the instructions last night I noted that the cure time is 7 days. Not good.
So I found this stuff at Lowe’s and made a command decision as it seemed to be the best they had to offer.
I then attached the vortilons to the wing.
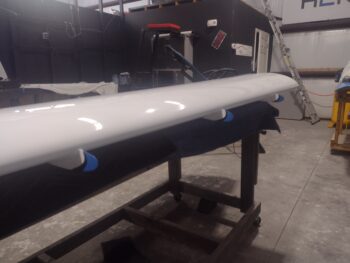
Here’s another shot of the vortilons mounted onto the right wing leading edge.

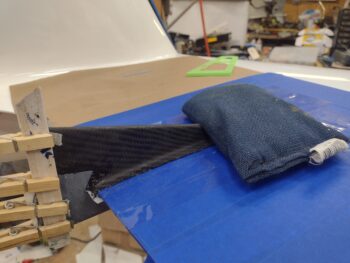
After getting back to my shop, I pulled the peel ply on the left outboard trailing edge fence, but in doing so I snapped the bottom side of the fence off. I micro’d it in place and set it front of a heater to cure before I laid up the bottom ply of carbon fiber.

After hauling the fuselage to Phil’s shop and then bringing it back to my shop, putting it into the grazing position and bouncing it down the road on the trailer apparently caused all the small debris and dust —from cutting out the gas cap openings— to settle at the lowest point in the tanks: the drains. When I took the protective caps out to install the fuel tank drains, the caps were full of dust and debris. Hmmm, go figure.
I stuck the shop vac hose into the tanks as far as I could to clean the tanks out as best possible, and then I put the nose down into the grazing position and ran a few gallons of water through the tanks to flush them out through the drains to clean out whatever debris was left over (obviously as best possible).

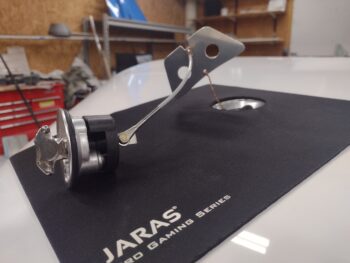
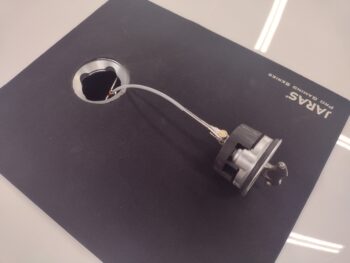
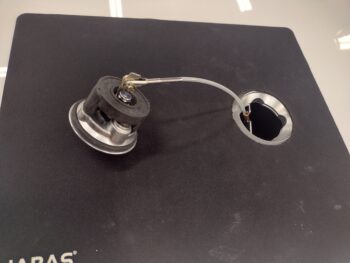
I started on the right tank, and after vacuuming and flushing out the tank, I attached the copper ground wire to the fuel cap safety catch before then attaching the cable and swaging on the nicopress sleeve.
Here’s another shot from the other side…

I then slid the fuel cap safety catch into the tank, and voila! Gas cap is installed.
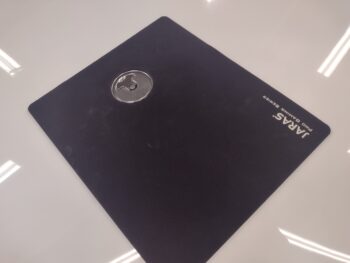
Officially mounted right tank gas cap!
Before I installed the left tank gas cap, with the left bottom outboard fence foam micro’d securely in place, I laid up the bottom ply of carbon fiber and peel plied it (pic 1). A while later I transferred it over to the wing and secured it in place so that it would cure in the correct configuration (pic 2).

I then repeated on the left tank the same gas cap install as I did on the right: attaching the copper ground wire to the gas cap safety catch (pic 1) and then swaging the nicopress sleeve to secure the gas cap cable to the safety catch (pic 2).


I’ll note that I did continuity checks from the drain ports to the cap, on both tanks, to ensure I’ll have a good ground. This will allow me to use the cable tab at the cap or the the drain itself for grounding during refueling.
I then slid the safety catch inside the gas cap opening to finish the mounting of the left fuel cap.
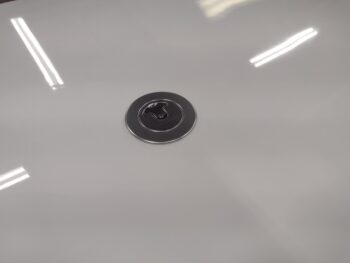
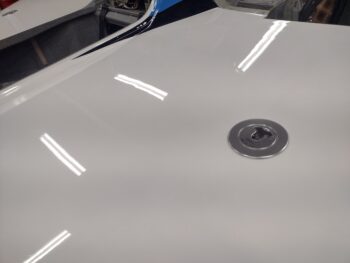
An “action” shot of the left fuel cap installed.

And a shot of both fuel caps installed.
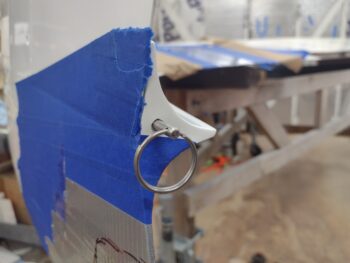
And a parting shot of the left rudder gust lock pin installed into its sleeve.
SLOWLY pressing forward….