
This post covers the past few days…
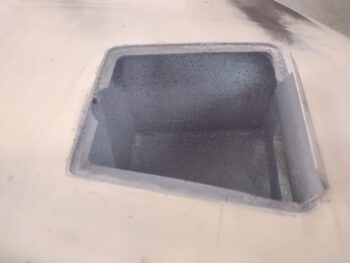
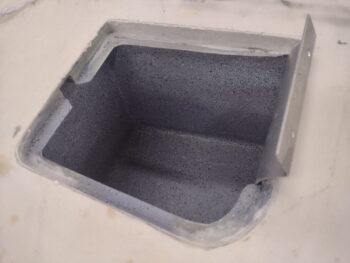
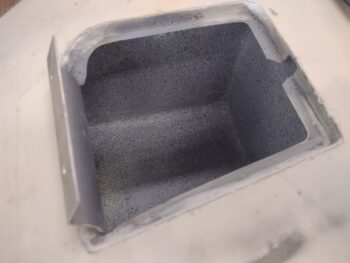
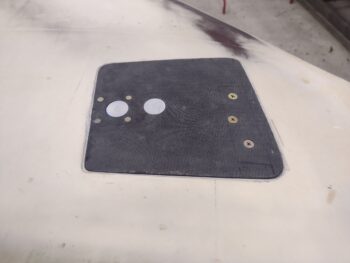
I was able to get the inside of the strake storage compartments painted with the gray granite/rock paint. Here’s the right side.
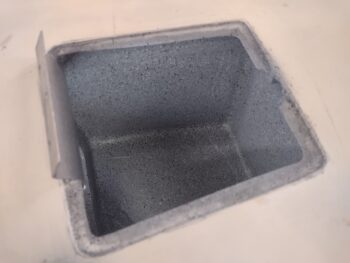
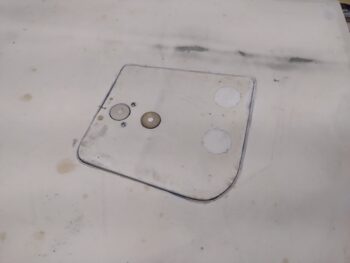
And here is the left side. I should note that painting also includes 2-3 coats of matte clear coat.
And as a further note (in case I need to research this years from now): I actually taped up the 3 forward & inboard vertical corners and the 2 intersecting lower horizontal corners with green painters tape to allow me to remove that tape in the future if I have any evidence of fuel leaks that I need to investigate. Again, only the corners that are fuel tank adjacent were taped.
I let the paint and clear coat cure for over 36 hours before I sanded the overspray and excess micro from the flanges and perimeter edges on both right and left strake hatches.
I then drilled the countersinks and riveted the right double-button Hartwell latch to the right strake hatch door. Yes, I did use aluminum rivets, but I A) hit them all with a coat of primer (cured for multiple days), and B) slathered them up with very wet flox when I installed them.
I also countersunk the 3 screws (replacing the bolts) and temp installed those. I then spent nearly 1.5 hours getting the angle and elevation of the internal ~0.4″ hinge spacer dialed in so that the door would sit as optimized on the hatch perimeter flanges as flush as possible. This of course means that the door is as flush as possible with the surrounding surface of the right strake as well.
I have NOT yet permanently installed the Hartwell latch on the left strake hatch door, as the deeper countersunk cherry pop rivets are currently on order from Aircraft Spruce. I did mount the door back into place and spent about 45 minutes sanding both the door edges and the internal perimeter edges just above the flanges, just to get the darn thing to close.
More work is required to obtain better edge clearance.
Now… to get the no-kidding finalized aft nose/avionics cover configuration complete and ready for primer/paint, I have to get the canard completely finished and ready for paint as well.
I used the Eureka-CNC templates to mark any low spots on both the top (shown here) and bottom of the canard, then filled those low spots with micro.
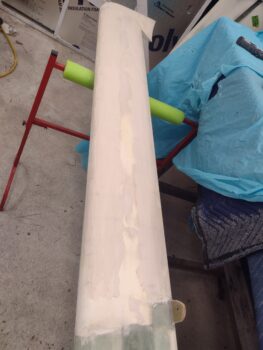
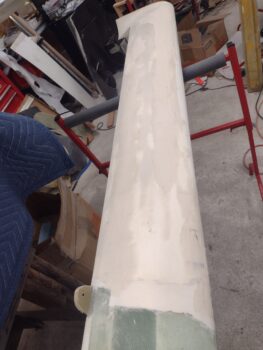
I figure I’ll have at least one more round of micro refills, but plan on working the canard until it’s near perfect in regards to the Eureka-CNC profile templates… since it’s arguably the most critical flight surface on this bird.