
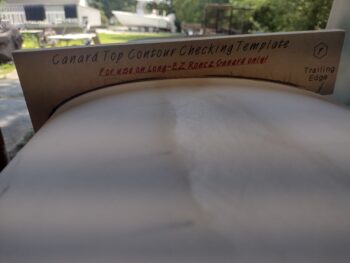
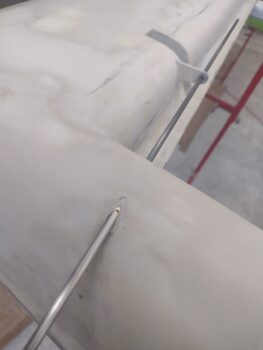
I spent quite a few hours today dialing in the top profile of the canard to match the “Eureka CNC” Roncz canard template. It’s looking very good, and I’m not sure if I’ve mentioned this but my tolerance for any gap or daylight is 0.5 mm or less (less than 0.02″). With the upcoming epoxy wipe and primer, any irregularities should be greatly mitigated to significantly less than that.
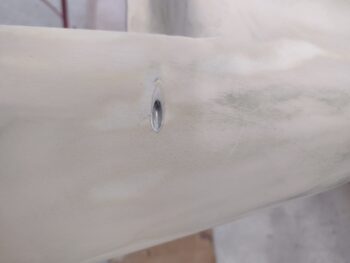
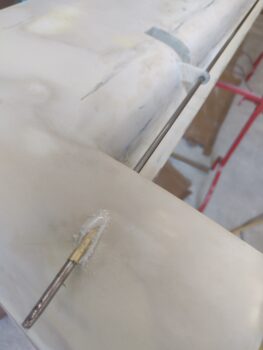
Quite a while ago I added an aluminum sleeve to the hinge pin hole on the end of the left canard (pic 1). On the right side I had a Nylo-flo sleeve, but nothing on the left and it was getting dinged up. Well, after this latest round of sanding I had both a chip and a crack that developed on the right side, as the Nylo-flo was not full length inside the access hole.
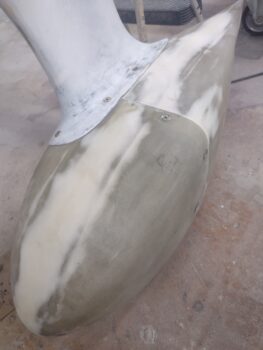
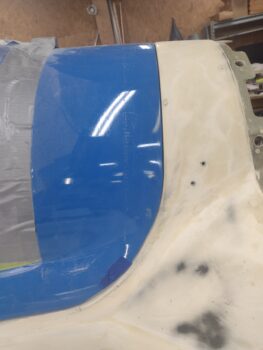
I spent a good half hour removing the Nyla-flow, trying to minimize any damage to the external surface… and did a decent job, IMO (pic 2).
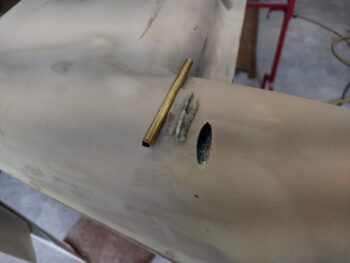
I then test fit my cut length of thin-walled brass tubing with the hinge pin installed.
Then slathered up the in the inside of the right canard end hinge pin hole with micro, reinserted the brass tubing hinge pin sleeve and the greased up hinge pin. I left it to cure.
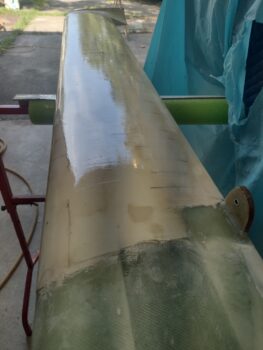
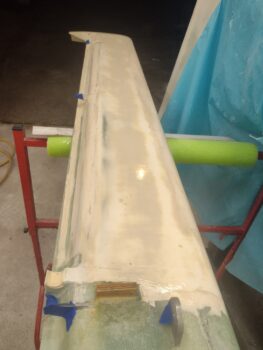
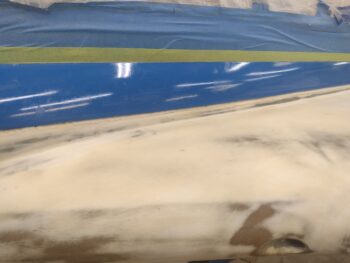
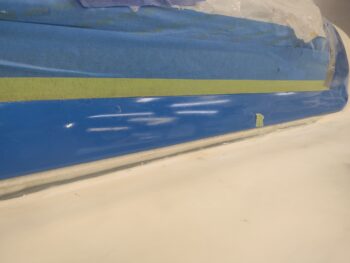
While the right side hinge pin insert sleeve micro was curing, I flipped the canard right side up, did a final clean up and then epoxy wiped it with 3 coats of West.
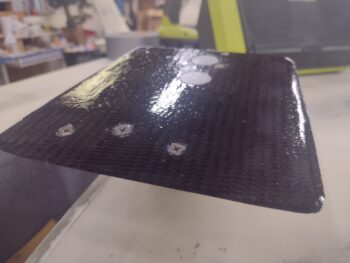
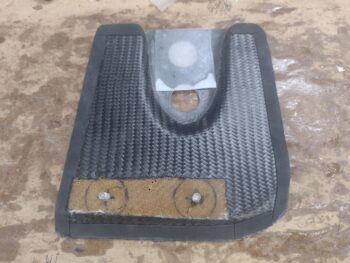
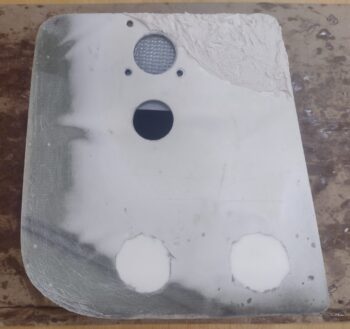
I used some of the epoxy from above to epoxy wipe the right strake hatch door (pic 1) and even lay up a single ply of BID on the inside of the left strake hatch door where the Hartwell latch will get installed to add a hair depth to the door thickness so the external buttons will be level with the external door surface (pic 2).
I took about 10 minutes to remove the aft left wheel pant and do the initial sanding of the added micro. I then reinstalled the aft left wheel pant and did the final sanding to get the front and aft wheel pants surface levels matched across the top seam. Soon I will epoxy wipe the sanded micro area.
With the micro I used for the wheel pant above, I also micro’d the inboard aft corner on the left strake hatch door exterior surface. This corner is just a tad low in comparison to the left strake surface, so I’m evening it all out with this micro fill.
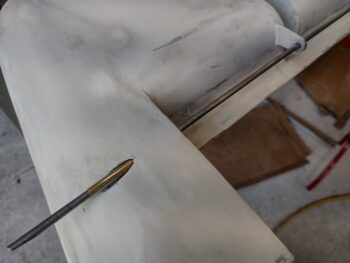
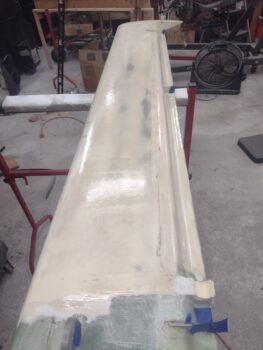
A few hours later, back on the canard, I did the initial trim of the micro’d in place brass hinge pin sleeve (pic 1), and then cleaned it up in prep for the bottom canard epoxy wipe (pic 2).

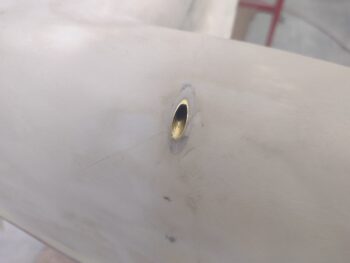
Of course did an ops test of the newly installed hinge pin sleeve first… ALL GOOD!
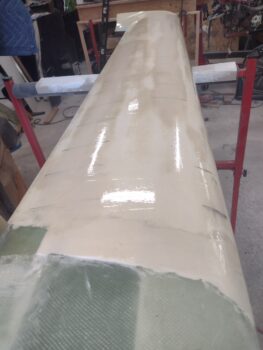
I then epoxy wiped the bottom of the canard, each side, with 3 rounds of raw West epoxy.
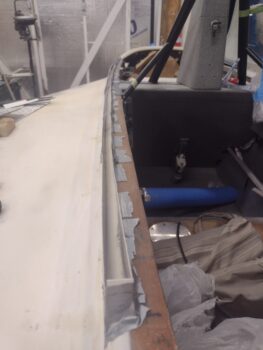
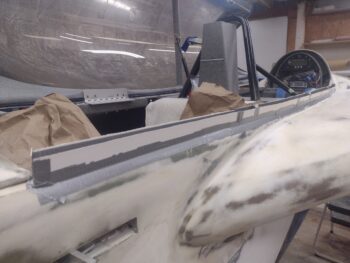
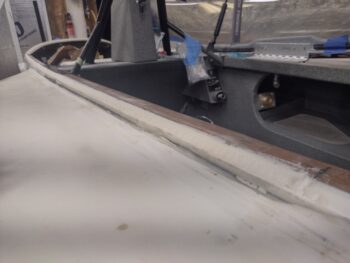
Another gremlin that reared its ugly head once again was my canopy fit up with the left longeron. I thought I had it figured out when I worked it a few months ago, but apparently not. I don’t know if something subtly shifted as things tend to do on these birds when left unattended(?), but the gap was too much for me to allow and simply leave (not sure if there are any past pics since I dove right into the fix).
I cut up some scrap cardboard and made pour dams only above the previous added edge I had worked earlier (not over exposed wood segment of longeron).
Here’s another shot of my pour foam dam.
I then ATTEMPTED to add just a little line of pour foam in the dam, but we all know how that goes… so, a bunch of foam for only an actual required little bit.
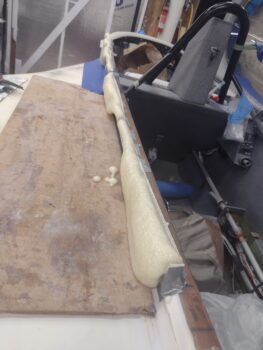
I then cleaned up the foam overflows and cut the excess foam off at the height of the dam (pic 1). I then started trimming the foam down, but left the inboard dam wall in place (pic 2).


Some more knocking the height of the foam down with the inboard dam wall still in place.
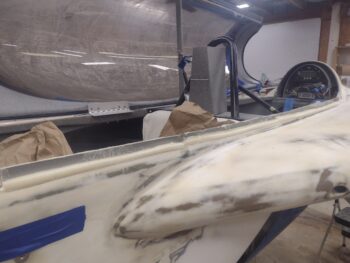
I then got the foam down to level with the longeron on the inboard side, with all the pour foam dams removed.
After a bit more trimming and sanding, and some trial and error test fits, I got the foam knocked down while allowing the canopy to close fully.
I still had a couple gaps both all the way forward and all the way aft that I need to work, but I’m happy with how things are coming along.
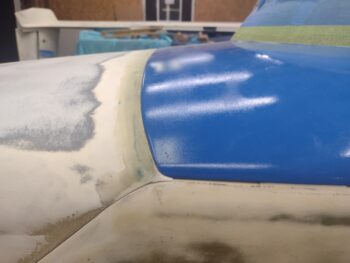
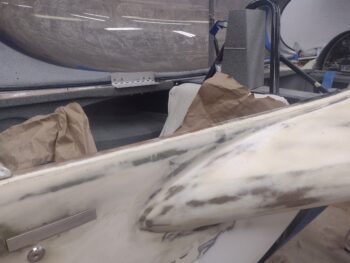
It may hard to tell, but again I will need to work the top elevation and match up at the seam betwixt the aft canopy frame and the Turtledeck… the never ending match up game. I wonder if this will persist after this next round??
And with that, I called it a night. Much more work to come.