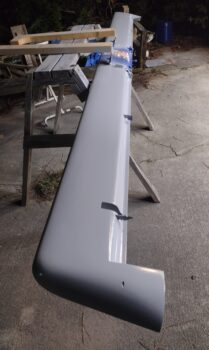
Today was the day to get to painting, or priming actually… but I digress.
I will note that the morning and early afternoon were great weather for painting outside. Not as crazy hot as it has been over the past few months and not a cloud in the sky.
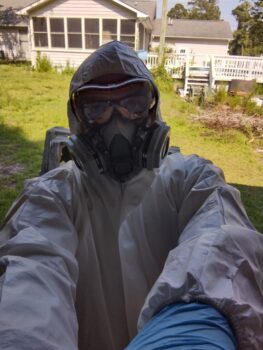 But that all change by the time I got around to actually shooting primer. After wiping down the parts and getting the primer mixed, I of course had that ONE small group of clouds come over and drop about 10 minutes worth of light rain. I couldn’t chance my primed parts getting rained on after I shot them, so I quickly moved everything into and under my carport.
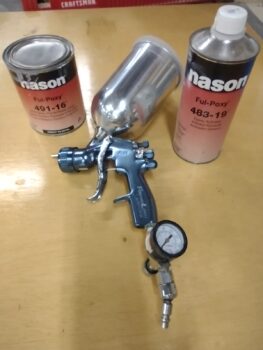
After getting into my PPE above, since I’ll be shooting nasty (for us humans) epoxy primer, I then dialed in my gun —my old DeVilbess FinishLine from my custom chopper painting project— which was the one gun I had with the largest tip for shooting this stuff (1.5mm).
I noted right off the bat that the gun pressure gauge wasn’t working as I was getting either close to 0 psi or above 60 with the slightest turn of the knob. With my expensive epoxy primer already mixed and past its 30 minute induction period I pressed forward shooting this primer by the seat of my pants with regards to psi… and all came out quite acceptably, IMO.
 By this point in the afternoon it was warmer, but I was committed and pressed forward. Although in the mid-80s, with my painting suit on it was getting hot, and as I have had to deal with sweating all over my layups, micro and epoxy wipes these past few months, I found out quickly that I had to be careful lest I was bombing my just-primered parts with drops of sweat. A royal PITA!
Part of this was due to the fact that shooting primer/paint on a horizontal surface is reportedly much better for avoiding the dreaded orange peel vs shooting a vertical surface. However, moving one’s arm with sweat dripping out the sleeve over said horizontal surface is not optimal, and difficult to avoid at times given the required distance between gun and part for proper primer application.
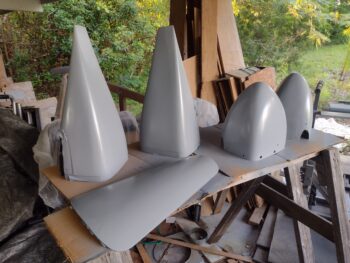
I dialed in my paint gun on a piece of cardboard and then pressed forward with my first “sacrificial” test subjects: the wheel pants. These are smaller and can be stripped fairly quickly if the primer job is/was too egregious. Plus, there’s rounded curves on the front wheel pants, so good test/practice on those.
They came out pretty darn decently, if I say so myself (the nose cover hatch door shown is the LAST part I shot in this group).
 However, that being said, I quickly learned that my new paint shooting goggles that I had recently ordered off Amazon were not fitting over my reading glasses as many folks in the reviews had said they did. My glasses were fogging up quite quickly making it almost impossible to see my paint lay down, which definitely resulted in a few nasty runs on the wheel pants… so off came the goggles.
After the wheel pants, and some minor dialing in of the gun I got some pretty darn good epoxy primer flow-out on the elevators and the left rudder (right rudder still mounted on the wing).
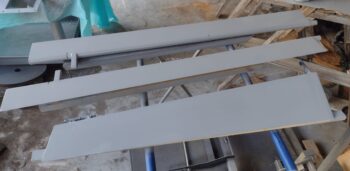 On the control surfaces: I had planned on mounting them in a fashion to allow me to flip them cleanly and as needed to primer/paint both sides. However, due to time constraints and needing to get ‘er done (thus my “combat painting” title) I simply put them on 2x4s to keep the edges off the racks/sawhorses. After priming one side with 2-2.5 coats of primer, I waited about an hour and a half for the primer to cure enough that I could flip them over to do the other side of the control surface.
I did this method on the ailerons as well, with the bottoms showing here (top sides in primer). Interestingly enough, the light spots are the areas that I broke through the epoxy wiped surface when final contour sanding. I usually hit these sanded spots with another coat or two of epoxy, but there is clearly a difference. ESPECIALLY with pinholes, where these “dryer” areas had a number of them popping up.
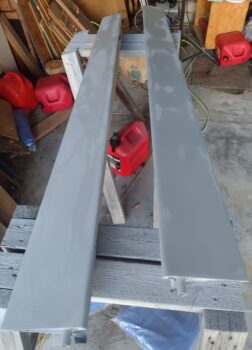 Here we have the bottom cowling, which with some extra primer in the can I shot an extra coat for 3 coats total. As with many of my parts I decided it was it time to stop chasing my tail in the pursuit of perfection and simply get everything slathered up with primer and paint. I’m following Nate Mullins’ technique and will “cheat” a bit by using some high build 2K primer to fill in a number of divots and low spots on these parts… the bottom cowling being a prime (pardon the pun!) candidate for such devious, surreptitious painting activities!
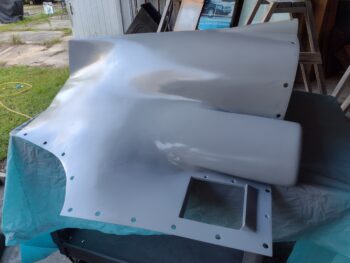
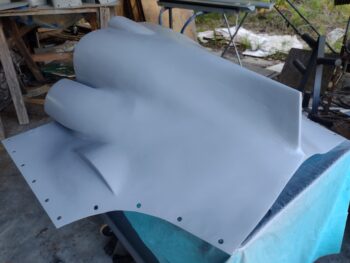
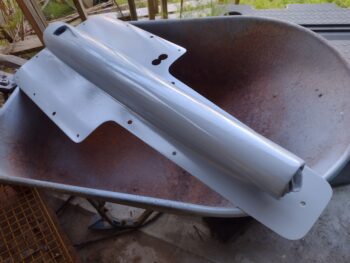
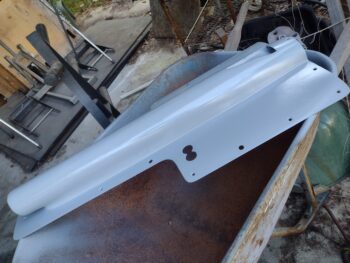
And another such part that falls into the “fix it by painting it” method: the belly RAM air scoop. Although an argument can be said that these parts’ appearance are vastly improved by simply being a single color!
With the other parts curing after getting shot in primer (24 hours before sanding), I then spent a couple of hours doing the final sanding on the canard.
To avoid the “dry spots” that I was getting on the ailerons (and other components) I did a single coat epoxy rub on the entire top of the canard (who cares about the bottom, right?! ha). After that cured and a quick sanding, I then mounted the canard just outside the shop on a sawhorse that allowed me to flip the canard upright and inverted to shoot both sides with primer.
Here we have the canard shot with 2 coats of epoxy primer.
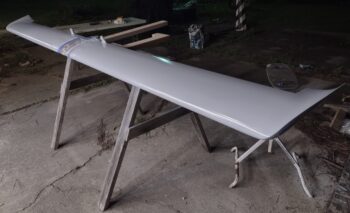 And here we have the canard flipped inverted, with the bottom also shot with 2 coats of epoxy primer. With no more rain due and the primer being dry to the touch an hour after shot, I left the canard outside to cure overnight.

