
Yes, although I still have minor bits and pieces that will still need paint, with the major parts of the airplane painted I’m calling the paint complete!
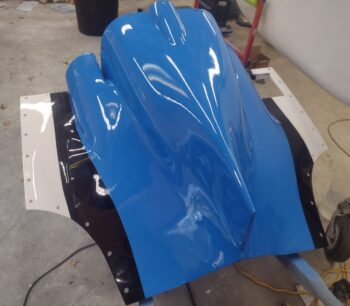
First off, we have the bottom cowling in tri-color just as the top cowling, with the white strips on the outside successful painted… finishing off the 3 colors.
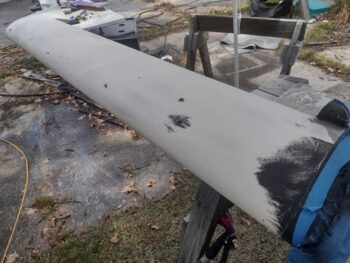
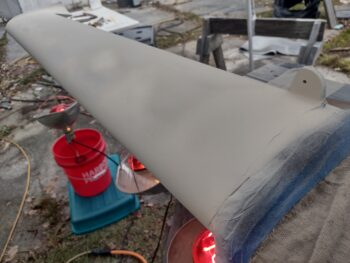
Another reason I’m calling the paint complete is that I cleaned up the top of the right canard, which had 2 very visible divots and decent blemish in the paint (if looking with the light reflecting correctly… I couldn’t grab a pic of it though) towards the inboard side, and a row of minor depressions about 3″ aft of the leading edge in the middle and outboard of the canard.
Since these weren’t just aesthetic issues, but rather on a flying surface where airflow is much more critical, I felt that I needed to fix it all before first flight.
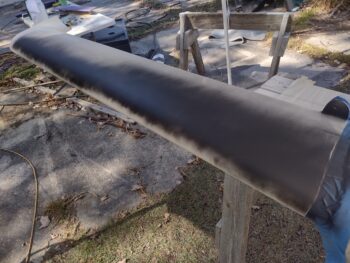
So I covered up the middle area and left side of the canard, grabbed my cheap black paint and applied a guide coat. Even then, I’m a bit surprised you can’t see these blemishes in the guide coat.
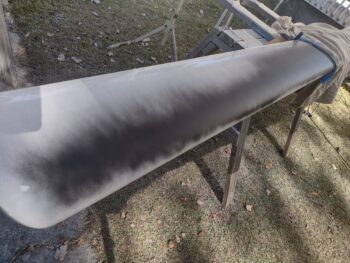
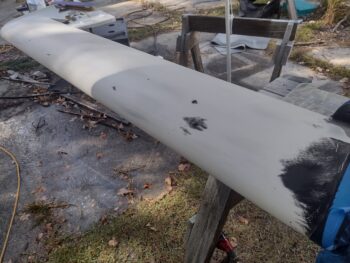
But clearly you can after I block sanded the top right canard with 180 grit wet sandpaper. The round spot towards middle around a third way down from the root and the splotch closer to the leading edge were the 2 primary culprits. You can also see a decent dip in elevation right at the root.
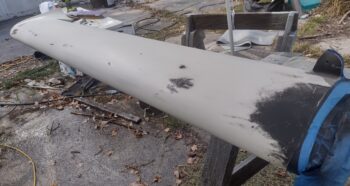
I then wet sanded the canard top with 240 grit (pic 1) and 320 grit (pic 2).
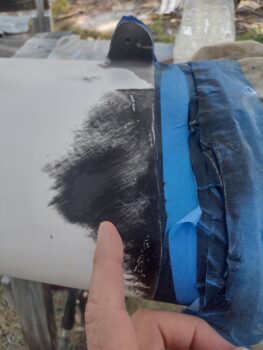
I’ll note that although there is a decent depression at the root, the majority of it resides inside the aft nose cover, as I’ve estimated with my finger.
It’s common sense, but I’ll nonetheless point out that by merely sanding the majority of the paint layers away the blemishes greatly diminish as well. My decision was one of using a filler on the blemishes or simply a few coats of hi-build 2K primer.
After sanding to this point, I decided that a few coats of hi-build primer should do the trick. And of course I wanted to be able to see the blemishes to focus my efforts on them, but also remove as much of the cheap black paint as possible. So that was my next task.
I then shot a few rounds of hi-build 2K primer in the blemishes and a good 4-5 coats on the inboard canard root to fill that significant dip. The 2K primer needs 4-6 hours to cure before sanding, unless you force cure it with heat. Thus the heat lamps under the canard, which knocked the cure time down to 2.5 hours.
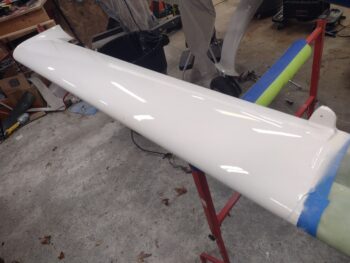
It was in the mid-60s when I shot the seal coat on the right canard top, but the temp was falling fast as evening set in. We are supposed to have a good amount of rain this coming week, so I wanted/needed to get this done today.
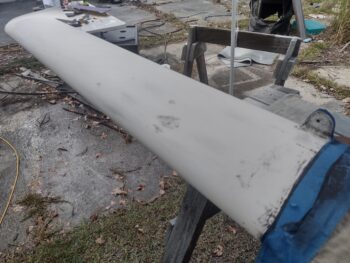
By the time I shot the second and last coat of white paint, the temps were in the 50’s, so I employed the heat lamps again for about 45 minutes before moving the canard into the shop.
As you can see (or probably not actually! ha), the paint turned out pretty darn good and the divots are all gone.
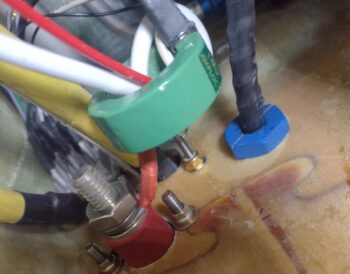
I then turned my sights on repairing my GRT Hall Effect amp sensor for both the primary alternator and back-up alternator leads. I added wet flox to the sensor before inserting it into the gap of the green “donut,” and then dabbed a little bit more flox on the outside and sensor junction with the “donut.”
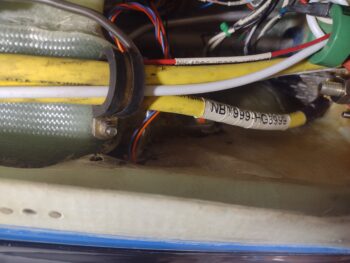
I grabbed this shot to show the alternator B-lead (bottom red connector), the battery ground cable (lower left yellow cable) with the internal hell hole ground buss (“Forest-of-tabs” left side). You can also see the big yellow starter cable and smaller diameter alternator F-lead passing through the firewall just behind and below the Hall Effect “donut.” Finally, the blue split aluminum nut center right is securing the throttle cable exiting aft out of the firewall.
I also finally secured all the major power cables in an Adel clamp I placed years ago, with the task just now getting completed!
Clearly still a myriad more tasks to do, but slowly nugging ’em out. Rock on!