
Again this post covers the last couple of days.
I started off with sanding down the white epoxy primer on the bottom of the right wing.

Next I had to deal with a delam on the left wing that I had grabbed a photo of last week when I suspected I had a bit of a high point on the wing top. After leaving the wing out in the sun for the primer to cure, I definitely saw the delam grow a good bit, only to shrink when the wing was cooled down.
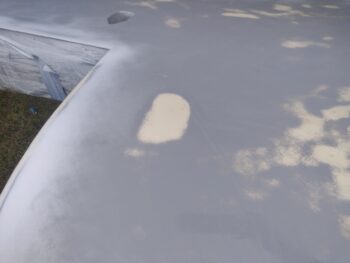
After quarter-tapping the wing top I confirmed that I did have a delam (better now of course than after final paint). Since I wanted to do a final white epoxy primer coat on the topside of the left wing before flipping it inverted, I went ahead and drilled and injected the delam.
My buddy Guy Williams was just arriving to help me out during this process, and he assisted me running a tie-down strap over the delam and a couple pieces of wood, with weights on both sides. I then added a lot more weight on top to ensure the delam’d glass was fully compressed onto the underlying wing foam.

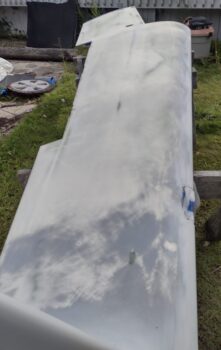
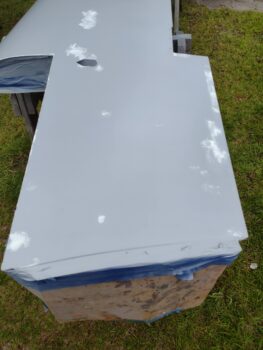
I grabbed this shot late in the evening after I pulled the weights off the delam repair, but it shows the right wing (foreground) off of the elevated dolly and sitting upright on sawhorses. Guy had helped me do the final wet sanding of the bottom primer on the right wing before flipping it over and off the dolly.

Throughout the day I had been filling divots and pinholes on all the components I shot with gray epoxy primer yesterday. I then sanded down the Icing filler before shooting some areas that needed a little build up with 2K high build primer.
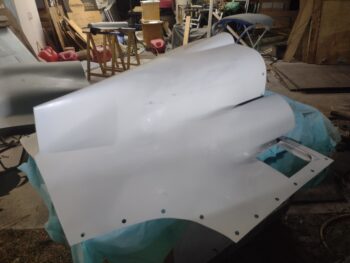
Here we have the top cowling, ready for another round of sanding tomorrow before I final coat of epoxy primer.

And the same thing with the bottom cowling.
The aft nose/avionics cover shot in 2K primer after pin holes and divots were filled with Icing filling and sanded.

I also did a good bit of filling and sanding on the RAM air scoop/hell hole cover before shooting it with 2K primer as well.

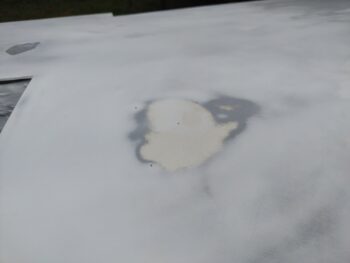
I then lightly wet sanded the top of the right wing (pic 1) to prep it for its first coat of gray epoxy primer (pic 2).

I also popped the taped wood circle off the top of the left wing delam repair (pic 1) and then cleaned up the wing surface (pic 2).

After the right wing top epoxy primer cured, I used the Icing filling to fill in pinholes and fill small divots.

And then wet sanded it in prep for its next coat of epoxy primer (white this time).


I shot the white epoxy primer on the right wing top, but didn’t get a pic of it since it was dark outside when I finished. I’ll grab a shot of it tomorrow in the daylight.