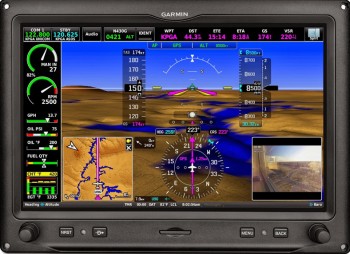
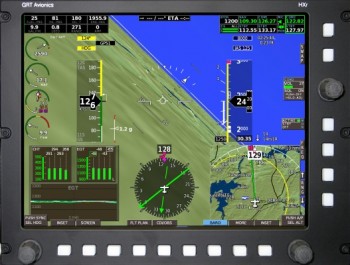
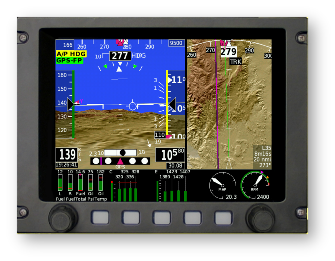
After squawking about the new Garmin G3X Touch being too expansive for my wee panel, I decided that I should thoroughly investigate it to ensure I wasn’t missing anything important. So this past weekend I again built a matrix to compare all my EFIS options to ensure that I’m getting the best capabilities, cost benefits, and of course weight efficiency out of my EFIS that I possibly can. Thus, I did a runoff betwixt the new Garmin G3X Touch, threw the close-sized GRT HXr 10.4 back into the mix, the GRT HX 8.4, and GRT HX 6.5.
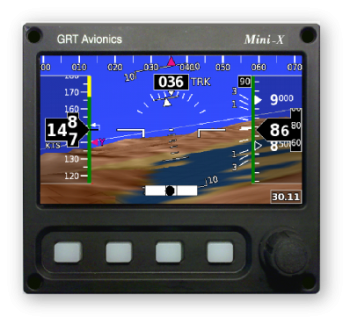
I then began to tally up all the weight, cost & current draw of all the components required to give me the capabilities I’m looking for in an EFIS system. Something to note that in all of these configurations is that the second-screen MFD and back-up PFD is the GRT Mini-X.
I was surprised as I tallied up the prices that the cost difference between the Garmin G3X Touch and the GRT HXr was less than a grand. As I trudged along in looking up component weights, and with things still looking comparable between the two systems (of course giving a slight performance edge in touchscreen simplicity to the Garmin), I hit a fairly significant snag. It appears that Garmin’s remote transponder is a robust bubba, weighing in at over 3.4 pounds with an installation depth of over 11 inches. The weight on this one transponder helped get me back to reality, realizing that I was comparing the big heavy guys, when once again I was getting plenty of capability with the smaller, very capable “little guy” EFISs that were much lighter and offered much more panel space … and thus configuration options. So once again, although tempted by cool colors and touchscreens, I dumped the big EFISs to return to smaller, lighter and more efficient.
One thing that came out of my EFIS comparison, was that I took a hard look at my allowable space BEHIND the instrument panel. I pulled out the plan’s A-pages to measure out clearances and I had a true Doh! moment. Albeit initially (Fall 2012) I had been verifying clearances behind the panel with cardboard mockups, since then I had been rearranging, adding, removing and modifying my avionics/instruments with apparent reckless abandon! The result was that I was placing components in position on the front panel with assumed clearance behind the panel.
To remedy my ways, I gathered the physical data for the displays, avionics, instruments and components all going into the panel. I clearly needed to deconflict my behind-the- panel space requirements to match what I could have on the front of the panel. I will say that I attribute this epiphany in part to Nick Ugolini since I found while reviewing his blog that he had run into this snag while redoing his instrument panel.
A significant focus in this effort is of course the area immediately behind the lower right side panel, since the elevator control rod must have free reign in its movements. I had stacked up my GNS430W/GTN650 over on the right side, having failed to verify it’s clearance with the elevator control rod, and then even added a couple of other rather deep instruments to boot. I’m glad I found it now, but I admit it was not the most optimized planning on my part.
The result of all this was a trip back to the proverbial drawing board. I got out my cardboard cutouts and begin putting all the “new” puzzle pieces in place. The result is something along the lines of this:
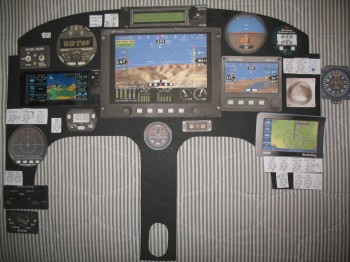 Again, I will make note that this is still a work in progress, but at least now I am very cautious about my specific clearances behind the panel. In the back of my mind I thought I was doing this, but pulling out the actual plans verified and confirmed how little space there actually is behind our panels in these birds. And of course we all know what assumptions get us!
Build on!

I happened upon your web site. I thought you might like to see a similar panel upgrade I did on my Long-EZ.
http://www.rocket-boys.com/panel.htm
That’s a great looking panel! Thanks for the link. And the ideas! :)