
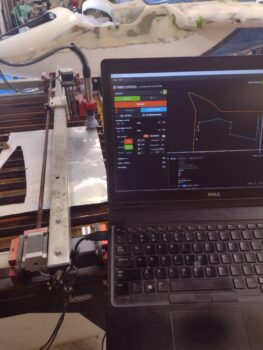
Last night I prepped my plasma cutter and plasma cutting table to allow me to start cutting metal parts. I had a little bit of a hiccup with my configuration since I had used my plasma cutter off the table and needed to do some digging in the manual to get the cabling correct.
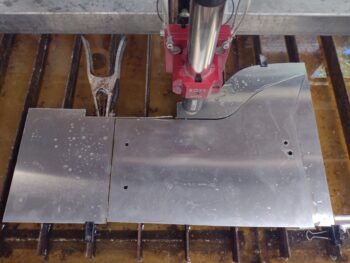
Once I got it all cabled up correctly, I then set up to plasma cut the right CS spar “wing” and shoulder overlay out of a 0.02″ thick sheet of 6061.
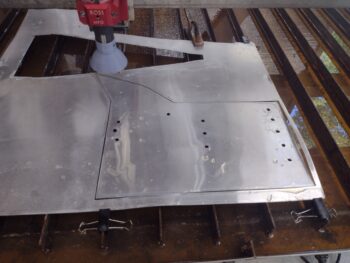
Here’s the result of that plasma cutting job.
At this point in the day my house AC parts were delivered, so I spent the next couple of hours installing those. Thankfully it appears to have resolved the issue, and my house AC is once again up and running. We’ll see how long it takes to get the in-house temp back to normal from the current 95°.
I then test fitted the right CS spar overlay, which after some minor tweaks fit very well.
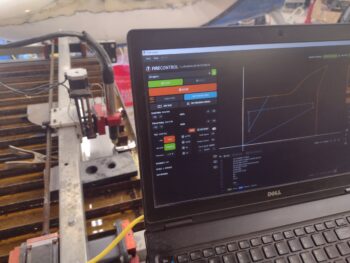
I then set up to plasma cut the left CS spar overlay out of a 0.032″ thick piece of 6061 aluminum.
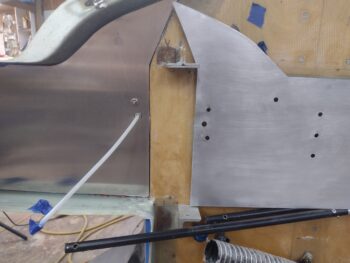
And here is the freshly cut out left CS spar and shoulder aluminum overlay.
I then test fit the left CS spar/shoulder aluminum overlay, and it fit a treat. Note the finish on this piece of aluminum, which is pretty good.
However, the right side overlay had water spots and blemishes on the face of it that would not come off with Simple Green, Acetone or white vinegar. I then tried wet sanding it up to 2500 grit sandpaper before buffing it out… unfortunately it still looked like crap.
Now, my preference —and plan— with these CS spar overlays was to simply cut them, clean them and then mount them.
But I just didn’t want to install an overlay that had some very visible blemishes, so I bit the bullet (and spent 30 minutes looking for my sanding disk) and engine turned the right CS spar/shoulder aluminum overlay.
I then put it in place to grab this shot to show how the engine turning looks before installing it.

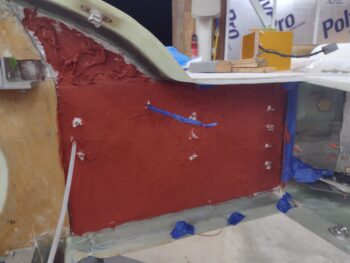
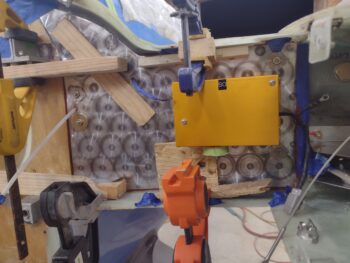
I then removed the overlay and slathered up the Fiberfrax and Thermo-Tec shoulder with red hi-temp RTV.
I then applied red hi-temp RTV to the aluminum overlay with a notched trowel (I was rushing, so no pic) and then attached the overlay to the Fiberfrax/Thermo-Tec on the right side.
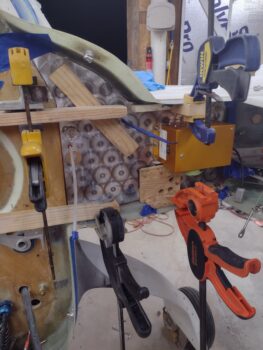
I temp installed the autopilot roll servo along with wide washers onto all the Clickbonds. I also clamped pieces of wood in various spots with wedges to keep the aluminum overlay firmly pressed into place while it cured.
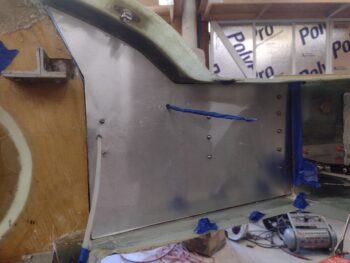
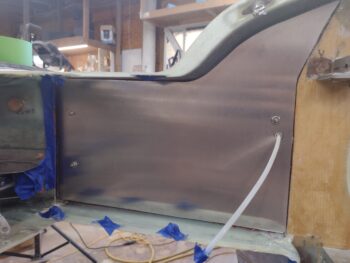
Here’s another shot of the installed right CS spar/shoulder aluminum overlay.
Tomorrow the plan is to engine turn the left side aluminum overlay and get it installed, after which I’ll start working on the forward wing root forward heat shields.
Yep, pressing forward… just not as fast as I’d like.