
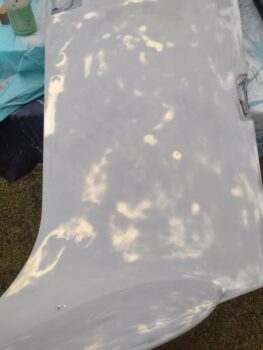
I started off today wet sanding the gray epoxy primer on the bottom of the left wing. You can see on the inboard side (pic 1) the swirl that resulted from repairing yet another delam a while back. On the outboard side (pic 2) there is a fair bit of micro showing through, which means as thin as the epoxy primer coat is, there is a good bit of leveling and smoothing occurring with each epoxy coat (1 gray/2 white) and each round of sanding.
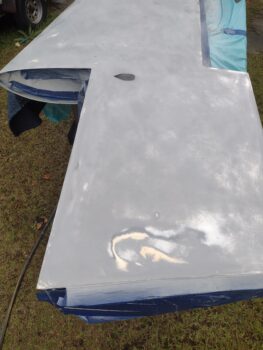
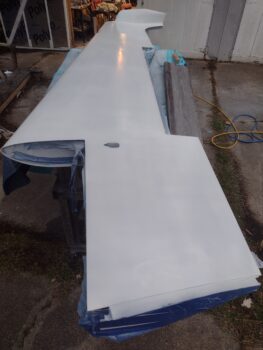
With the first epoxy coat (gray) sanded, I prepped and shot the second coat of epoxy primer (white) on the bottom of the left wing.
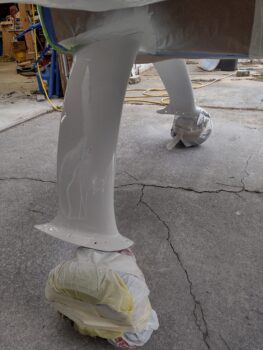
Last night I had spent a good bit of time taping up around the main gear’s top intersection fairing on each side. Today I finished the prep and then rolled the fuselage outside to shoot the gear legs with white paint.
They say that a nice glossy paint job is when it is right on the verge of running, and my gear legs looked pretty darn good … ahem! But I did have a few distinct runs that I had to fix at this point before it dried (what a royal PITA!).
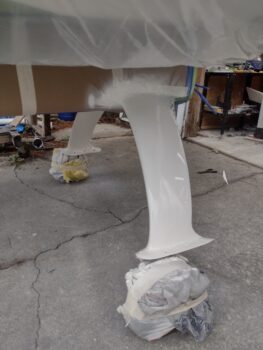
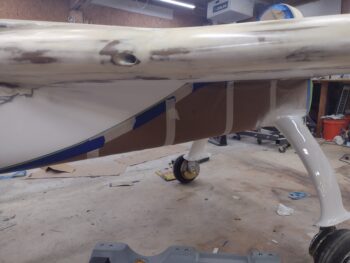
Another shot of the painted gear legs and the taped up blue and black paint on the bottom of the fuselage.
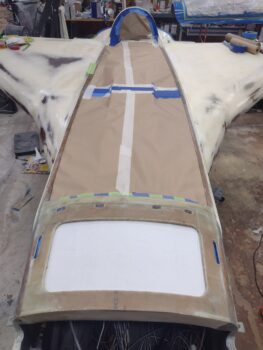
I then finished taping up the top of the fuselage and nose, getting the cockpit bits buttoned up for the ensuing primer and paint.
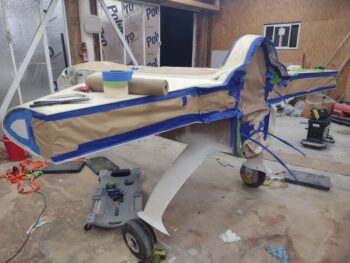
Here we have the strake ends, CS spar and firewall taped up for primer and paint.
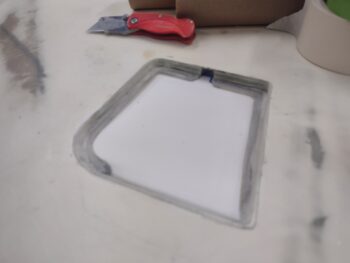
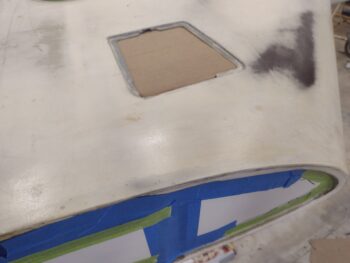
And also the left (pic 1) and right (pic 2) strake storage compartments buttoned up, so that just the door flanges will get primer and paint.
I know I said that I was done shooting actual paint. However, with the amount of work and time it took to tape everything up on the fuselage, strakes, nose, etc. I decided to PRESS FORWARD on the fuselage and strakes and finish it to paint. I DO NOT want to go through this goat rope again, especially on a flying airplane!!
Get ‘er done!