This post covers the last couple of days… and yes, my man cold is persisting. Thus, I’m still “pacing” myself and taking more breaks than I normally do during a work day.
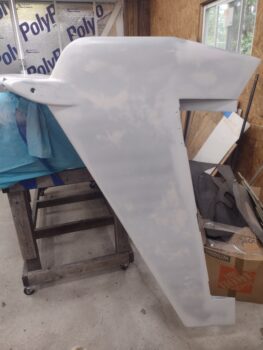
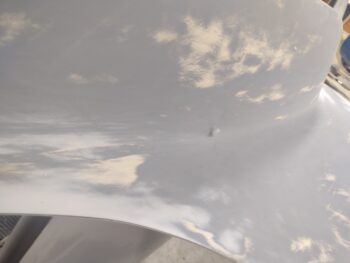
I started off by shooting white epoxy primer on the complete outboard side of the right winglet and only the top portion (below the inverted wing) of the inboard side of the right winglet.
I may have shot another coat on the winglet, but it turned out that I only had enough in the cup for a single coat on all my targets, with just a bit extra to hit some of the light areas (i.e. not covered by gray primer) showing through.
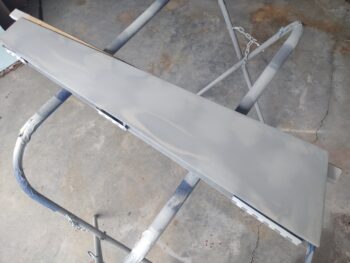
That being said, I shot the inboard side of the right rudder with a single coat of white epoxy primer.
I’ll note that these light coats are very acceptable, as after the white epoxy primer is applied I’ll only be using 320 & 400 grit sandpaper to minimize scratches in the primer so they won’t show up in the final paint.
Plus there’s always the concern about weight: the bare minimum coverage here being the goal.
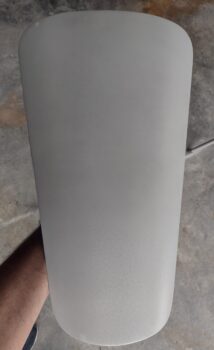
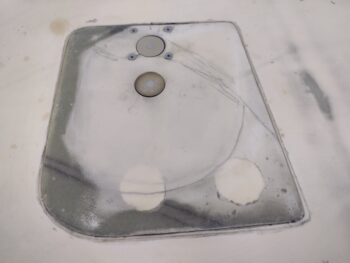
Finally, I shot the nose hatch door with 1 coat of white epoxy primer. I’ll make another note that on this guy in that I would have been perfectly fine with going straight to the blue topcoat paint over the gray epoxy primer, except that I filled a number of divots with the Icing putty, which should have a sealer coat over it prior to topcoat. Thus the white epoxy primer.
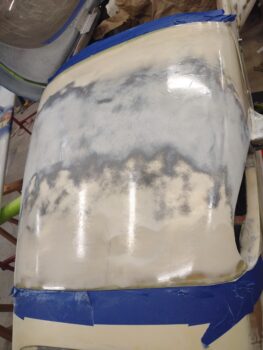
Back on the fuselage —which I’m trying to finish up to get it to primer/paint— I finally got the added, added, added micro (there was even another slight micro fill required from what I last reported) contour sanded and epoxy wiped… 4 coats of West epoxy.
Now, there is one more task before I get to primer on this guy. I have to install the canard and do the final bottom edge fill at the openings of the cover to minimize the gaps (and thus unwanted air blowing into the cockpit) between cover and canard top profile. That is a priority task and should be in one of the next few that I do.
After having just noted a priority task above, a somewhat sideline task that I had not thought much of at all during this build is the rudder pocket drain hole. . . until I started wet sanding the left wing. I kept finding the rudder pocket full of water and the only way to remove the water was to sop it up with a rag or paper towel. It made me realize how much water could be in that pocket if the bird happened to be out in the rain overnight (say, at a fly-in).
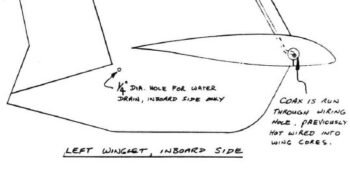
Here’s the High Speed Rudder plan’s depiction of the rudder pocket drain hole:
I didn’t do the 1/4″ drain hole, but rather a 3/16″ hole. I then went rogue even further by using a 1″ piece of 3/16″ Nyla-flo (1/8″ ID) micro’d into place. I used the Nyla-flow since with the winglet intersection fairing fillet it’s about a 3/4″ thickness between inside rudder pocket to exterior skin. I figure water will find its way out even with only a 1/8″ diameter exit.
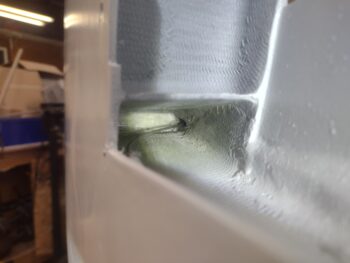
Here we have the inside of the left rudder pocket with the Nyla-flo just peeking behind the right most visible rudder cable before it goes into the wing end. Of course this was just for this pic, afterward I pulled the Nyla-flo outward so that the top edge was just even with the rudder pocket floor.
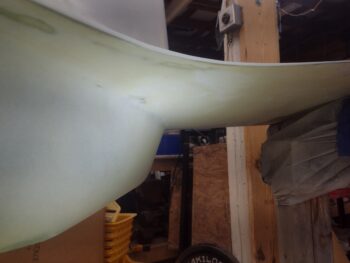
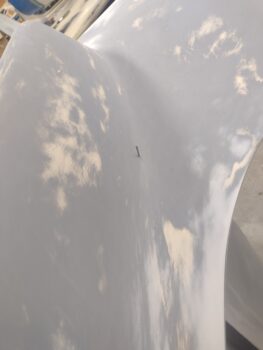
I then did the same thing on the inverted right wing. Here is the initial small diameter drill bit sticking out of the wing-to-winglet corner intersection in the fairing’s filet.
And here is the Nyla-flo peaking out. I had a pic of the inside as well, but it turned out very blurry, so no joy on that. Also, I will NOT be leaving any Nyla-flo exiting the surface, but will trim off the excess once the micro cures.
I also finally got the left strake hatch door Hartwell button latch installed in place with cherry pop rivets. After the many machinations of getting the top contour and height of the door dialed in, it took a good 20 minutes of sanding the button holes to get the latch to fit right and level with the door. It’s still not 100% perfect, but definitely good enough to not be egregious and still function completely as designed.
Ok. A lot more sanding, filling, priming, painting to do… but slowly getting there!

