
This post covers the past couple of days.
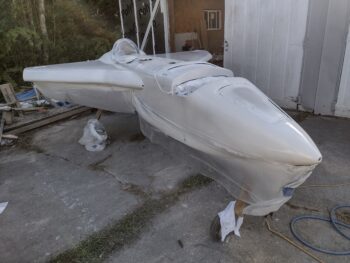
First off, I spent many, many hours refining and cleaning up the surface of the fuselage, strake, nose, etc. It’s amazing what all is hidden from view (or even feel) once you lay down a solid color of primer or paint. Yikes! So many surface imperfections that needed fixing.
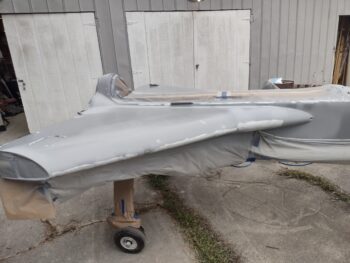
So what I had planned for as an early morning shooting of white epoxy primer, due to all the above machinations of filling and repairing, not to mention a full wet sanding of all the gray primer areas —along with repositioning all the tape down/aft a good 1/4″ to eliminate a hard edge buildup— had turned into a late afternoon white epoxy primer shoot.
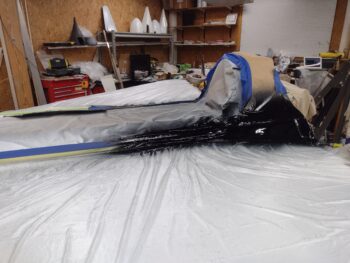
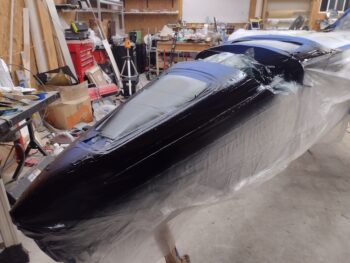
Here we have (FINALLY) the bird ready for epoxy primer coat #2.
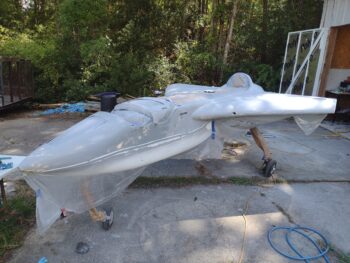
Which I shot in 2 medium coats.
It’s amazing (to me at least) how much different, even refined, the bird looks in white primer… although I love me some tactical gray!
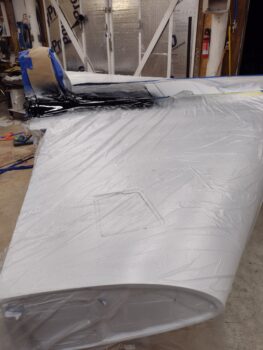
Way later in the evening I had tried to see if the primer was ‘tape ready’ and all my initial tests were good, until actual no-kidding application. When I went to reposition the Fine-Line tape for my black stripes, it pulled a tiny patch of white primer up with it… creating a couple 1/4″ diameter divots. Ugh!
With only a bit more minor damage, I did get both the aft nose cover and top cowling mounted in place, and taped the black stripe features up on those… but again, NOT on any white primered areas.
The next morning, after a full night’s cure, I then got to work taping up the white primer areas for the black accent stripes.
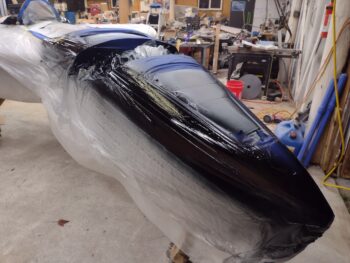
Wow! Again what I thought would be 1-2 hours of work turned into over 4 hours of work once all was said and done. I had really had to get this right since the black stripes, the separating border between the blue and white paint, really is the linchpin for the whole design… it took a good extra hour or two to get them nailed down.
So early evening I finally got to shooting black paint. Here we have the left shoulder swoosh painted black.
And the same on the right side.
And the nose stripes both on the right (pic 1) and the left (pic 2). Those of you with an eye for detail may note that I’m carrying the blue center field and black accent stripes to the nose SUB-structure (under the aft nose/avionics cover) for some hidden bling… yes, took an extra 20 minutes to tape up those stripes (worth it!).
When loading my pics I realized that I had forgotten to grab shots of the top cowling and aft nose cover black stripes. Probably because I shot those out under the carport, so out of sight, out of mind. But those are done as well.
Tomorrow I plan on knocking out the gas cap installs into the strakes. Jess had me busting out laughing when she asked how my “gas-holes” were coming along.
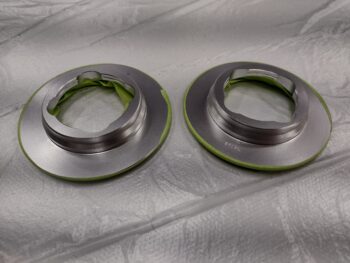
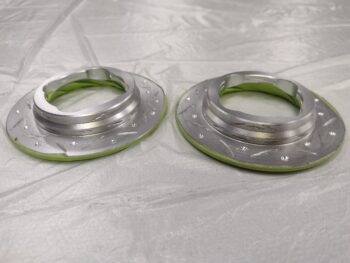
Here is the underside of the gas cap collars/retaining rings, with the original clean undersides (pic 1), and then after I Frankensteined them with Dremel grooves and drilled divots for extra flox grippage (pic 2).
Again, another very late night, so with the “gas-hole” collars ready for install, I called it a night.