
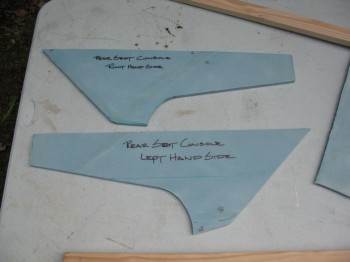
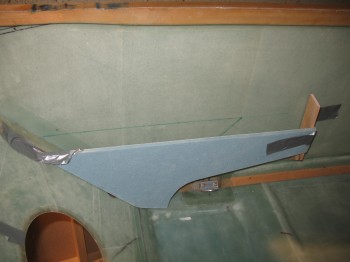
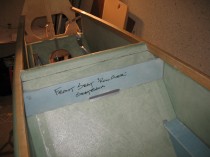
I pulled the foldout table outside and cut up the 3/8″ foam sheet into Chapter 16 Right-hand side panels, Chapter 24 Left-hand side panels, and Chapter 8 Rollover structure base (front seat back cap). First, I cut the Left rear console (You may notice that the Left rear console is not per plans. Instead of making it more like a basic triangle, I made it a mirror of the Right rear console).
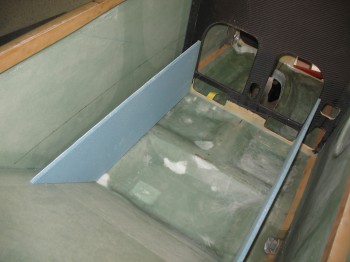
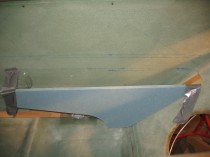
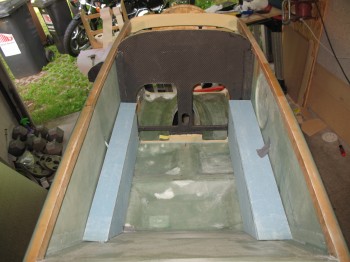
 I mocked up the sides of both front seat consoles.
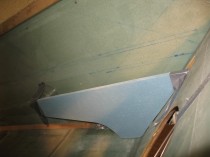
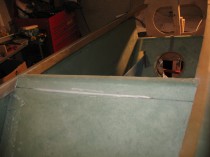
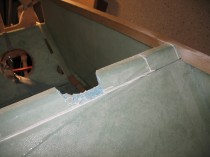
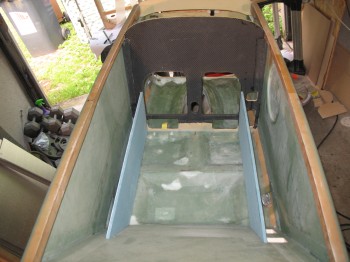 Then I turned my attention to the rear seat consoles. It took a little bit of time fine tuning the angles, mainly between the rear seat back and console junction.
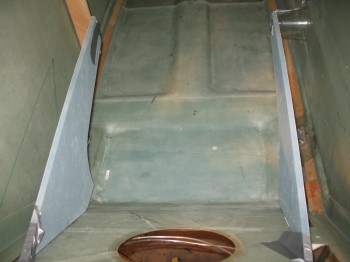
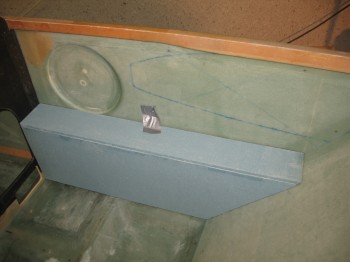
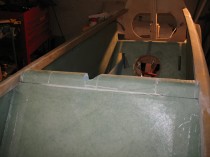
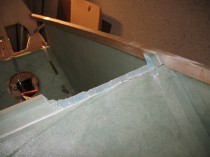
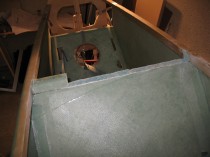
After I got the sides of the consoles fitting decently, I cut the tops and checked out how those fit. Grant it, I had to take into account that their sides are straight and the fuselage walls are curved, so their fit obviously wasn’t exactly like they will be when ready to install.
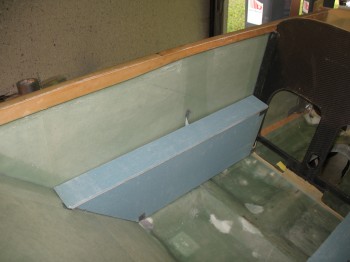
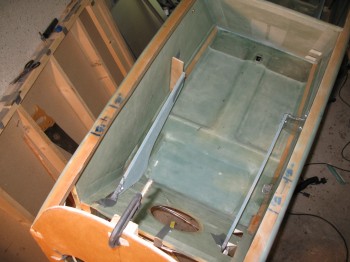
 The front console sides are wedged in nice and tight, so mocking up the tops are no problem. However, the rear consoles are jury-rigged in place with tape, so even though I did a cursory check, I didn’t mock them up like I did the front… or take any pics.
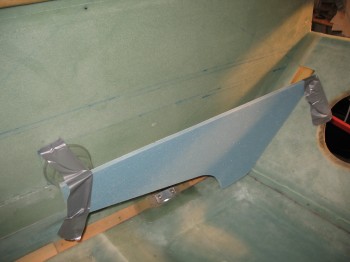
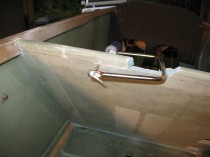
My next task of the day was to figure out the top of the front seat back. I don’t plan on using the traditional fiberglass triangular head rest / “rollover” assembly. I will however, have a base underneath whatever rollover structure I install, so I made some cursory mock-ups of the top cap for the front seat.
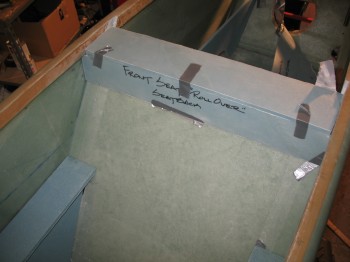
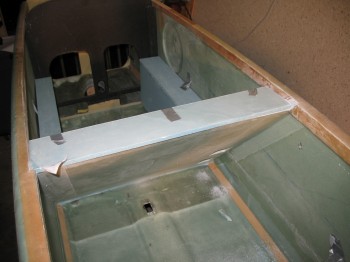
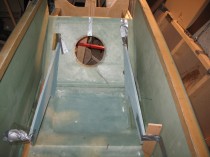
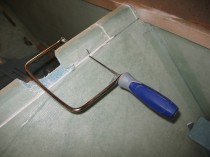
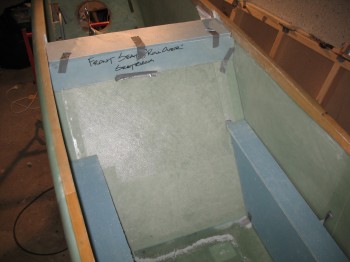 After playing around with the front seat top cap (“rollover” structure base), I realized that no matter what, the front seat was going to be too high. It needed to come down at least 1.0″. A few more times looking at it and trying out different variants of a top-of-the-seat structure definitely convinced me that the seat back needed to be shortened, so I broke out the battery powered Skilsaw and a coping saw.
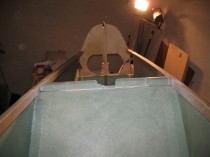


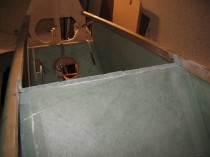
Although it was tough tearing into the first actual piece of this plane that I made, I feel that it had to be done and that the base for a metal rollover structure can be glassed in right under it.
With my consoles mocked up and my seatback cut, I’m done with my temporary diversion and am ready to start back in order with the plans. The next task up on the order of battle is the Main Landing Gear. I had been reading up on the landing gear build steps in Chapter 9, so I was ready to get moving on the first step, which was cutting glass for the gear legs. And I don’t mean SOME glass, I mean A LOT of glass. 16 pieces all told at 30-40°across the whole width of the UNI roll.
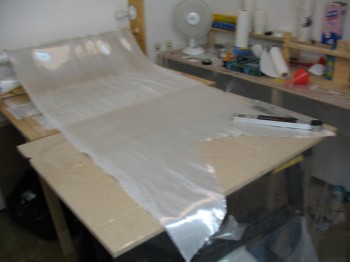
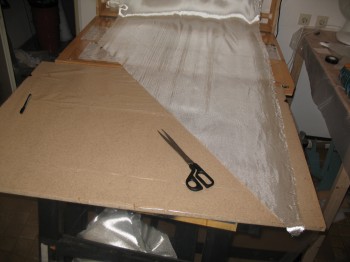
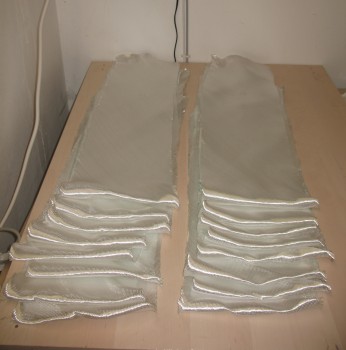

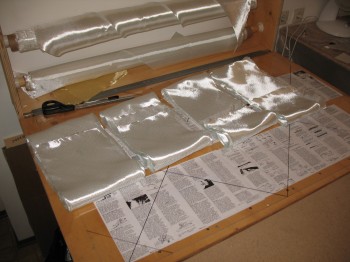
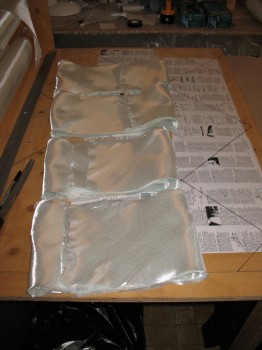 The final tally is 4 sets of 4 each UNI strips, 9″ wide at 30-40°.
In addition, I restocked all my glassing consumables: epoxy, hardener, micro & flox.