
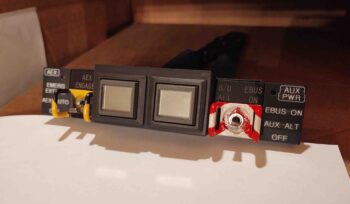
I actually knocked out the labeling of the Warning Sub-Panel last night after I uploaded my blog post. Today I clear coated it a number of times as I was working in the shop.
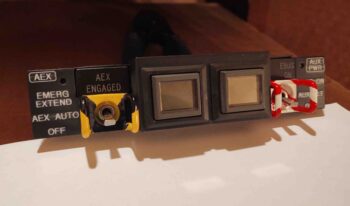
The labels aren’t perfect, even with the clear coat, but since these pics were taken under glaring lights and this sub-panel will be in a more subdued lighting situation under the glare shield, I think they’ll work ok. Admittedly, it is making me rethink the labeling of the instrument panel.
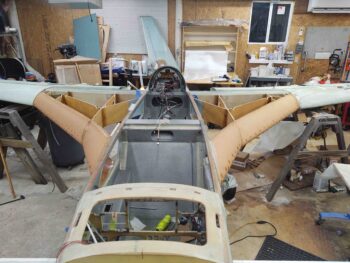
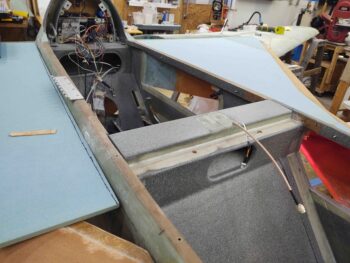
After 2.5 days of cure time for the right strake I removed the cross bar and almost all the securing screws. This is the first unhindered view of both left & right strake structures installed.
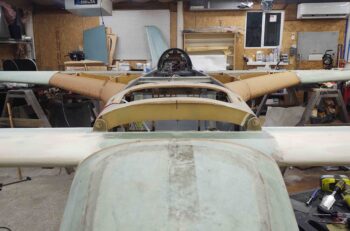
A view from a bit higher perspective to show the strake ribs and baffles.
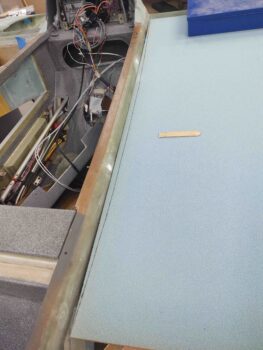
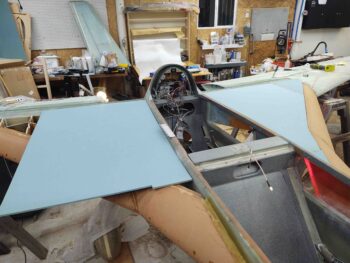
I then got to work on the left strake top skin foam. I grabbed a fresh* sheet of 3/8″ foam (*that I bought in 2011) and set it in place on top of the right strake.

I then marked a popsicle stick at 0.6″ and used it to scribe a line down the side of the longeron to capture its curvature on the top skin foam.
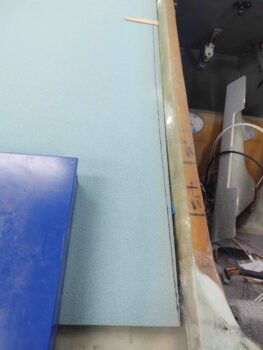
Here the line is marked and ready to be cut.
I then cut the outer piece and a small triangular piece at the very front for a grand total of 3 pieces to make up the strake top skin foam.
I then micro’d all the pieces together and left them to cure.
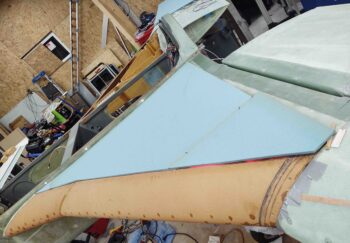
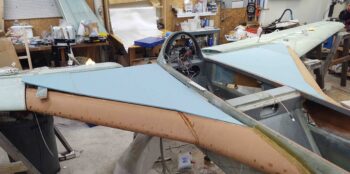
I then repeated the process on the right side.
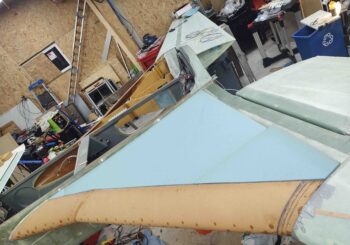
Here’s the right strake top skin foam sheet ready to be trimmed to fit.
After I fit the 3 pieces on the right side, I again micro’d them all together and left them to cure overnight.
Tomorrow I plan on glassing the underside/interior of the strake top skins and then start cutting and fitting the bottom skins as the top skins cure. If time and cure cycles allow, I’ll prep and get the T-hat rib caps laid up on at least one of the sides.