
This blog post actually covers both today and yesterday.
I pulled off the right strake top skin from the cured T-hat layups and proceeded to clean up the underside of the top right strake skin, including pulling all the protective tape.
I then pulled the peel ply from the right strake T-hats.

And grabbed a quick shot of both strake T-hats installed. Clearly the right side needs to be trimmed.
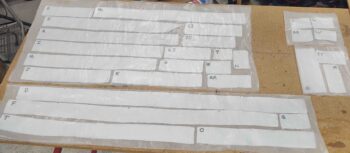
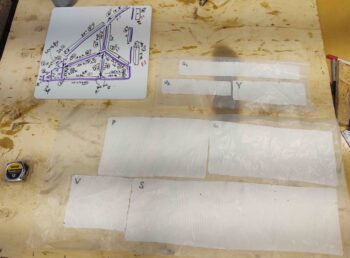
I then finished up cutting the glass for the attaching the left strake bottom skin to the strake structure. There is an amazing amount of glass that goes on to mount the bottom skin to the ribs, baffles, CS spar, side wall, and leading edge.
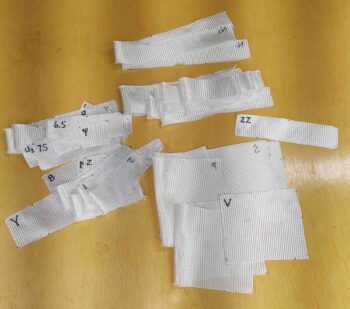
I then prepregged all the BID tapes and glass. The bigger pieces in the bottom pic are for the inboard and middle fuel tank back wall, AKA the CS spar. Also the front half of the R23 rib and the back section of the R45 rib. Essentially any major perimeter area that could use help in leak mitigation.
The entire process for securing the bottom left strake skin to the strake structure took almost 7 hours. Yeah, it was a grueling effort. One reason is that it took nearly 2 hours just to mix up and apply all the massive amount of flox needed for the aft intersection with the CS spar, the inboard edge, the leading edge, and then all the ribs and baffles.
Moreover, working UP and trying to defy gravity and keep the skin pressed tightly against all the structures didn’t prove to be that bad when I did a dry run. Then an unforeseen issue cropped up… the darn plane is so light that when I put pressure on one clamp, it ever so slightly push the entire structure up… I fought gaps for a good 45 minutes and really had to balance out and equalize all the pressures to keep everything tight. On the right side I’m literally going to hang a heavier weight off the end of the CS spar to help avoid this issue. Conversely, it is a good thing that the plane is so darn light that this was actually an issue… it just made it difficult for this task.
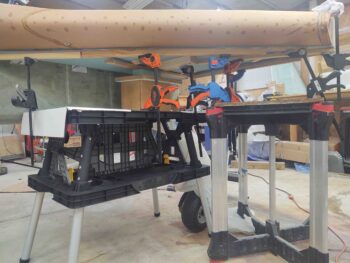
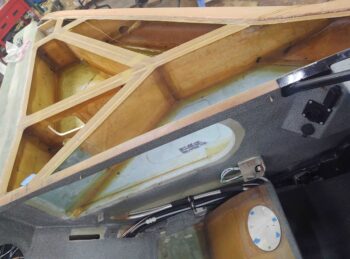
Here’s another shot of both clamps and spreaders to keep the left strake bottom skin pressed up firmly in place.
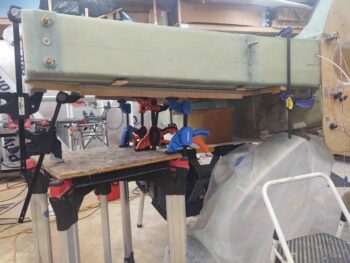
And one more shot…
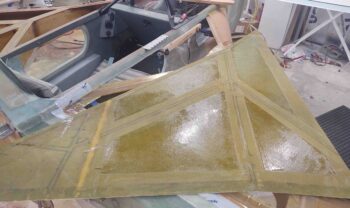
This collective of layups was just seemingly non-stop. Thus I didn’t take any time to grab shots during the process. But here’s the end result. Overall it turned out pretty darn good.
The one thing I don’t like about EZ-Poxy vs MGS is that with MGS if you find a bubble or air pocket and get rid of it, it is almost always gone. Something must be up with EZ-Poxy in how it cures that it is more prone to air bubbles. Because I spend a lot of time, with different directional lighting, looking for those darn things and they still always seem to pop up. No matter how much you squeegee and/or stipple the glass.
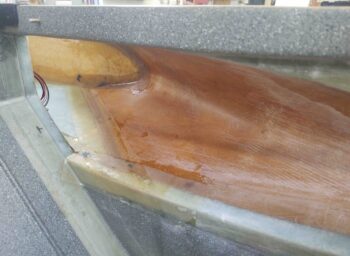
Another shot of the seam between the bottom skin core and the strake leading edge. Because I couldn’t get as much upward pressure as I wanted, I’m thinking the flox is about 0.010-0.030″ thicker than had I been able to compress it better. I’m not overly concerned about leaks, but clearly less flox equals less weight and a tighter, better seam.
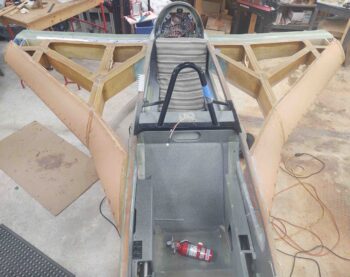
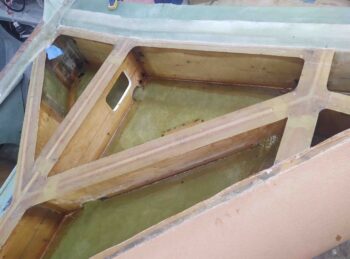
This is the main center fuel tank area.
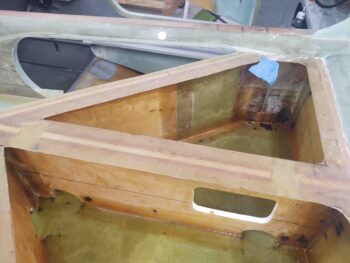
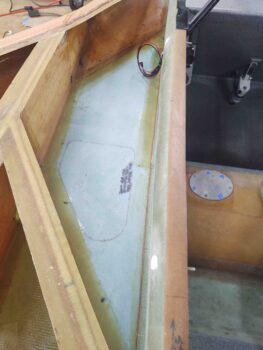
Looking into the pilot seat strake opening, with seams glassed.
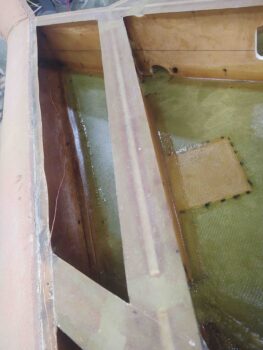
And the baggage compartment area. The one piece of glass I didn’t layup yet was the ply of BID that overlaps from the aft inboard edge of the baggage area floor over onto the bottom sidewall of GIB strake opening. The only reason is that I had 4 nails going through the fuselage sidewall into the inboard edge of the bottom strake skin… and I want to wait until the flox cures to pull those nails.
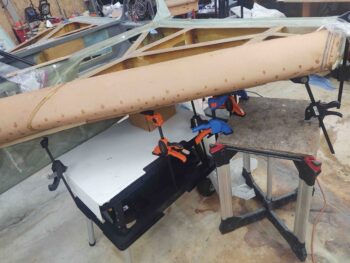
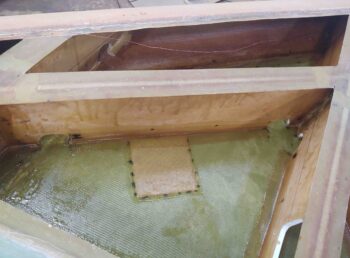
Here’s the last pic I grabbed tonight of the left strake bottom skin attach. Now that it’s done it all seems pretty cool, but I have to admit while I’m looking forward to getting these strakes completed, I am not looking forward to that right strake bottom skin attach layup!
With that, I threw some heat lamps on the left strake to keep the general area all warm and toasty while the glass cured.