
Jess and I are back from our whirlwind west coast trip, arriving back home around midnight last night.
In my push to get this bird painted, I’m employing some tricks from my buddy Nate Mullins, who I’m sure a lot of you have seen his awesome Long-EZ that he finished 10 YEARS ago! (wow, time flies!).
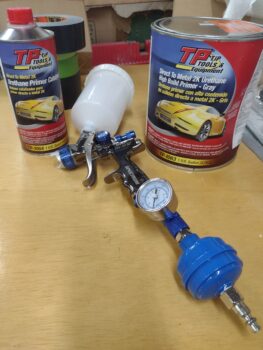
Anyway, for filling major divots, scratches, blemishes and general assistance in leveling out the surfaces being painted, Nate used a cheaper but highly rated high build 2K urethane primer from TP Tools [to be clear, this stuff is ALL he used to “paint” his bird as he flew it in just primer]. After our conversation a few years ago, I found it on sale and nabbed a couple of gallons of it. Here it is with my 1.7 tip gun that I’ll be shooting it with.
Now, I know the gurus on high and the purists would/will excoriate me once they find out I’m mixing paint systems… and that I’m not going with the the only “authorized and acceptable” paint system mix: Awlgrip epoxy primer with Emron paint. But I’ve talked to a number of very knowledgeable paint ‘gurus’ and they have blessed my “plan.”
I’ll start off by noting that most of this 2K epoxy will be sanded away and only the bit remaining that is filling in the blemishes will be left on the parts. Any further blemishes will be filled with a compound prior to the final coat before paint, which will be a white epoxy primer coat.
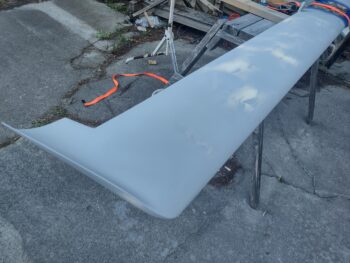
Here we have the low spots and blemishes on the top left of the canard shot with 2-3 coats of high build 2K primer.

And here is the right side of the canard, again with the low spots and blemishes shot with 2K primer. I also did the underside of the canard as well, but alas, no pics this go around.
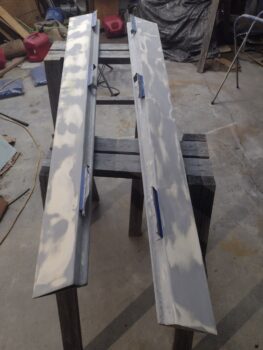
Here we have the OUTBOARD of the left elevator and the tops & leading edges of the elevators shot with the high build 2K primer. Again, most of this stuff will get sanded off.

But out of curiosity, I checked both the left and right elevators’ top contour… looking pretty darn good.


Here have the tops of the ailerons prepped for the high build 2K primer (pic 1). See all those light areas? Those are the high spots, so when I sand these again the surfaces will be much more level. I then shot the TOPS of the ailerons with the 2K primer (pic 2).
I’ll note that the bottoms of the elevators and ailerons are not getting the 2K primer and are all ready for the final seal coat with white epoxy primer before final paint (1 coat for bottom surfaces).

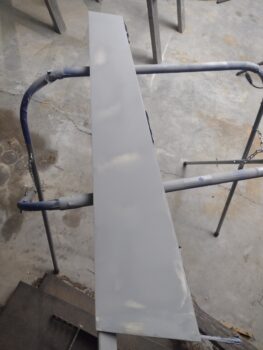
Here we have the INBOARD of the left rudder hit in just a few areas (top & TE mainly) with 2K primer.
I also spent almost half an hour sanding the bottom cowling, and plan on hitting that with the 2K primer tomorrow.
Pressing forward!