
Today was first about getting the Newton fuel filler caps installed into the strakes.
And of course what I thought would be an hour or two job turned into about a 4 hour job, with the first hour or so simply measuring everything out to make sure my gas caps were in the correct spot on each strake… and symmetrical to each other.
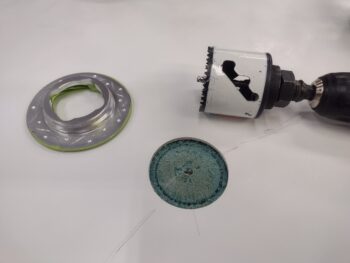
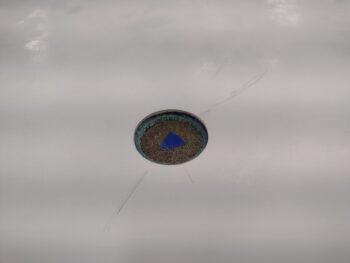
The inner steps on the mating side of the gas cap ring is 2.5″ on the top ring, then 2.25″ on the bottom ring. So obviously I used a 2.5″ hole saw for my initial cut, just to get through the top skin into the underlying foam.
After popping off the skin piece to expose foam, I then used the 2.25″ hole saw to drill the inner hole. This is show on the right (pic 1) and left (pic 2) strake.

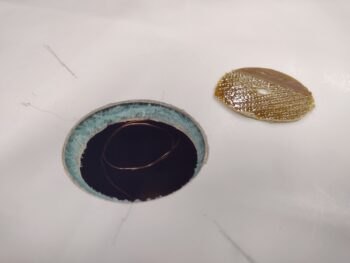
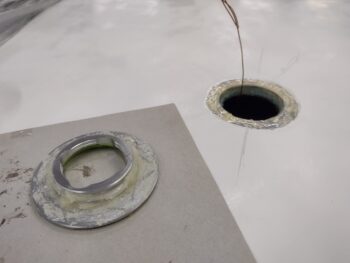
Here we have the inner hole cut all the way through the inside fuel tank skin on the right strake (pic 1). Of course I had the shop vac sucking up the debris during this op. Note that you can see the grounding wire just inside the hole (I didn’t stage this. It’s exactly as I found it!).
I stopped short of drilling the inner skin out on the left side to allow me to prep the perimeter strake top for mating the gas cap ring when I flox it in place… see below.
Here is the left side, where I carefully cut the inner hole after use the Dremel drum sander bit to remove most of the top strake paint.
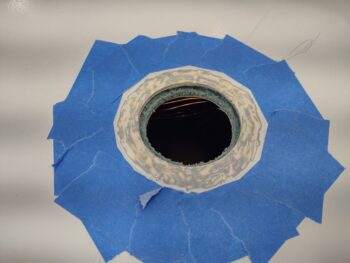
Here we have both right and left “gas holes” prepped for the gas cap rings to be floxed in place.
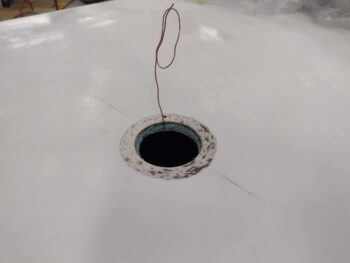
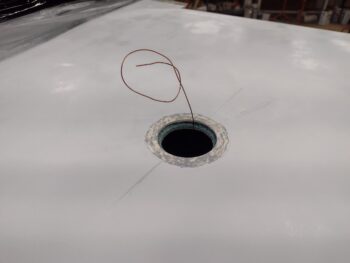
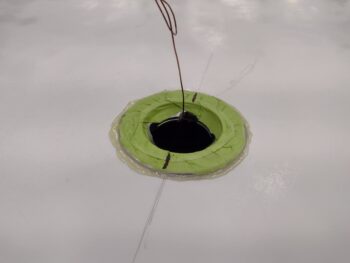
Ahhh, speak of the devil! Here we have the right and left gas cap rings and “gas holes” floxed up, ready for mating.

Here is the left side gas cap ring initially floxed in place. Of course I cleaned up all the excess flox both around the perimeter and inside the tank around the mating edges.
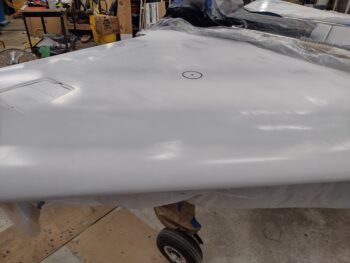
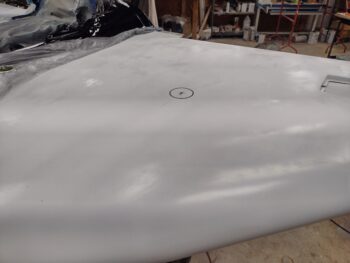
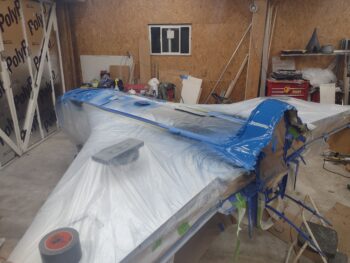
I weighed down the floxed in place gas cap rings and spent another few hours prepping the bird for its blue paint down the center: the nose, nose sub-structure and turtledeck.

Another shot of the blue centerline paint on the fuselage.
Pressing forward!