
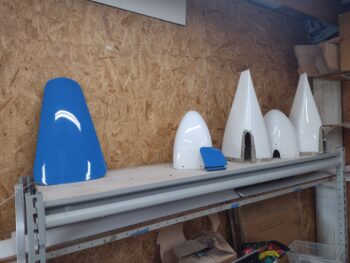
Today I started off by removing the plastic sheeting that covered the entire bird while I shot the blue paint on the turtledeck, which you can see here turned out pretty darn good.
I then removed the weights and the tape from each of the floxed-in-place “gas-hole” rings. Which are looking nice and spiffy as well.
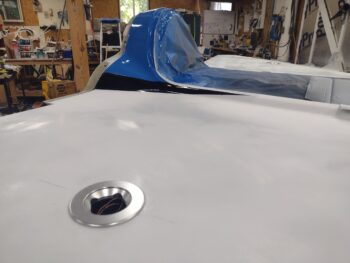

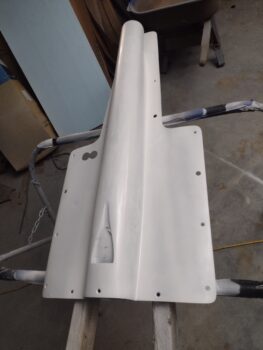
I’ll be honest when I look at the pic above and below, it’s hard to tell initially whether the white is primer or paint, obviously fairly close in appearance… with the white being just a bit more bright.
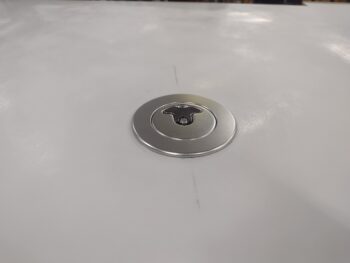
Here I popped in the gas cap to test out the install. I’m very pleased with how these turned out.
 And here’s the nose and aft nose sub-structure blue paint. Again, looking pretty darn spiffy, as far as combat painting goes (yes, there are a few bugs and dust in the paint… moving on!).
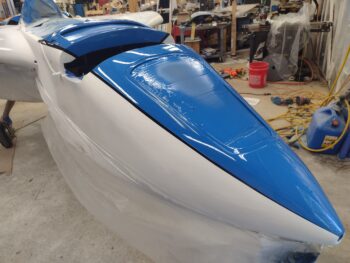
And a shot of the blue nose, with black stripes on each side. I am digging how the color scheme is coming along.

Here’s a shot of both the nose hatch door and the top cowl oil check door painted blue. I painted the nose hatch door under my carport, which I’m noticing has a lot more dust and bugs than just outside the front of the shop. Thus, I won’t be painting anything under the carport anymore.
Here is the RAM air scoop that I spent ANOTHER good hour sanding after another round of Icing filler to get the surface uniform and smooth. I then hit it with a coat of sealer before painting it blue (blue paint pic coming tomorrow).
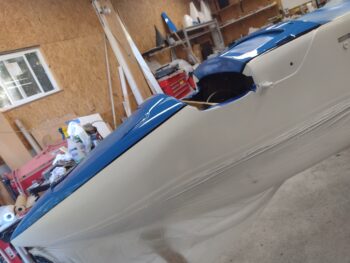
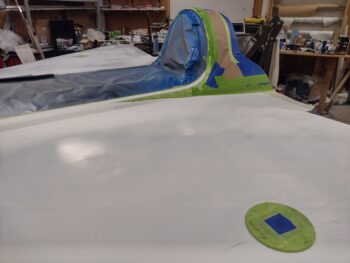
I then spent another couple of hours taping up the gas-holes and every bit of black and blue paint on the fuselage in prep for white paint. Here we have the turtledeck and shoulder stripes taped up.
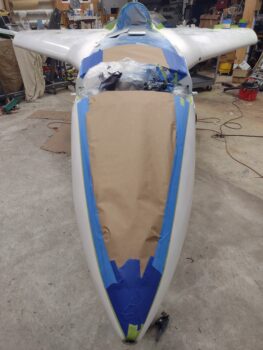
And the nose and substructure blue and black paint taped up for the final white paint to be shot tomorrow.
It was quite late, so I called it a night.