
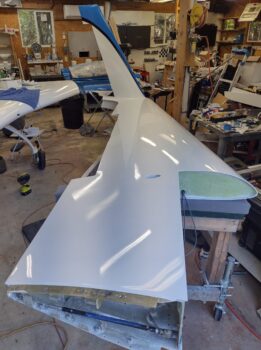
Starting off, here we have the painted left wing with all the protective tape removed from the winglet, wing root, etc. Also, note the Thermo-Tec heat shield applied inside the wing root.
Today was quite the busy day on the firewall and inside the hellhole.
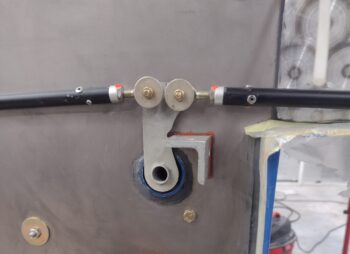
I started by touching up the black paint on the aileron control rods, then permanently installed them onto the CS124 bracket. In turn, I then installed the CS124 bracket into the firewall-attached bearing sleeve before bolting it to the internal control tube (inside hell hole) with an AN3 bolt as per plans.
With the aileron control system in place, I then installed the “Forest-of-Tabs” ground block inside the hell hole. On the bottom of the this ground tab block is a 5/16″ brass thru-bolt that is the connecting post on the firewall for the engine grounding strap.
Additionally, in the stainless steel firewall pass-thru for the starter cable and alternator F-lead, I cut a a length of Nyla-flo to serve as a protective sleeve for the F-Lead. You can see that the alternator cable has a black heat shrink anti-chafing sleeve around it. Once the cables were protected from any chafing, I then filled up the gaps around the cable/wire inside the stainless steel pass-thru with gray hi-temp RTV.

I then slid a piece of orange fire sleeve over the stainless steel pass-thru extending out from the firewall, after I slathered up the inside with gray RTV. I then added a Tefzel hi-temp zip tie (not in pic) to secure it even more.

I also connected the alternator B-lead inside the hell hole to the Blue Sea (red block) pass-thru. While up inside the hell hole I snagged the leads to the GRT CS-01 Hall Effect amp sensor and pulled the sensor out of the donut. It looks easily enough to repair, but I’ll have to check with GRT before proceeding.