
Today I finalized the fuselage preparation for glassing the exterior skin of the fuselage.
While I was double-checking everything I realized that at some point I had been a little aggressive in my sanding & cutting of the foam at the back edge of the fuselage where it butts up to the firewall, on the Left side of fuselage. This past overzealousness created a small gap that needed to be filled, so I made up a foam wedge that was 0.2″ wide from front to aft, around 0.4″ deep (depth of foam in that location), and approximately 6.2″ in length from top to bottom. I then micro’d this foam wedge into place to cure.
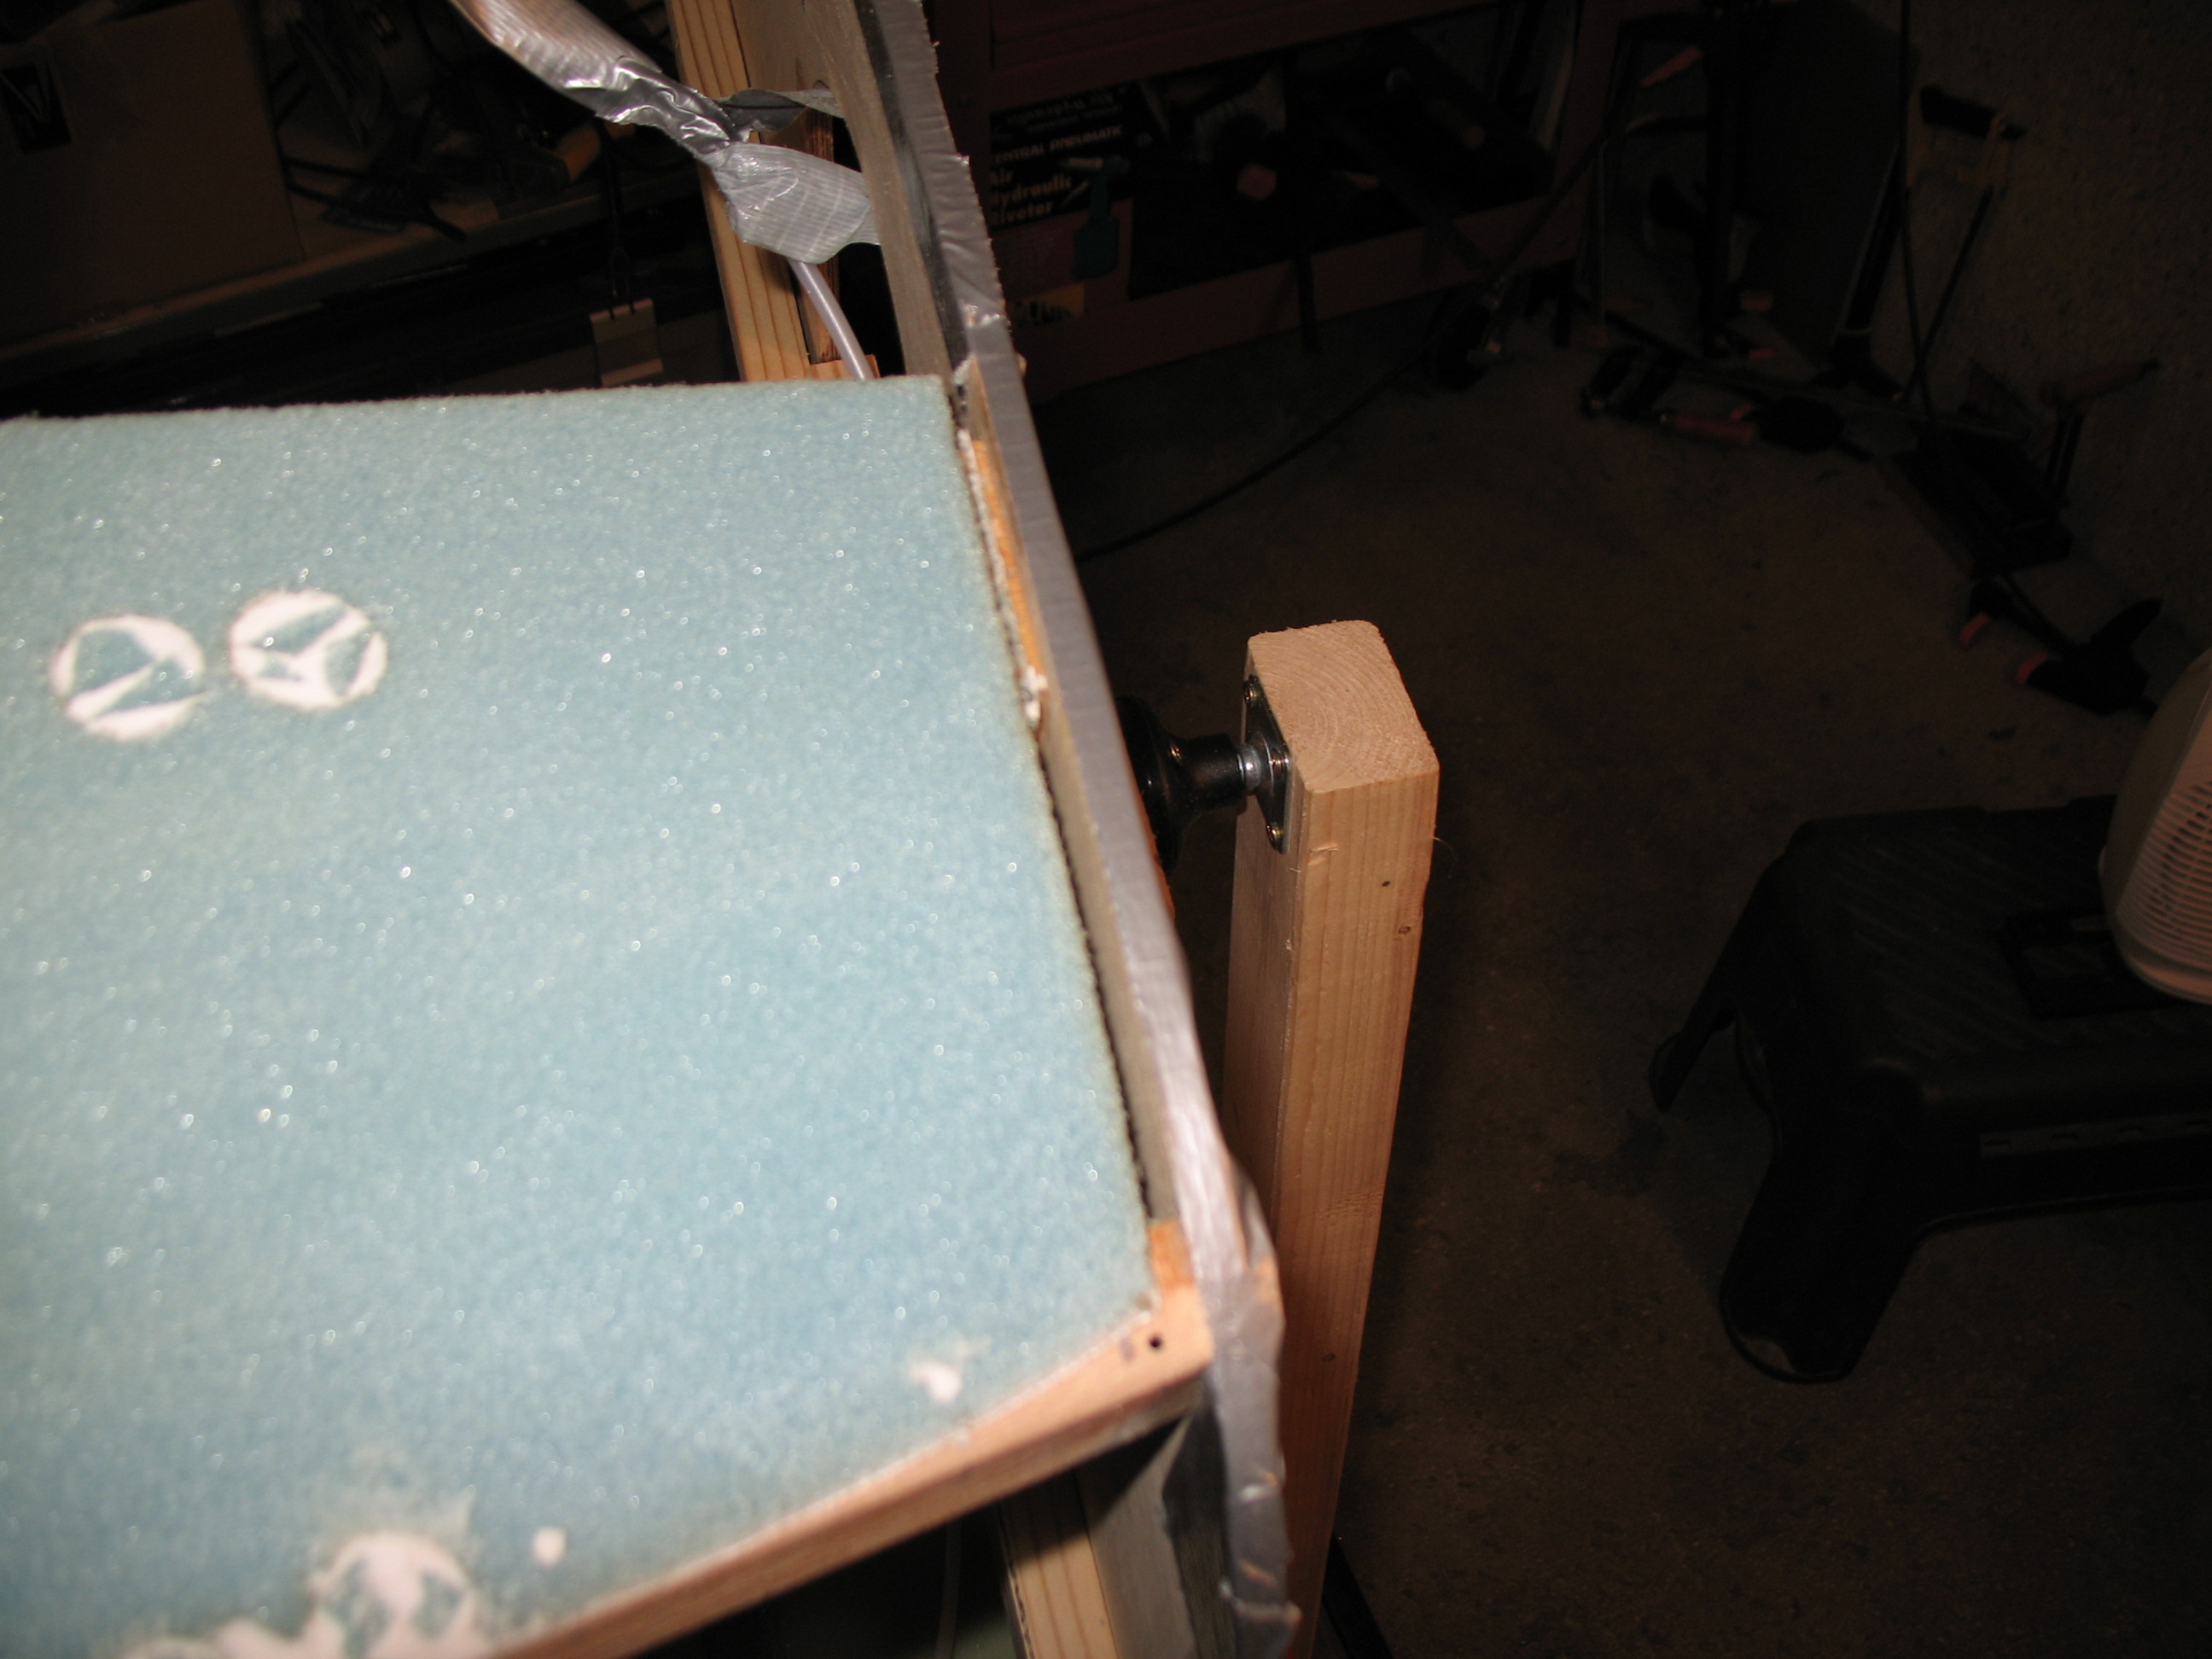
I ops tested the fuselage glassing spit one more time and added some more screws to the front round disk to add strength and keep it from rotating where it wasn’t supposed to be.
I taped up the two threaded inserts along the fuselage bottom centerline to keep the epoxy out.
I used my Perma-grit tools to prep and clean up all the conduit channels so they would be clean for a fresh micro application.
I mixed up two more bottles of hardener and restocked the micro. I then repositioned the fuselage at an angle to make the sharp-angled 30° applications of UNI on the fuselage a little easier.
Finally, I played around with the pilot strake opening positions looking at the pros and cons of stock vs. extending the openings to the instrument panel (again, ala the Cozy Girrrls strake mod).