I started today by making a template for the outboard edge of each side rail. I simply used a piece of tracing paper on each side and traced the outer edge just inboard of the longeron (one of the cool things about MGS is that it cures CLEAR).
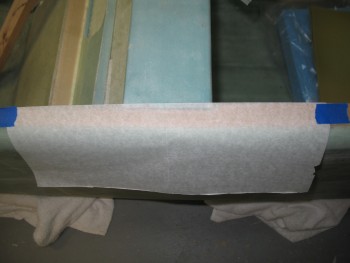
I taped the tracing paper on each end and then drew the outline with a pencil.
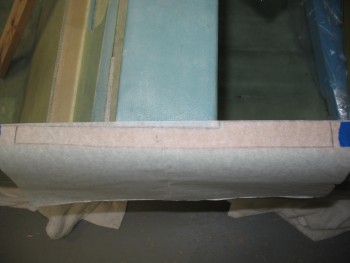
Below are the side rail outboard edge outlines for each side.
I taped the paper templates to their respective side rails & marked the outline.
Then I prepped the right side rail first to cut.

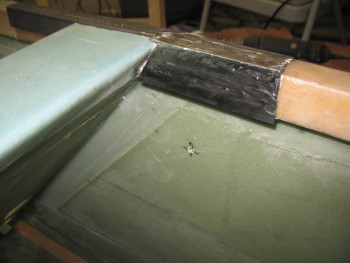
Below is the right side rail installed after I trimmed the outboard edge to match the profile of the longeron below it. I also hacked off the aft triangular jut-out, a leftover from the extension I added to the side rail yesterday. You can see how the extension now more than covers the entire width of the longeron aft of the seat (it gets trimmed below).
And then I did the same with the left side rail.
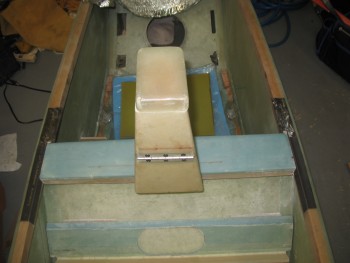
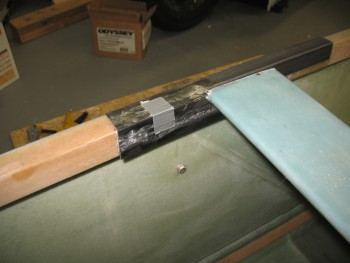
Here’s a quick shot showing the progress of the side rails up to this point.
Next, I fitted the right side rail’s inboard side-longeron piece (that I made yesterday) and marked up the intersecting line on the top side rail piece extension (that I also added yesterday). I transferred the cut line on the bottom side of the side rail extension to the top & then cut it. I then did the same for the left side.
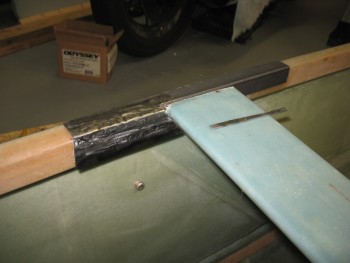
Here’s the left side showing the top side rail extension piece cut & matched to the inboard side-longeron piece.
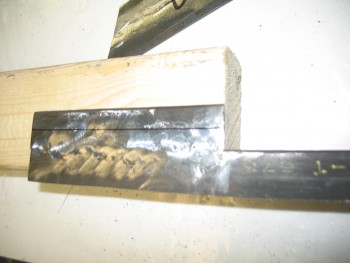
I then prepped the right side rail extension piece to weld to the longeron side-piece.
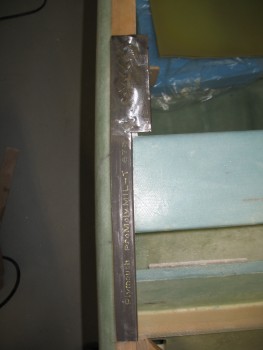
Right longeron side-piece tack welded.
Right side rail.
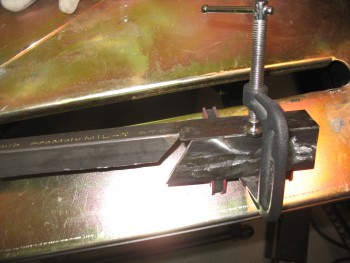
Left side rail prepped for welding.
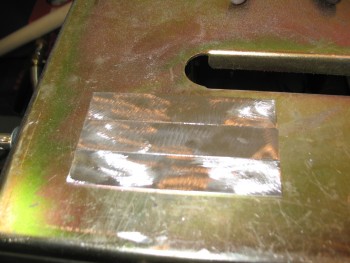
Left side rail tack welded.
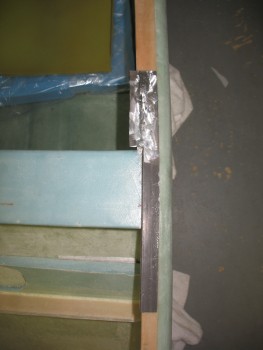
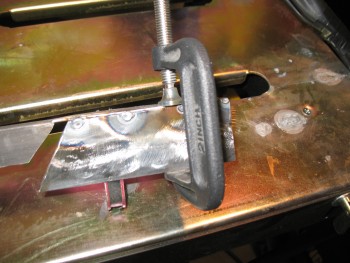
Left side rail welded.

Left side rail.
Right side rail front extension piece.
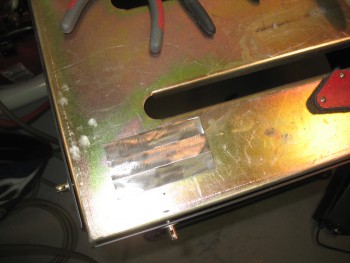
I’ll be adding a 4″ reinforcement plate to the front side of the side rail. To keep any potential corrosion at bay, I sprayed the metal that I’ll be welding this plate to with weldable primer.
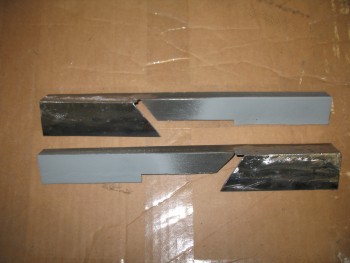
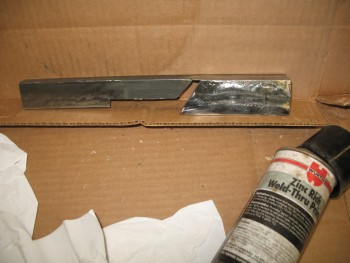 Here are both side rails prepped with weldable primer in the area that will receive the forward reinforcement plate.
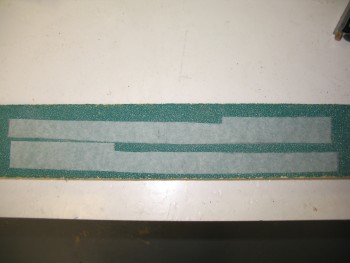
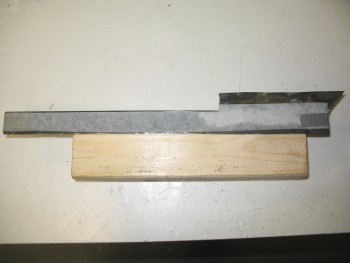
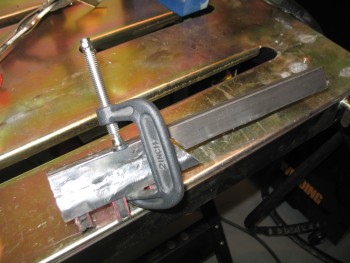
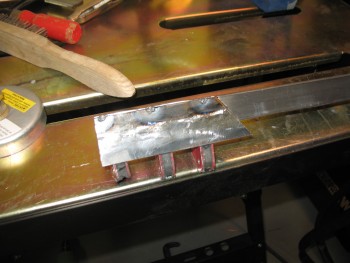
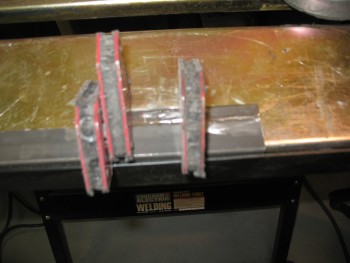
Speaking of the front reinforcement plate, here are the three 3/4″ x 4″ strips that I’ll weld to make up these 2 plates.
Once welded, I’ll cut the new plate down the center to create 2 plates 4″ long by about 1-1/8″ wide.