
I got a call from Phil to tell me that my fuselage had been buffed out. The most significant squawks are a thin spot on the right strake leading edge and a minor breakthrough on the left sidewall where I had a nasty run. This quarter-sized breakthrough sits right under the canard and will only be seen with the nose up and somewhat stationary.
We also had some cut-throughs on the very edge of the nose hatch perimeter lip and a few spots on the turtledeck. If you remember, I had seriously thought about re-shooting the turtledeck and am kinda wishing I had now.
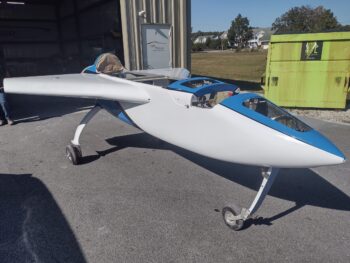
All the squawks aside, which are all due to my painting (and learned knowledge vs gain knowledge), the fuselage is looking great. The biggest thing is how shiny and glossy the paint is now, especially the previously dull strake tops that had dew damage. As you can see in the pic below, Phil and Raymond did some magic on those strake tops.
[Added pics] I got these pics a few days after I made this post, so a bunch more shots of the bird in Phil’s shop.
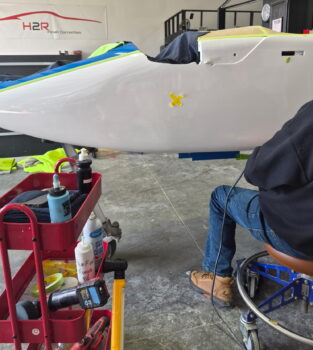
Phil buffing out the left side.

Left side nose.

Some more left side in progress:
Right side . . .

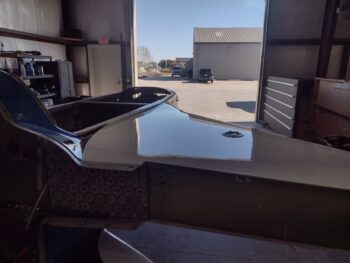
Blue center strip is looking great!

And one more of the right strake top… nice and shiny!

Tomorrow I’ll mix up a small bit of blue paint and deliver to it Phil for the touch ups on the break throughs. After the final touchups are done they’ll ceramic coat the entire fuselage.
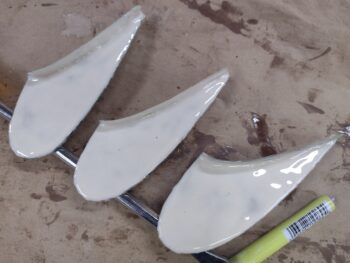
Back in my shop I popped all the cured pollywog-looking vortilons off the wings and set up on top. My focus on finishing the vortilons to paint and ready for install is for the right wing first (pic 2) since that’s the first wing that will go in to get buffed up (also has dew damage).

I had used the unglassed right wing vortilons to draw a template of just the vortilon before any flanges where glassed in place. Then, when I cut the final BID pieces for the right wing vortilon final inboard layup, I cut out the templates to allow me to cut the peel ply pieces.
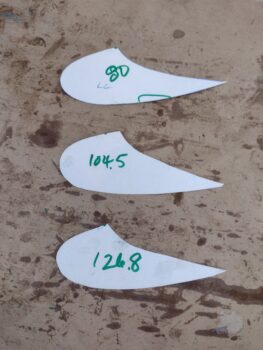
Here we have the cured right wing vortilons marked and ready for the flange glass to be cut to 0.4″ each side, as per plans (pic 1). Which I did next . . . (pic 2).


I then slathered up the exterior side of the flanges and one side with wet micro.
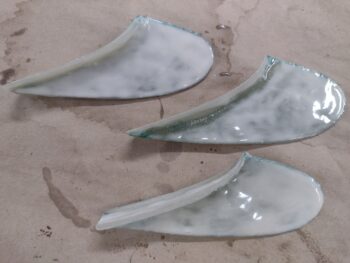
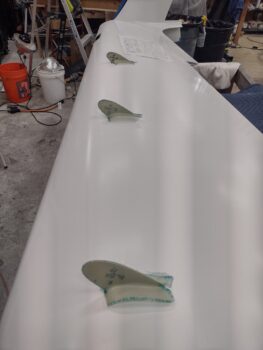
Here we have the left vortilons flanges trimmed and ready for micro.
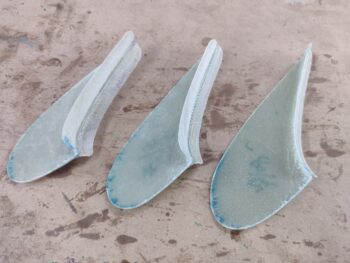
I also applied micro down the top center to fill in the minor trough between all the layups. Here we have the left vortilons micro finished on one side.
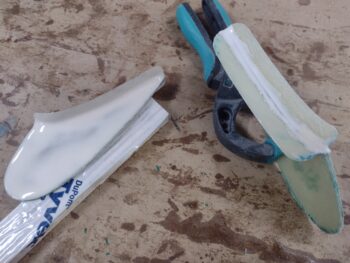
And a shot of both the left wing and right wing vortilons micro’d up for final sanding and finishing.

Pressing forward!