
I put this post under both chapters 10 & 25 because prepping the surface of the canard is a prerequisite for not only finishing the canard, but to glassing the canard “swoosh” tips to the canard & in optimizing the elevator install process.
How? Well, in yet another discussion with Randi from the infamous Cozy Girrrls, she highly recommended finishing the bottom side of the canard BEFORE mounting the elevators to exponentially decrease the time & effort it takes to finish the bottom of the canard with all the elevator mounting tabs in place. In addition, it helps knowing what the bottom contour of the canard will actually be when determining the spacing between the elevators & the aft edge of the canard.
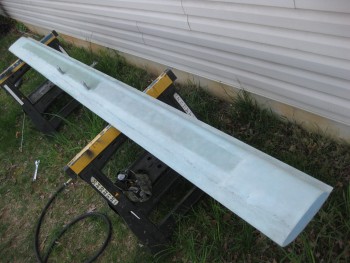
As per Wayne Hicks, and so many other Canardians, I decided that the easiest, less-destructive route for prepping the surface of this plane for finishing would be sand blasting. It’s faster and clearly it can prep the fibers that lie slightly below the surface as compared to the “taller” fibers without having to destroy the strength & integrity of the outer fibers–as one would have to do if sanding the surface in preparation for finishing.
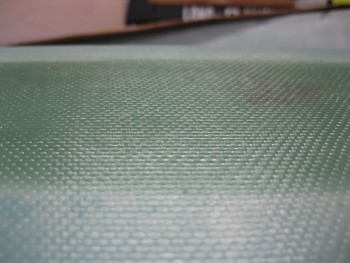
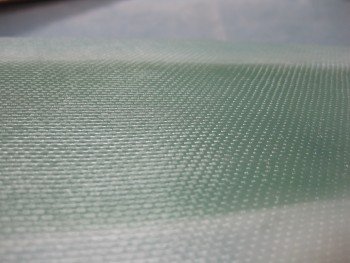
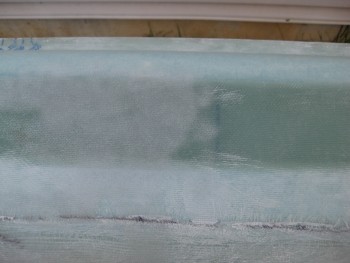
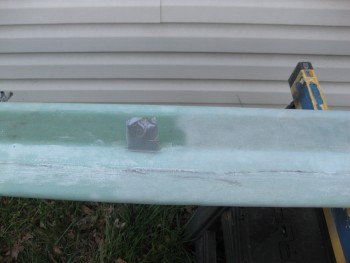
I personally find the texture, gleam & appearance of well laid-up glass (above) wonderful, as I’m sure a lot of other folks that work with fiberglass do as well. But of course this surface can’t remain for the final finish, so we must often cover up some of our best work (and thankfully our not-so-best!) under micro!
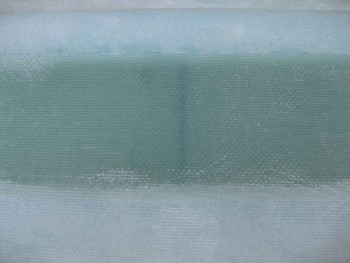
I wanted to add this shot below for my fellow builders who don’t use MGS. I still am impressed by how a line drawn on the shear web can still be seen after ~10 plies of 3″ UNI tape have been laid up over it. As a user of MGS, it will be especially interesting to finish the surfaces of these “transparent skinned” components into a solid-colored airplane.
As I’m sure most of you are aware, I had some definite sandblasting woes when trying to sandblast the rollbar before priming it. I have since done a lot of research and am hoping that I can get this sandblaster to work well enough to finish at least the canard, then I can reassess.
I started by taping up the antenna leads to protect them from any errant sandblasting.
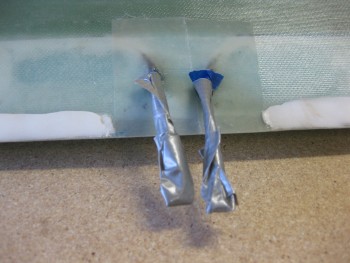
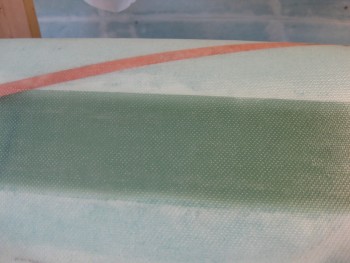
I then did the same for the canard mounting tabs.
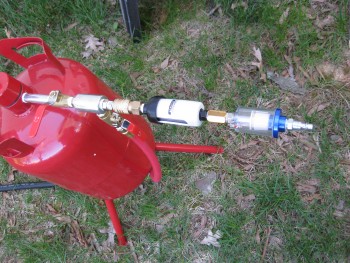
One issue that I wanted to avoid that was a possible contributor to my sandblasting woes was ensuring that the air I was using was CLEAN & DRY. I bought & employed a couple of inline filters & combined them with the appropriate air connectors into an assembly that I jokingly called, “the Kraken.” I then mounted the Kraken to the air inlet on the sandblaster.
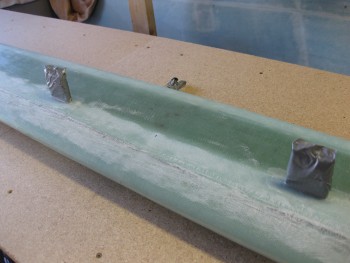
I then employed all the tips, tricks & processes that I had learned about this somewhat cheap sandblaster, and although it’s still not a pleasure to use, it at least gets the job done now. You can definitely tell the areas that were sandblasted & those that weren’t.
Just as Wayne Hicks described his sandblasting experience on his Cozy IV build site, the sandblasting textured the canard surface perfectly and didn’t damage it in any perceptable way.
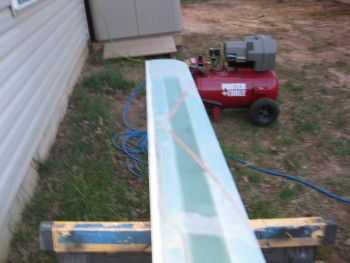
Thus, stopping every few minutes for both the compressor to re-build up pressure, and clearing out the subsequent plugged-up nozzle from the decrease in pressure, I was able to knock out the bottom right side of the canard in about 40 minutes. With a bigger, higher quality sandblaster I’m sure I could have cut that time in half, but I’m more than happy with the time, effort & cost required to attain the results that I did.
Another technique I employed in optimizing the sandblaster’s ability to simply work was to bring my compressor out to the job site. Instead of running 2 lengths of air hose, I simply used one. The first time around I used 2 hoses, with one of them being rubber. Apparently rubber hoses allow much more moisture buildup, as does longer lengths of hose.
So somewhere in both using the correct sequence in the opening of the 4 valves on the sandblaster, and the corrective measures I took to ensure clean, dry air, I was able to sandblast the entire bottom side of the canard.
At one point fairly early on, I did have to empty the sandblaster of all the media and fill the sandblaster hopper with smaller amounts to keep it from clogging up. But again, that was a minor annoyance in comparison to being able to sandblast this thing on the cheap.
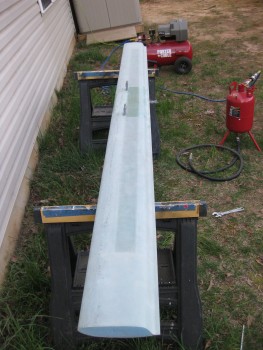
Since it started getting dark, on the topside of the canard I simply sandblasted the edges at the inboard areas where I will need to finish the canard, and the glass covering the outboard extensions which need surface prep for the upcoming glassing of the “swoosh” tip extensions.
All the sandblasting I accomplished today on the canard actually meets all my requirements for completing chapters 10 & 11. However, I will finish sandblasting the top of the canard since as I mentioned before, my plan is to actually finish the entire canard & elevators to paint.