
Last night I had a couple of buddies come over to watch Thursday night football. In between the beers, war stories and game, I snuck down to the garage every couple of hours to skim coat the canard. Well, a late night socializing with good friends that I haven’t seen in a while meant a slow start this morning.
To add to my slow start, I had a business teleconference today and when I finalized yesterday’s post by adding another menu item to this web site, the main menu went bonkers. My “new” main menu contained every menu & submenu item listed where the main menu bar is normally located. I don’t know if you saw it, but it was a hot mess.
After messing around some with WordPress to see if I had checked some weird block or initiated some obscure setting, and then doing some Google research, I got on the phone with my service provider to have them increase some site server settings to allow for more menu entries. Well, that call took 40 minutes the first time around and I was on hold after being transferred to technician #2 when my work teleconference started. So I got off the phone and an hour later called back to resume my website troubleshooting. I finally got the menu bar back to normal, but not without some collateral damage. My video/pics and contact menu tabs were both missing and re-adding them was not without issue. Thus, I will slowly try to get the website ship righted while continuing to add content. Thankfully, most of the remaining issues are minor.
After a little bit more information crosschecking on finishing steps & techniques, I headed for the shop to block sand the cured skimmed epoxy. Since I don’t have any specialized sticky back (PSA) or velcro (HookIt) 100 grit sanding sheets, I had to resort to the old style sandpaper sheets. This actually worked out pretty good since I grabbed a scrap block of blue wing foam about 6″ wide, 12″ long and 2″ thick to use as a sanding block. The 100 grit sandpaper wrapped around the foam so I could firmly grip the paper around the foam and still keep control of the foam block while sanding.
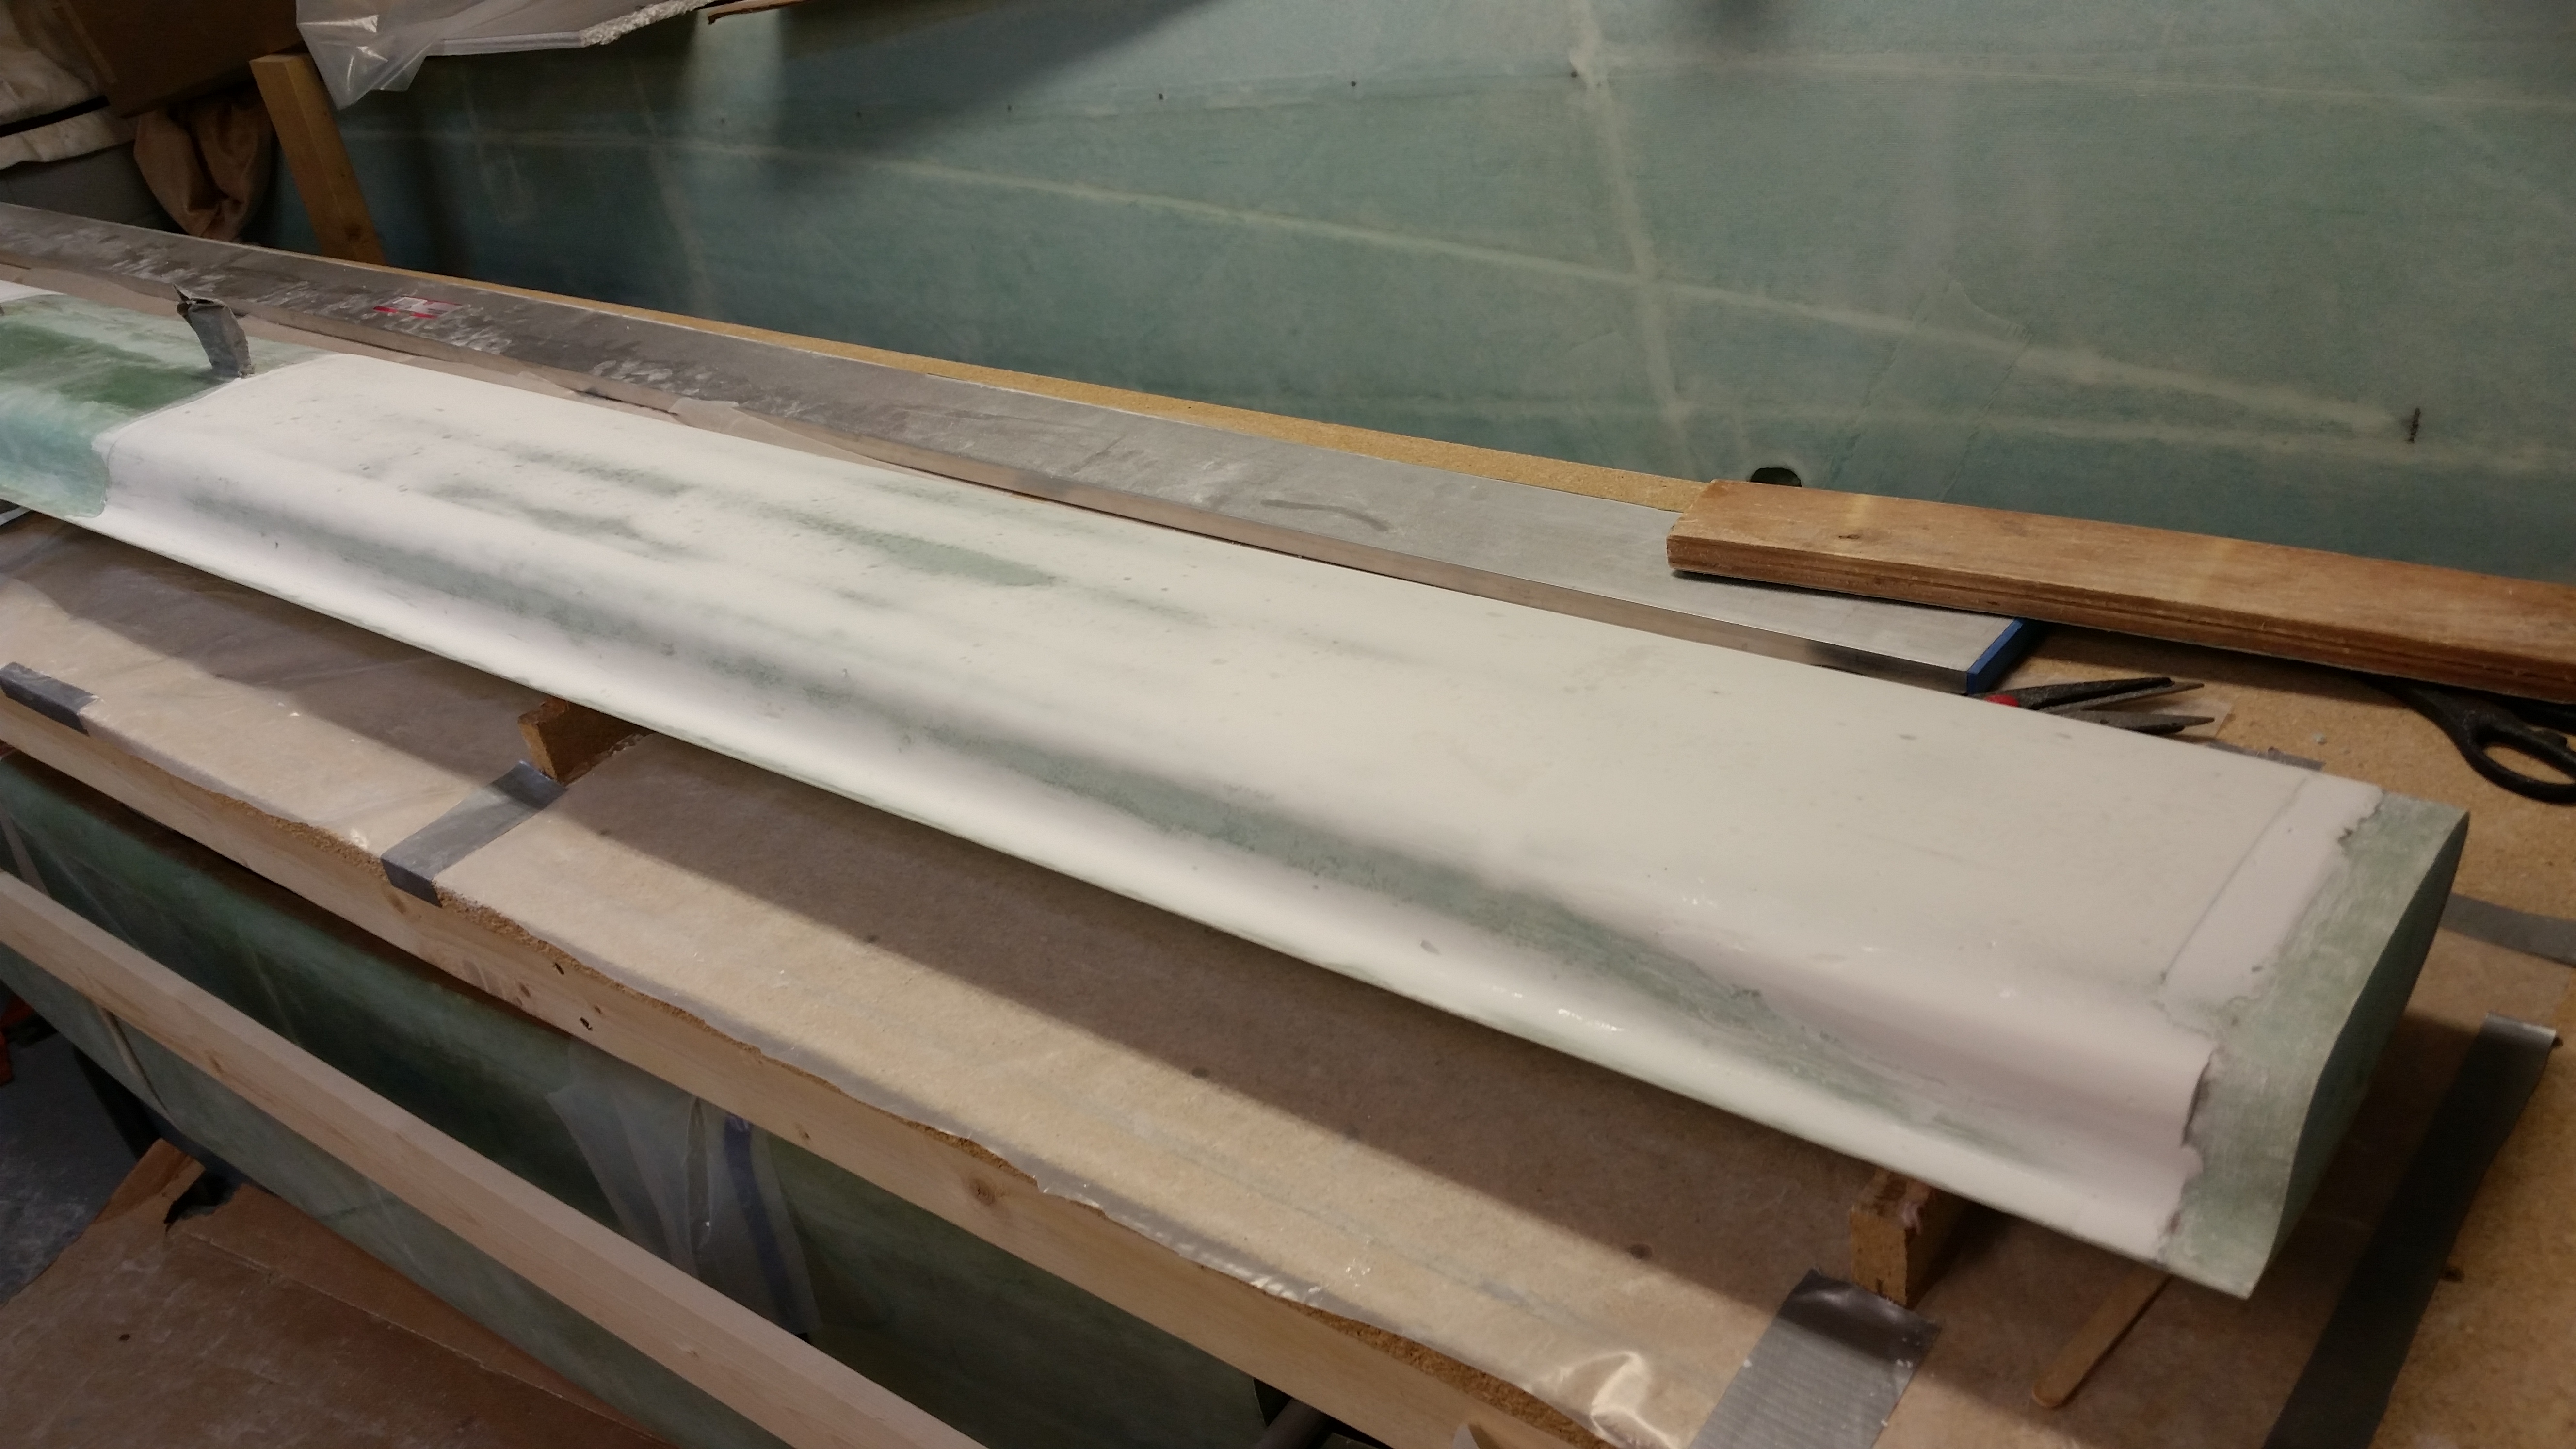
I started on the pure epoxy skim coated side and started sanding away in the 45° left and 45° right pattern. I’m learning that all the sanding during these finishing steps seem to start off with not much happening, but as you just keep working the sanding block you really start to see some results. Of course the most time spent on the underside of the canard is in the TE area. The multiple curves and angles make it a bit more challenging to get the fishtail area sanded thoroughly. But after I was finished, and just as Mike Beasley mentioned the other night, I couldn’t stop running my hand over the incredibly smooth canard surface. What a feeling to turn a raw glass surface into something that you know that once painted, will turn into a something stunningly beautiful.
All in all I was extremely pleased with the outcome. Although my initial failings in applying bubble free micro led to having a dozen or so craters on each side of the canard (this was due to applying too dry of micro after aggressively whipping a ton of air into the mix), it was a good learning lesson since I know now how well both skim coating and Micro Skim fill in some major surface defects in the micro.

After sanding the pure epoxy skim coat, I was eager to see how the Micro Skim was going to sand out. Well, just like the other side it started a little slow, but then starting sanding out a little more quickly than the epoxy skim coat. To be fair, I don’t think there was any clear winner here between the pure epoxy skim coating and the Micro Skim, since they both produced very acceptably nice results. I’ll still continue to experiment with these two methods, and I’m thinking as my finishing skills improve I’ll be better able to both tweak the process and ascertain the results.
My plan for tomorrow is to finish round 2 of sanding the canard with 120 grit sandpaper, and then finish sanding, prepping and micro-finishing the front top “corner” of the elevators to get them ready for mounting to the canard.