
I started out today by spending nearly an hour updating a few electrical diagrams and printing an updated consolidated switch diagram.
I also went on the hunt –and found– a toggle switch to replace the rocker switch I had previously identified for the Tach Source Select switch (SW005) –the rocker being a bit too robust to fit on the panel. “Luckily,” I have a lot of spare switches on hand from all my different starts and stops in my journey on my electrical system. I labeled the new switch and pressed it into service.
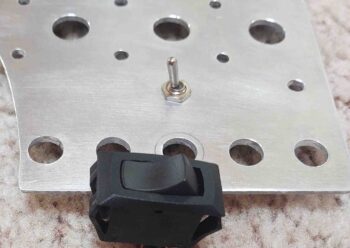
I have 5 mini-toggle switches on my panel, this one being the latest addition. My final prep work on the panel is simply drilling the keyways for these mini-toggles on the back face of the panel.
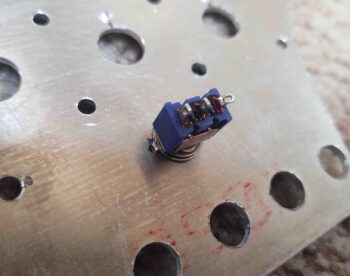
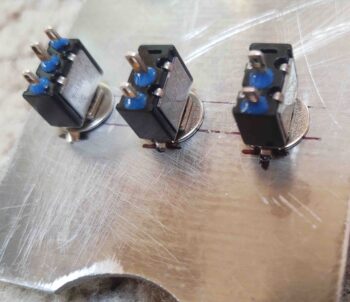
The panel’s big toggle switches, all from B&C, are situated with their keyways on the top. Luckily I decided to tone these switches out with continuity checks to see which direction was ON and OFF, so that I could set the keyways appropriately: these mini-toggles happen to install with the keyways DOWN, opposite their bigger cousins. I also knocked out drilling the holes for the keyways on the 3 AC System switches at the bottom of the center strut.
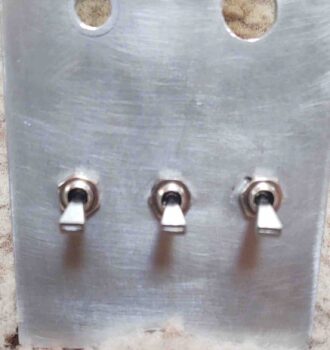
Which look like this on the front side:
I have one more mini-toggle keyway to install for the Autopilot source select switch, but since it’s currently hardwired into the panel mockup, I’m waiting until I tear that apart to drill the keyway.
My immediate goal is to get the nose hatch door latch installed, but before I can move forward with that I needed to finish glassing the underside of what I call the “nose bridge,” or the area in-between the nose hatch and the canard mounting opening, which is covered by the aft nose/avionics cover.
With different nose build ops having been done in this area involving microing in blue foam inserts, etc. there was a fair amount of cured micro blobs, mini-stalactites if you will, that were all along the seams of the blue foam under this area of the nose. In addition, the first couple of inches from the edge of the nose hatch going aft were shaped and glassed with a couple of plies of BID…. so a lot to get organized and glassed under this one little strip of nose.
I chipped, pried and cracked off the offending dead micro blobs, which then left me with some pretty nice divots along along the bottom surface of the “nose bridge.” Looked like the surface of a moon pummeled by asteroids… you get the picture. Clearly I needed to resurface this area before glassing, but gravity was kind of getting in the way for pour foam, and I wasn’t quite ready to invert my fuselage just for this one task.
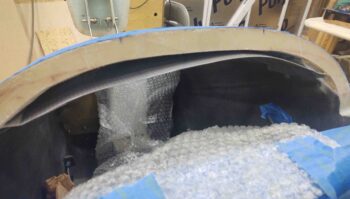
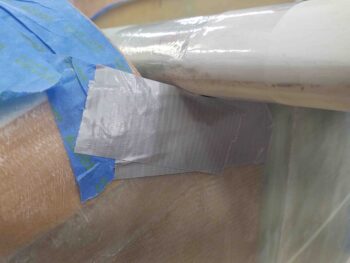
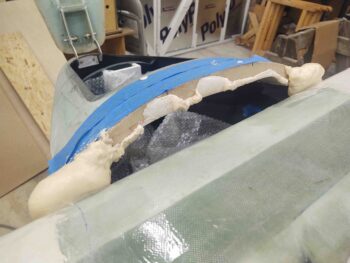
So I decided to let the expanding pour foam do most of the heavy lifting, and I would merely provide a surface and some constricted space for it to work its magic. I took some thin cardboard, covered it with duct tape and then taped the front edge tightly to the existing glass. I also taped each side simply to keep the liquid pour foam from flowing out each end since the sides are lower than the middle section.
I then whipped up some pour foam, slathered it against the underside “nose bridge” foam surface as best I could and also on the surface of the taped cardboard. Once all the foam was out of my mixing cup I simply pushed the cardboard up a bit and taped it in place.
Voila! The pour foam expanded into and adhered itself into the crevices of the blue foam on the underside of the “nose bridge” and did exactly what I had hoped it would.
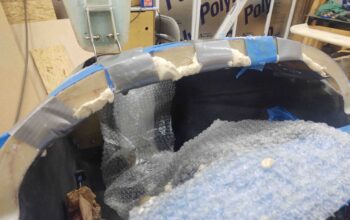
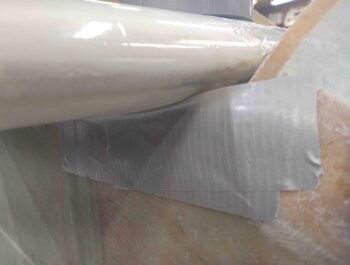
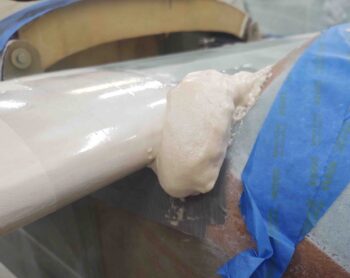
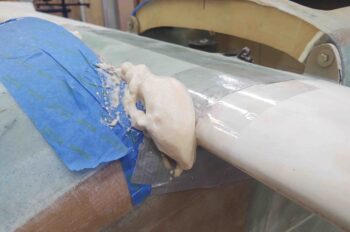
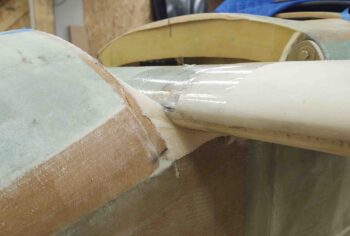
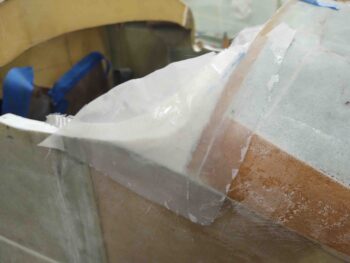
With the nose bridge ready for shaping and eventual glass, I then got busy on filling in the gap of the fuselage sidewall just forward and slightly below the canard leading edge. I taped off the canard on each side with clear packing tape, then used gray duct tape as a dam (aka form) both for the interior and exterior wall.
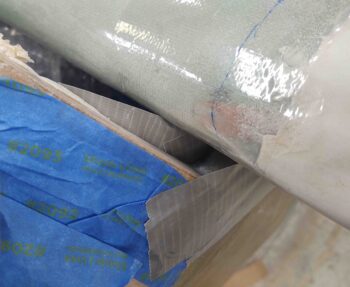
Here we have the right side ready to go just like the left side.
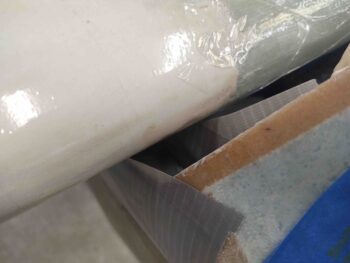
I then whipped up another batch of foam and poured it into the fuselage sidewall duct tape forms I had made.
And got the results I wanted here as well.
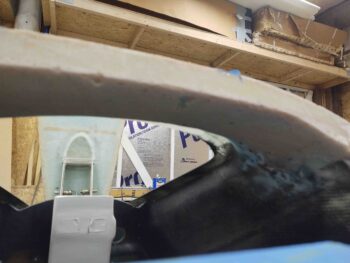
A little bit later I had trimmed and sanded down each fuselage sidewall to look like this.
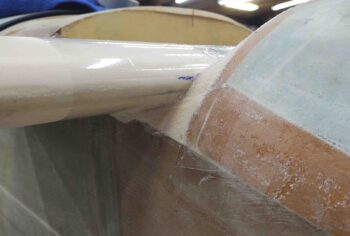
And was still dialing in and shaping the foam for the “nose bridge.”
Getting much closer . . . at this point I removed the canard.
It may not look like it, especially with the glass laid up, but I did a lot of sanding both on the foam and the existing sidewalls in prep for new glass.

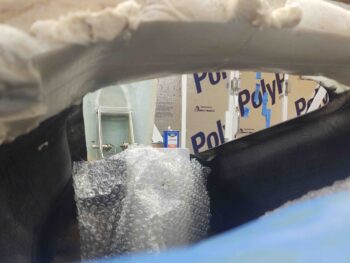
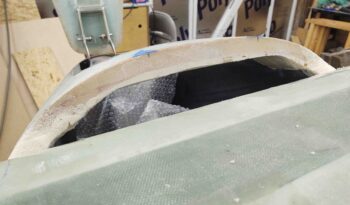
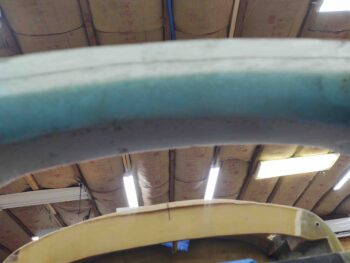
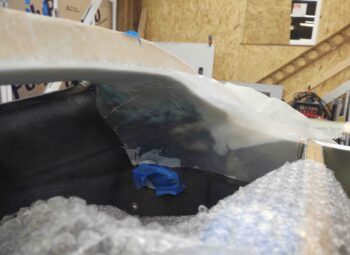
Here’s a shot from inside the nose hatch looking aft. You can see the existing glass across the front part of the “nose bridge” that makes up the lip of the nose hatch.
I used the rest of my thin cardboard to make up a template to cut the 2 plies of BID I was going to layup on the underside of the “nose bridge.”
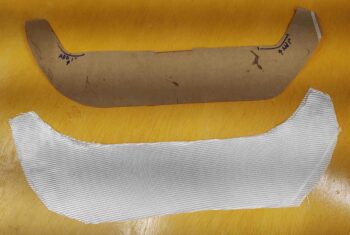
Using a slightly too small piece of plastic, I then prepregged the 2 plies of BID.
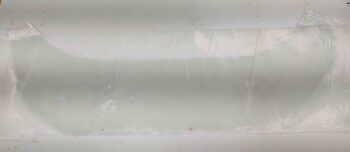
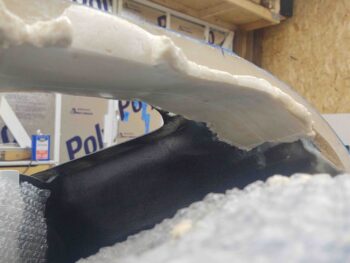
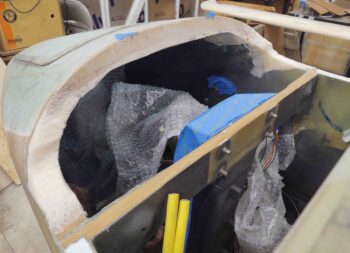
I then laid up the BID on the underside of the nose bridge.
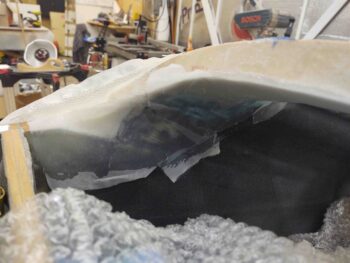
A shot of the new foam with 2 piles of BID laid up.

After peel plying the “nose bridge” layup, I then laid up a ply of BID on each of the freshly pour-foamed canard LE-fuselage corners. I then peel plied those layups as well.

After I clean up these layups tomorrow I then plan on getting onto installing the nose hatch latch, etc.