
I started off today installing the aft nose/avionics cover interlocking hinge tabs with the pin installed, and then 5 minute glued each one to the underside of the aft nose/avionics cover.
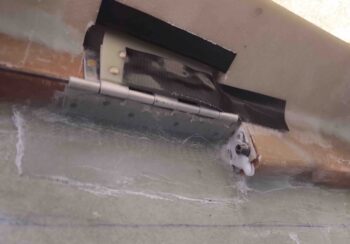
I let it cure for quite a while before pulling off the aft nose/avionics cover and then glassing each interlocking hinge tab with 2 plies of UNI and a ply of BID.
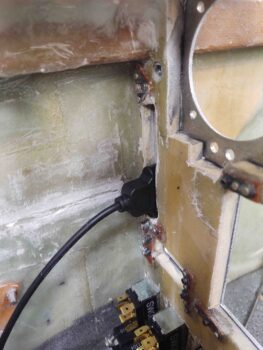
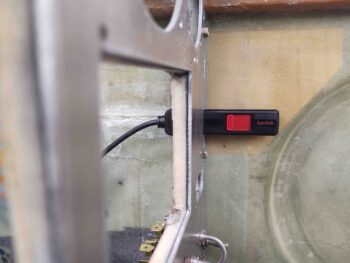
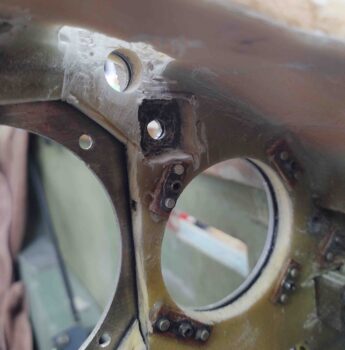
I then got to work on cutting a notch out of the composite panel bulkhead to accept the HXr and Mini-X EFISs’ remote USB cable ports.
Here’s the top remote USB port for the GRT HXr EFIS.

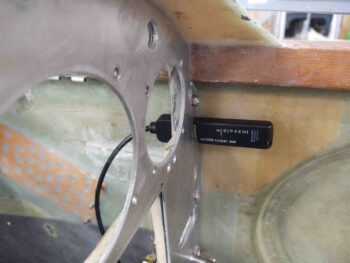
And the bottom remote USB port for the GRT Mini-X EFIS.
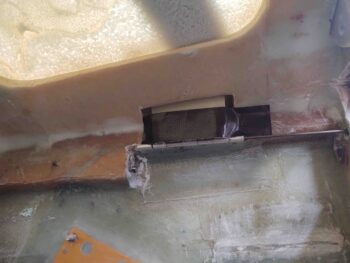
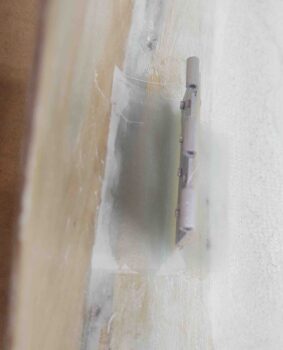
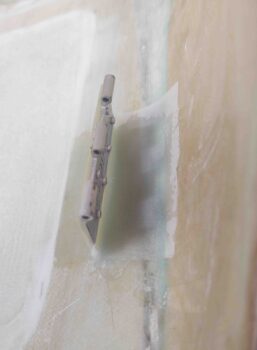
I then drilled and tapped two 1/4″ phenolic pieces for 1/2-20 thread. I then cut the pieces out on the band saw.
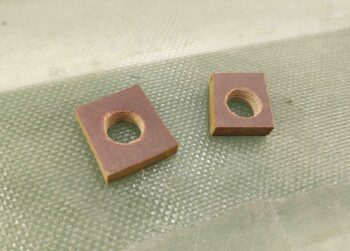
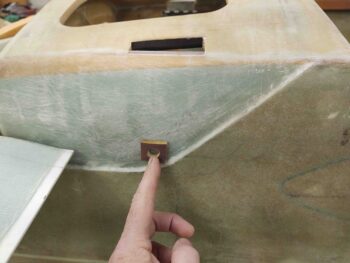
These will be inserted into notches on the internal nose sidewalls to accept the same SkyBolt/CAMLOC threaded receptacles as I used on the thru-panel CAMLOC tabs. I assessed that at high speeds these thin side “flaps” may do exactly that: flap. So I decided to nail them down at the corner with a CAMLOC stud.
Visually this CAMLOC will reside at the tail end of the elevator fairing.
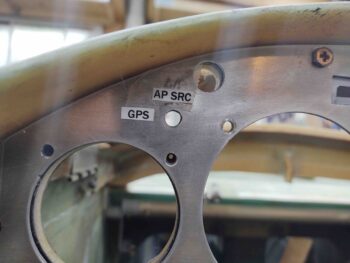
Pressing forward, I measured the autopilot source select switch that’s currently hardwired on my panel mockup and then cut out the appropriate amount of material out of the composite panel bulkhead to mount it in the real panel.
Here’s the shot from the front (I snagged the test label out of curiosity as well).
My last task for the evening was to glass the outboard layups for the aft nose/avionics cover interlocking hinge tabs.
I then peel plied the layups and left them to cure overnight.