
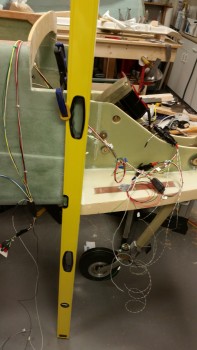
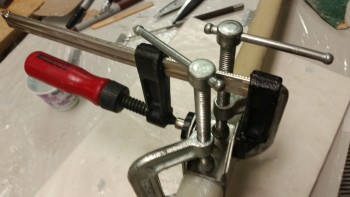
I started off today by testing the gear strut’s up & down travel limits. To do this I clamped the NG4 bracket to the top of the gear strut with 2 “C” clamps.
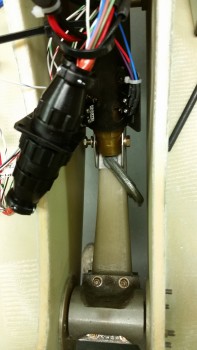
Although a little difficult to see in this pic, the clearance aft of the nose wheel to the instrument panel is about 0.2″.
I also marked & sanded down the sides of the F22 gear strut channel. I sanded about .06″ off the right side (left in the pic) and about .02″ on the left side to widen the channel just a bit more since there was some rub marks on the gear strut.
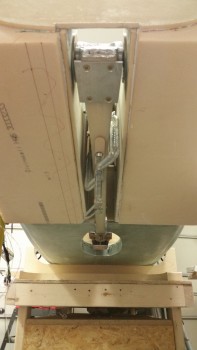
To figure out where the nose wheel should be in comparison to the fuselage, I clamped a 6′ level to fuselage aligned with F22 to essentially carry the F22 line down to the floor. I clamped the level on the aft edge so that the level was perpendicular to the fuselage centerline (and not flat against the inward curving nose portion at F22…this made for a gap between the front inside edge of the level and the fuselage sidewall. The back inside edge was flush with the fuselage side).
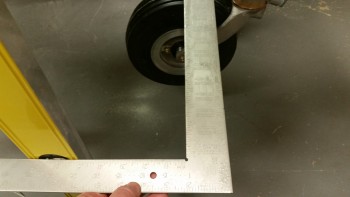
I then used a square to check the relationship between the nose wheel axle and F22.
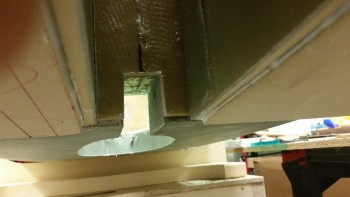
According to the Long-EZ plans the axle should be at Fuselage Station: FS 17, so 5″ forward of F22. It took me 3 adjustments of the down travel microswitch to get the axle moved forward to FS 17.
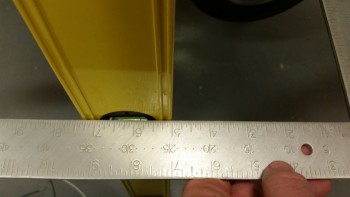
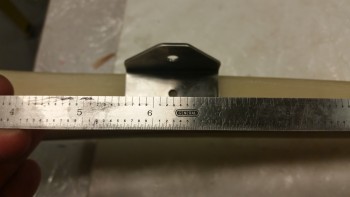
A close up showing square markings and the nose wheel axle 5″ forward of F22, making the axle location at FS 17. I was actually shooting for a measurement of 5.2″ to 5.5″ (FS 16.5 to FS 16.8) on the square to make allowance for the weight of the aircraft compressing some of the natural gear spring action when on all its gears.
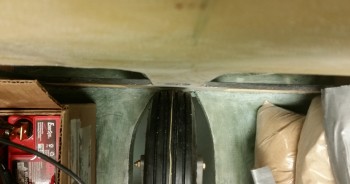
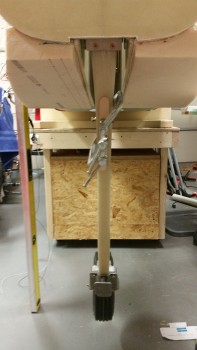
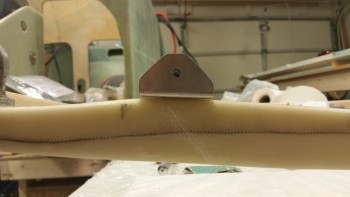
Here’s a shot of nose gear & wheel down at the correct level.
I then removed the gear strut to attach the NG3 & NG4 brackets. Although plans calls for mounting the NG3 bracket at 6.71″ ± 0.05″ from the NG6B pivot point, after setting the microswitches for the up/down limits the measurement between NG6B and NG3 came out to almost exactly 6.3″.
I would have actually moved the NG3/4 bracket a little higher on the gear strut, but I wanted to keep NG4 inner bracket on the thicker, straighter part of the gear strut and minimize any weird, undue stress to the gear strut that might result from mounting it higher and at a narrower area.
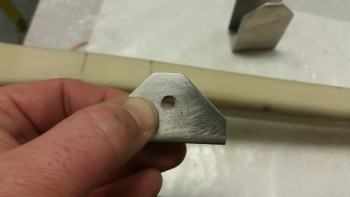
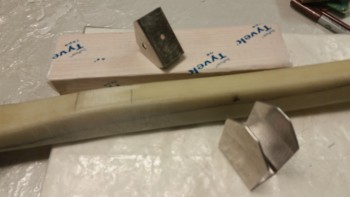
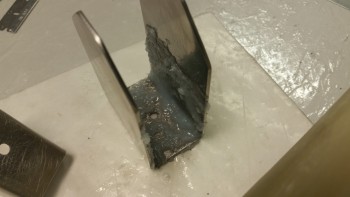
The pic below shows the sanding that I did on the NG4 bracket before floxing it into place. Also, although hard to see, is the cardboard template I made of the inboard side of the NG4 bracket. I’m hoping that I can use this to help drill the hole in the outer NG3 bracket, which comes un-drilled.
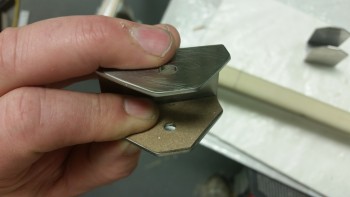
Here’s some better shots of the cardboard template.

Now, the original plans state that 2-3 plies of BID should be wrapped around the gear strut before floxing the NG3 & NG4 brackets into place. However, the reason for this is simply because the original gear strut –as pointed out in the plans– was too narrow and the BID needed to be added to fill the gap.
Conversely, according to the installation instructions that came with the nose gear actuator, Jack mentions nothing about adding BID and simply says to flox the NG3 & NG4 brackets into place. The NG3 definitely fit tightly enough that it could have easily been mounted with flox alone, but I like the idea of a ply of BID above and below the brackets to form a sort of hour glass configuration, if you will, to help lock the bracket into position. It may just be in my head, but for a bit more peace of mind I decided to layup 1 ply of BID under the NG3 & NG4 brackets.
To add the 1 ply of BID, I had to sand the gear strut in the area that the NG3 bracket would be mounted. I also prepped the rest of the area to ensure it was ready for mounting the brackets.
After laying up my requisite 1-ply of BID, I then mixed up some flox with fast hardener. I applied the flox to the inboard areas of the NG3 bracket.
I mounted the NG3 outer bracket and the NG4 inner bracket with 2 “C” clamps. I also added another clamp (as per plans) to bring the sides of the NG3 bracket in at the top side of the bracket.
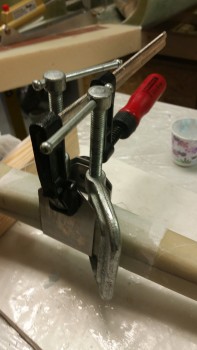
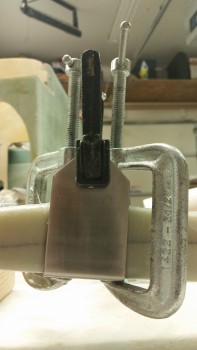
Here’s another shot of the NG3/NG4 bracket mounting to the nose gear strut.
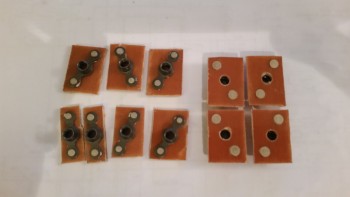
As the NG3 & NG4 brackets cured I sat down in front of the TV and cut up a bunch of 1/16″ phenolic pieces to make up some K1000-3 nutplate assemblies. Eight of the 11 nutplate assemblies measure 1″ x 0.7″. I’ll be using these for the electrical mounting plate that will be mounted just aft of the F22 center strut. A couple of these will be used for the rudder cable hard points as well. Finally, I’ll also be using a few of these to mount the NG30 cover.
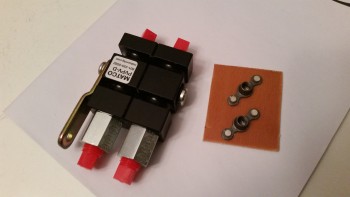
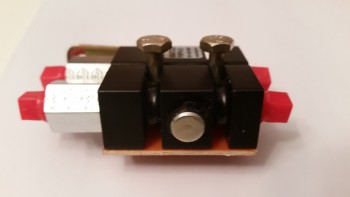
I also made up a double K1000-3 nutplate assembly for the Matco parking brake.
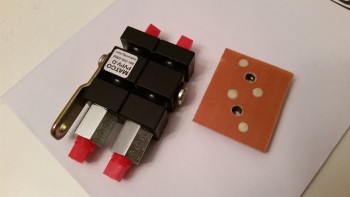
Here’s a side shot of the parking brake nutplate assembly with AN3-11A bolts installed.
Tomorrow I’ll be glassing in nutplate assemblies for the electrical mounting plate aft of the F22 center strut. I want to get these in before I glass in the nose sidewalls so that I have much easier access. I also plan on working on the NG30 cover, again since I’ll have more access with the nose sidewalls not yet mounted.
Nice work Wade. I use your work for reference and check in daily to see what you are up to. Thank you for putting in all the time to create such a great build log.
Jon
Thanks for the nice words Jon. I’m glad you appreciate it. I ran across your build log maybe a month ago. I’ll have to check in and see what you’re up to!
Rock on!
Cheers,
Wade