
I started off today working on my AC unit for a couple of hours.
I then got around to some wet sanding and painting on the oil “tower” box lid, and then some wet sanding and clear coating on the box portion itself…. both endeavors were rife with annoying issues and the outcome of each one is yet to be determined. I suspect that there is a fair more work to get the surfaces dialed in to an acceptable (not perfect!) level.
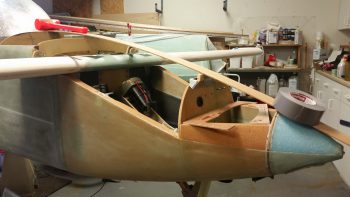
Today was really more of a research & modeling day to tie together all the loose ends and integration questions I had regarding the nose. I set up the canopy in its near-final configuration and then got to work on the nose. I took a fair amount of notes and changed my hand drawn plans to account for the finalized dimensions, angles and curves.
Some outstanding questions I answered was that, A) I’m extending the height of F28 0.4″ at the center line, and B) I installed (with duct tape) a 0.9″ gap-filling piece to account for the depression in the Napster bulkhead. When the nose is final this gapped area will be filled by the thickness of the nose hatch.
It may be a bit hard to get an exact idea with the big roll of duct tape on the nose, but this is outline of the upper nose.
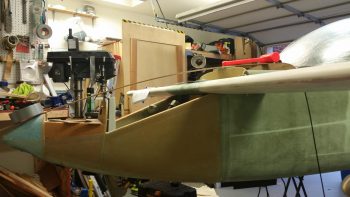
Here’s a shot for the left side. This provides a better depiction of the nose’s top curve.
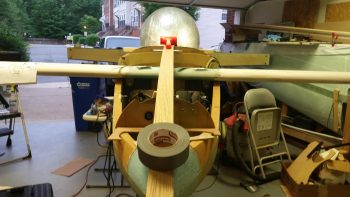
And a shot from the front.
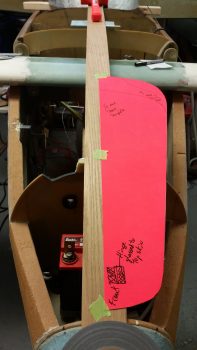
I then taped in place the nose hatch template (which is currently only half the hatch) to assess its size, shape, accessibility, etc. As a point of note, the dimensions and shape of this particular nose hatch template is based off the Berkut nose hatch…. at least it started out that way!
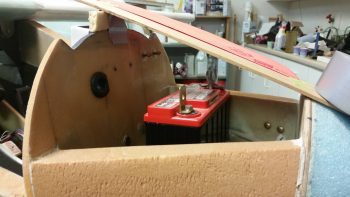
I then set the battery in place to ensure it would fit.
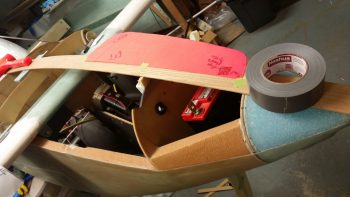
Regarding the battery, I assessed topside cable clearance and clearance for removing and installing the battery. The PC680 battery is around 7.1″ wide and my nose hatch at the narrowest point above the battery with this shape and configuration would be 7.8″ wide.
Here’s a shot of the left side nose hatch template taped in place.
The above is somewhat of a quick overview of my planning process. Again, I took a myriad of measurements, checked angles and clearances, then made quite a few notes and annotated drawings and pics I have of my nose design. There are a number of things that I will cover as I build since it would difficult to provide overviews without pictures of the components and build process.
One such area –that happens to need correcting– is the very front top corners of the fuselage where each side intersects with F28. I’ll cover that tomorrow as I go through the process of remedying my 6-year old error.