
Today I was able to create a virtual left-side cockpit space in CAD to get a good feel on the mounting location for my canopy latch. By adding in a bit of the upper longeron, front panel and left armrest, I was able to just about pinpoint the dimensional specs for installing the canopy latch.
In short, this canopy latch will work as planned to provide me the clearance I need with both the throttle handle and the instrument panel (specifically the GNS-480 GPS).
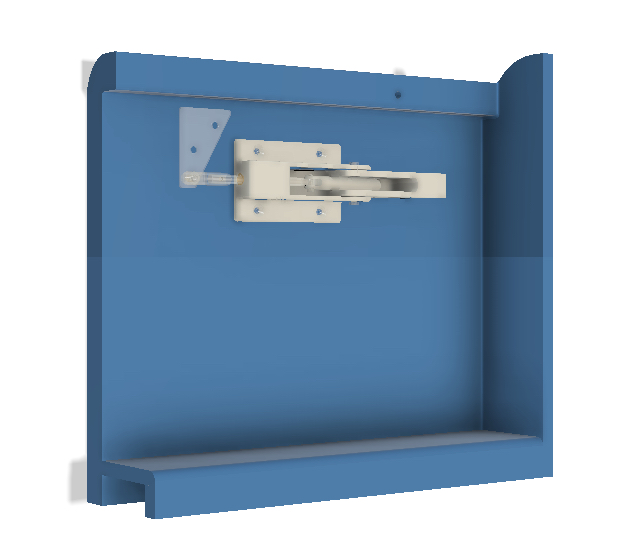
With a per-plans-spec sized sidewall now in my “possession,” I was able to do a fair number of machinations to also figure out installing a lock for the canopy handle. Clearly this is, in turn, a lock for the fuselage proper.
I started with a ‘standard’ sized lock but quickly found they were a bit too robust so I went with the “mini” version (1/4″ less in diameter), which seemed to both fit and look better.
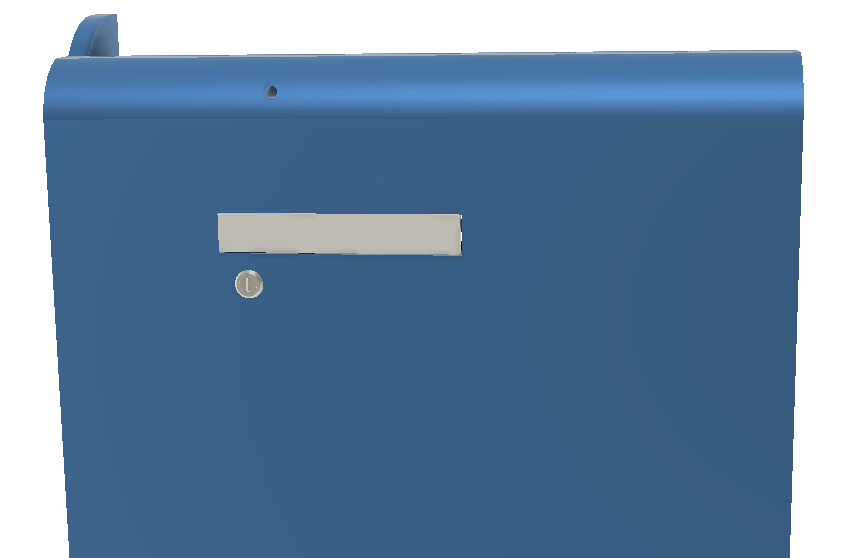
Although in rough format, this pic provides an idea of how the external side of the canopy latch handle will look . . . along with the lock.
I’ll continue to do some research and brainstorm ideas up until the point I actually make the canopy latch.
In other news, as a sideline process from analyzing the instrument panel as I drew it up in CAD, I spent about 30 min on repositioning the switch functions of the Video Camera reverse/forward toggle controls –from having their own standalone switch– to the throttle handle 5-way castle switch.
I then spent nearly an hour creating the Lathe CNC Conversion electrical diagrams.