
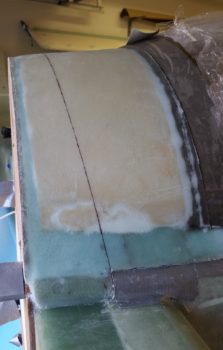
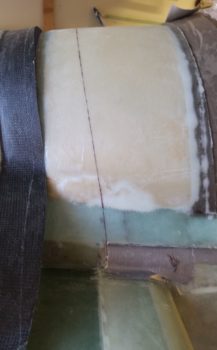
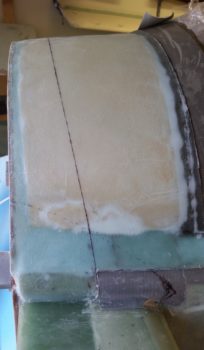
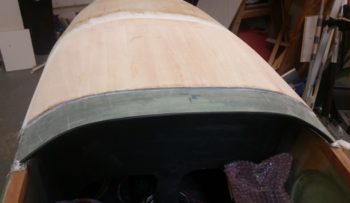
I started off today by marking the cut line that will separate the turtleback from the aft canopy frame. To reiterate, not only is the overall combined length of the turtleback and canopy frame significantly shorter on my airplane that per plans, but the ratio is much different in that the canopy frame is longer than the turtleback. This is opposite the configuration than the way the plans has it.

I also cut the overhanging/excess glass from the latest layup over the added 1/4″ foam piece.
I then did a quick mockup of the upper engine cowling to determine where the shoulders of the upper cowling were located –these shoulders are a unique feature of the Mike Melvill CF cowlings.
I marked the shoulder interface and then extrapolated where the turtleback & CS spar portion of the slope that extends from the cowling shoulder would be. I won’t be using this information now, but I did want an idea of what I’ll need to do down the road to prep for this configuration issue.
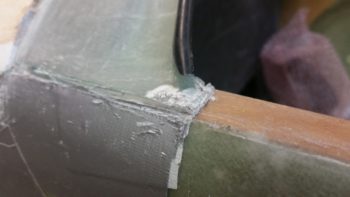
Not really having contended with the upper cowling “shoulder” issue and how the requisite forward wedge/coned shaped piece that terminates just forward of the CS Spar front face means that I will have to cut off the lower aft corner of the canopy frame and reattach it to the front bottom corner of the turtleback-to-longeron intersection. Clearly I couldn’t do it at this point because the releasing duct tape that I placed between the bottom of the canopy frame structure and the longerons prevents any permanent structure to remain at this point. It simply has to be done one the tape is removed.
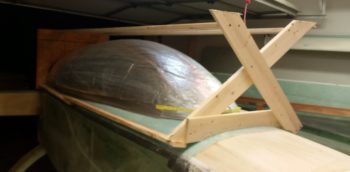
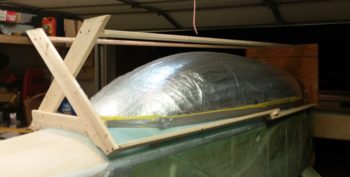
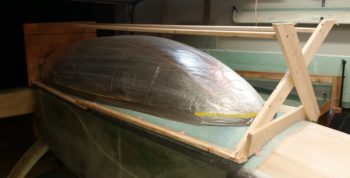
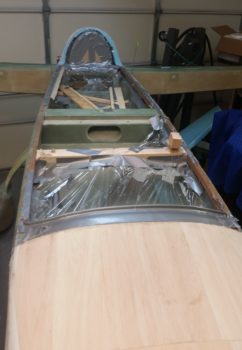
After I cut the turtleback-aft canopy frame line with the Fein saw, I then took a few hour break to go run some errands and pick up some 1×3 and 1×4 pieces of wood for the canopy brace that I then constructed around the canopy frame before I removed the canopy from the fuselage.
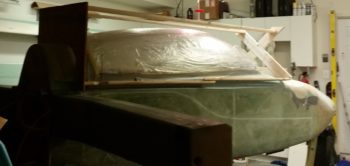
Here’s the finished canopy frame constructed to remove the canopy from the fuselage.
I ended up having to use Bondo in a few key places to ensure the wood strips along the side would stay in place. I also used it on each end to reinforce the vertical parts.
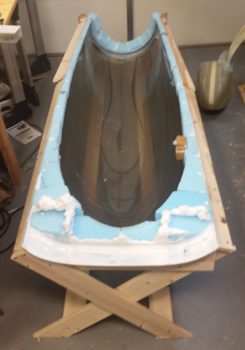
I went upstairs for a bit while the Bondo cured, and when I returned back to the shop the canopy was ready for removal.
I have to say that with the 1/8″ spacers in place on top of both longerons, the canopy removal wasn’t that big of an issue. It took a little over half an hour and I had the canopy off and on the floor inverted.
I should note that before I started in on the canopy removal in earnest, I reached up through the hell hole and used a 1×2 ACS shipping piece of wood to knock loose the aft canopy vertical spreader cross support boards that were wedged and hot glued into place.
Of course there was a bit of a mess on/around/in the fuselage when I removed the canopy, but I had it all cleaned up in fairly short order.
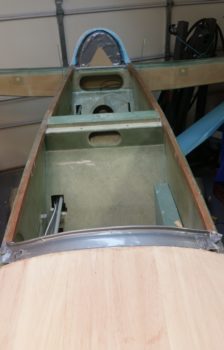
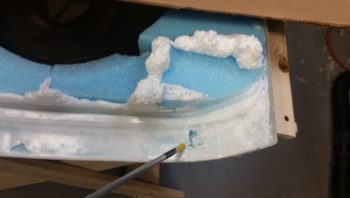
I also cleaned some of the foam gunk out of the channel between the GIB headrest and the interior foam wall (currently) of the turtleback.

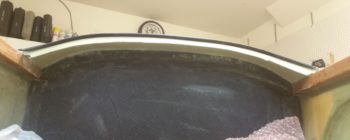
Part of cleaning up the fuselage involved finally ripping out the foam and tape that I used as a form to create the glare shield. The pic below is the first time I’ve seen my glare shield without any form underneath of it.
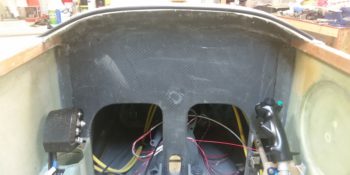
And here’s a quick pick of the glare shield with rubber edging in place.
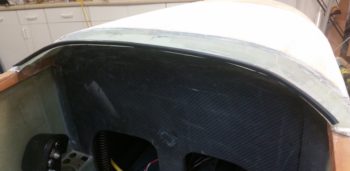
I then proceeded to spend as much time or more than I did removing the canopy on cleaning up the “melted” duct tape (very gummy) from off the top of the glare shield.
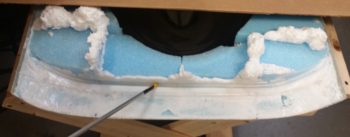
I also grabbed a shot of the underneath side of the glare shield structure.
Now, because I was sticking a knife underneath the canopy edge to work it loose, there was some slight collateral damage in that the right aft outboard corner of the glare shield got dinged up a bit…. as did the left side actually!
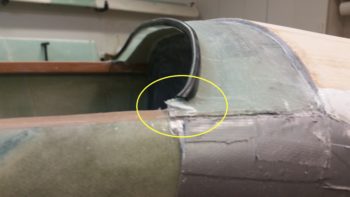
I also put a decent sized gouge on the underside of the canopy front skirt.
Speaking of the underside of the canopy front skirt, I have to say I’m extremely happy with how the pour foam filled in the gaps and contoured in spot on fashion with the raised aft lip of the glare shield.
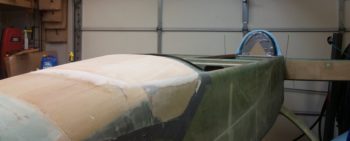
Finally, I liked the way this look so I snapped a shot of it. Here we have a new version of the fuselage with the canopy off again.
Tomorrow my goal will be to get the interior canopy frame shaped and the hard points glassed at a minimum. If possible, I would like to layup the canopy’s interior glass… but that may be pushing it a bit.