
Today I did the last major structural layup on this Long-EZ build. To be sure there are still a myriad of small layups such as the tabs on the vortilons and the aft faces of the winglet intersection fairings, but as far as no-kidding bigger, must-do structural layups for this bird to fly, this right winglet intersection fairing is the last one.
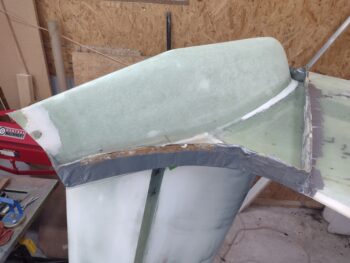
Again, here is what the bottom of the right wing and winglet looked like this morning when I started… with a couple small caveats.

Those caveats being the bottom winglet aft corner reinforcement layup and the light washer embedding for securing a protective corner cap via magnet.
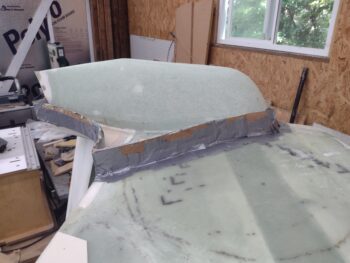
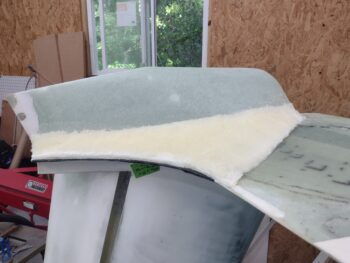
I then got to work reusing the same tape covered cardboard strips to make up my pour foam dam around the winglet-to-wing intersection.
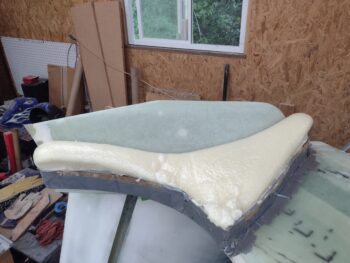
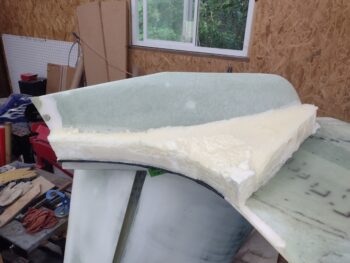
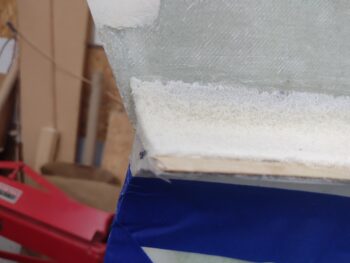
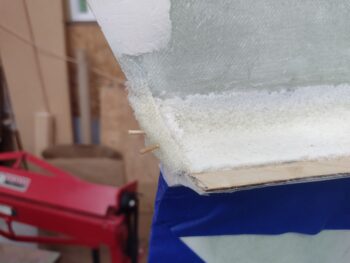
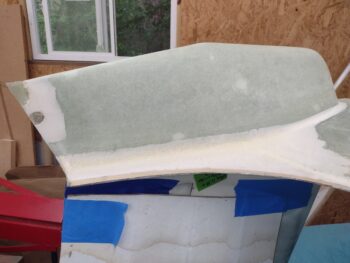
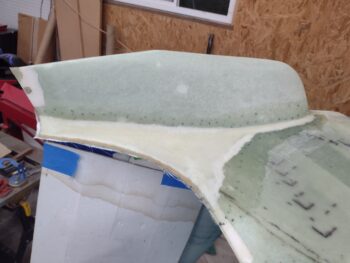
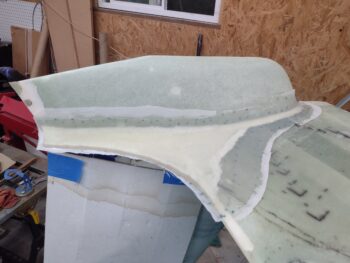
As before, I dumped enough pour foam mixture in the dam to create a lot of foam, about 90% of which would be removed. But I wanted to ensure that I didn’t have to redo any pour foaming, and thus the large amount of foam (pic 1). I then trimmed a good bit of the foam off before removing the dam (pic 2).
And spent nearly an hour trimming and sanding the pour foam down to its final shape.
I had a small oops in that my aft dam piece must have slid forward when I taped it, leaving an area uncovered by pour foam.
To remedy that I simply used a chunk of cured pour foam, did a rough shape to fit into place, and then used fast hardener to mix up some micro to glue the foam filler extension piece into place.
While the micro’d in place aft filler foam piece cured, I then got busy cutting a ply of UNI, a ply of BID and a piece of peel ply for the layup. I also gave the surrounding glass a good sanding and cleaning. By the time that was all done, the micro had nearly completely cured and I trimmed and sanded down the foam filler extension piece in prep for the upcoming layup.
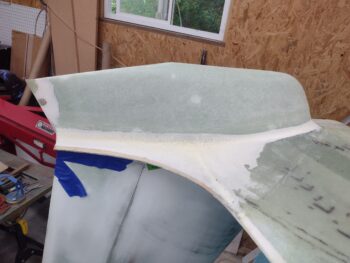
I then whipped up some Pro-Set epoxy and some wet micro to apply to the foam. I used some thicker micro around the edges and a few big pockmarked areas in the foam (pic 1). I then laid up the ply of UNI and wet it out (pic 2).
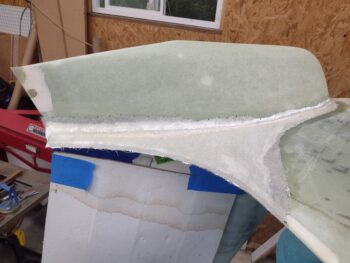
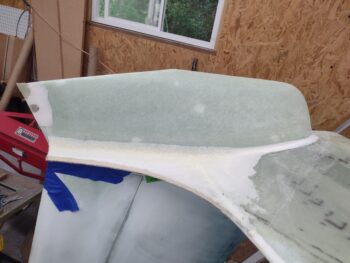
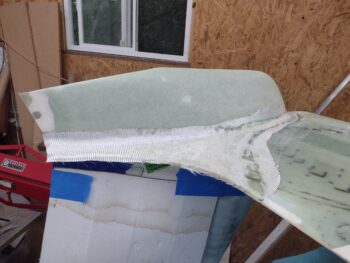
Next came the ply of BID, which I carefully laid into place (pic 1) and then wet it out as well (pic 2).
And of course let’s not forget the peel ply!
By this point in the evening it was starting to get late, especially after doing a good round of cleanup from both the foam sanding and the layup.
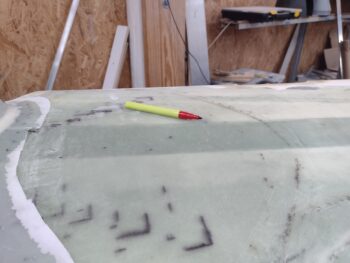
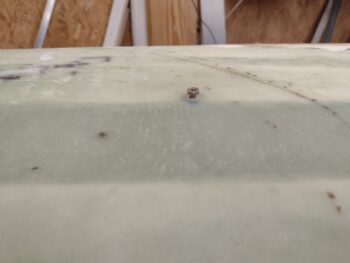
But I wanted to knock out one more task, which was to expose the threaded insert in the bottom wing surface that serves as a wing tiedown hardpoint. The location is just off the tip of the red pen in the pic below.
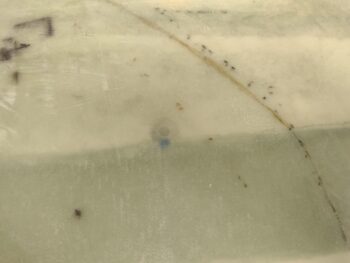
Here we have a closer view of the embedded (back in 2012!) threaded aluminum insert that will serve as the right wing’s tie-down hardpoint (pic 1).
I then carefully drilled out the covering glassed wing skin to reveal the 10-32 threads of the aluminum threaded insert/hardpoint (pic 2).
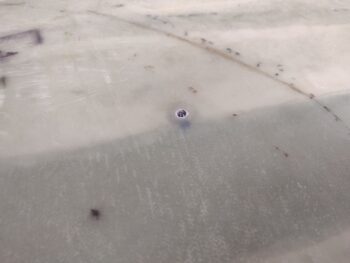
One quick check of the threaded insert “functioning” by installing a 10-32 bolt, and all is good here. I love it when a 13 year old task is completed! (I then filled the threaded insert with plastic Saran wrap in prep for micro-finishing this area of the wing).
Tomorrow I’ll clean up this layup and then micro up the bottom of the right outboard wing, inside winglet and just-glassed winglet intersection fairing.
Pressing forward!