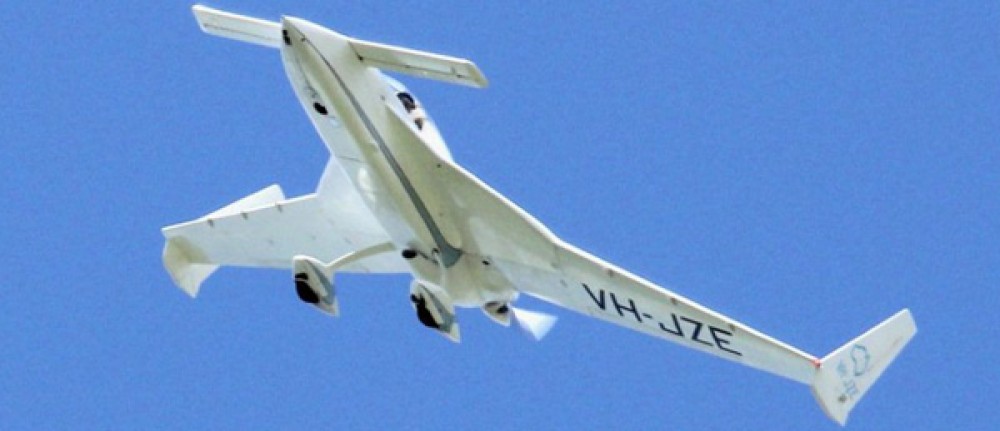
After dropping off a few tidbits at the hangar, I then went home to my shop and assessed my plan for the aileron weight and balance.
Since there was quite a bit of orange peel still remaining on the left aileron and some significant smatterings on the right aileron, my thought was that I was simply going to sand off all the paint —starting on the bottoms first— assess the weight, and then figure out the top sides after that.
All in all, I’m really only about an ounce over on each elevator that is currently prohibiting me from not violating the plans ‘golden rule’ of only adding 0.3 lbs to get my ailerons back to good in the balancing department.
I then took a break and headed into town to run some errands and also visit my paint guy to see if he knew any independent painters that may be able to shoot a light coat of paint on each side of the ailerons in a paint booth (this last part being critical to getting a decent paint cure without dust or critters mixed in with the paint).
But alas, he didn’t know anyone that was flying solo in regards to shooting paint.
Now, part of the dynamic duo that buffed out my paint, Ray, happened to stop by at Guy’s hangar the other day while I was there… today I reciprocated by stopping in to Phil’s shop to ask them if they knew any independent painters. In our ensuing discussion, Phil offered up taking a crack at really knocking the paint down (aka “orange peel”) first before doing anything more drastic.
Yep, good to collaborate and have folks offer up different courses of action other than going with the nuclear option right out of the gate <<why hadn’t I thought of that?!>>
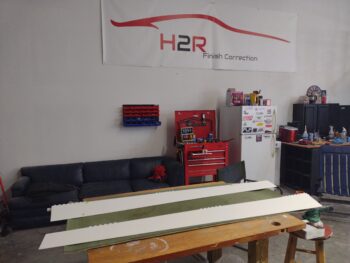 So I ran back to my shop, collected up the ailerons and delivered them to Phil’s shop for round 2 of weight elimination.
After about 20 minutes of Phil whittling away on the top third of the left aileron, it was looking much better… and with the amount of white powder from the sanding and buffing I was beginning to think we might just be able to eliminate a good ounce by going much more aggressive on the top and bottom sides of the aileron. He totally understood what I was needing and we agreed to at least try removing a good bit more of the undesirable orange peel and knock the paint down a good bit. Again, giving it the ‘ol college try in eliminating as much weight as possible.
Tomorrow mid-day I’ll collect up the ailerons after Phil gives them the aggressive what-fer and check the balance. I’ll assess and press on from there.
In regards to my schedule for the day, I had blocked out a few hours to go see the new Star Wars movie with Jess and my stepson, but then our plans changed at which point I was released from my virtual ‘holding pattern’ <wink!>.
I then engaged in another round of reviewing my past notes regarding my fuel system and jumped back into the shop to begin the process of finalizing my fuel system connections.
Now, a month or so back I had emailed Andair to ask them what the best method would be to clean up my fuel selector valve to get it looking all spiffy and new. A bit to my surprise they told me to use 100LL as a cleaning agent to get the anodized aluminum parts looking new again… as the valve lever and cover plate had spent literally years covered by painters tape. As you can see here.
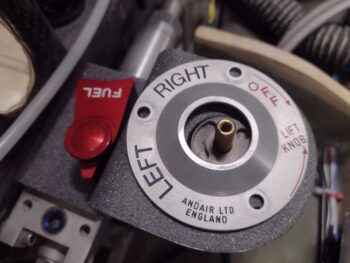 And here… notice the gunk on all the pieces parts from both the tape and the exposure to both garden variety dust, and —moreover— micro dust that had seeped in under the tape, from all my building shenanigans.
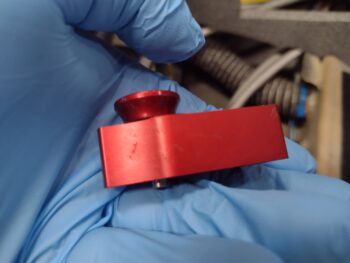
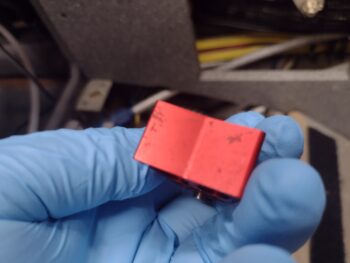
Well, hats off to our British brethren because they hit the nail on the head! I have a gallon of 100LL that I used for the initial calibration of my fuel tank probes many moons ago and it worked an absolute treat in cleaning up the anodized aluminum on my fuel selector valve. Of course I followed up the 100LL fuel cleaning with some Simple Green to remove the fuel smell off the parts, but again, as you can see they came out spiffy clean!
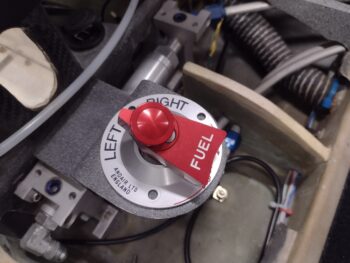 I then set about to assess what all needs to occur to get the fuel lines terminating into said fuel selector valve and squared away for the final install.
Now, speaking of valves… I’m taking a page out of Marco’s fuel injection conversion by installing a fuel on/off valve that will allow me to cut all fuel off to one of the incoming fuel tank lines (via the GIB thigh support sump) since the line with the green tape on it has a little bit too much of a kink at the elbow below the selector valve to be called good for flight ops (I’ll have to review my notes/blog to ID as to which tank it actually goes to).
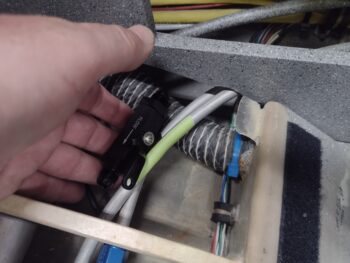 To be honest, I was going to forego these on/off cutoff valves at this point simply to get the plane in the air, mainly since I would have to engage in significant machinations to get them both installed due to the limited space under the thigh support in this area.
But since only one of the two fuel feed lines from the GIB thigh support sumps is good, I’ll have to cut the unacceptable line anyway… so I might as well get one of the two valves installed at this juncture. I’ll note that I will PLAN both out now, but only the one will get installed: Yep, one cutoff valve is better than nothing at this point, so to minimize build time I’m pressing forward in this direction.
As it stands now, the line showing just aft, right and below the fuel selector valve is good and will be connected with no cutoff valve. Behind that and to the left underside of the valve is the line that has the green tape on it. Again, that will be cut, valve installed and then a new short length of tubing cut, bent and terminated into the valve coming from the cutoff valve.
Finally, the length of tubing on the far left, adjacent the pilot thigh support rib, has been tweaked to work (I had considered installing a braided steel line here) and will be used as originally designed and configured.
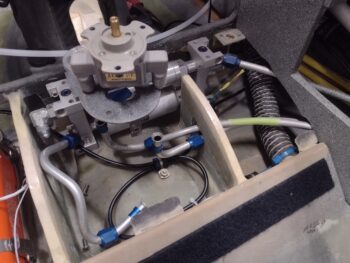 One would think that this task should not have taken an entire evening to figure out, but then that is the general thought on this entire build! In short, it did take ‘that long.’
And after getting my fuel line plan figured out, I called it a night and will press onward tomorrow.