
This post covers the past few days, where I’ve been doing a little bit of everything on the bird.
To start off, I did some research online, aircraft/canard forums, etc. to find the best way to secure the GIB headrest pad to the headrest/electronics cover. I also called Oregon Aero to see what they had to say. Of course I had some thoughts on how I thought I would do it, and I pretty much just ended up doing that… as everyone seems to be in agreement, since this isn’t rocket science.
My plan was and is to slide a piece of aluminum, phenolic or carbon fiber onto the back side of the headrest pad, inside the leather cover. With platenuts on the substrate I would then simply screw the headrest pad to the headrest cover.
Here is my paper outline of the back of the headrest pad.
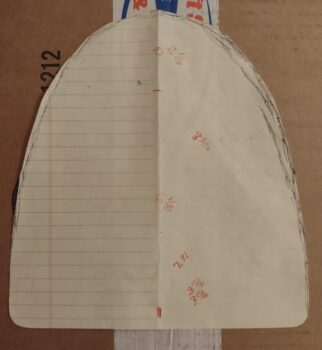
Why not just use the velcro that is already attached you might ask? Well, because it causes the headrest pad to stick out way too much from the headrest cover. I want it attached nice and tight with no daylight or “sagging” going on.
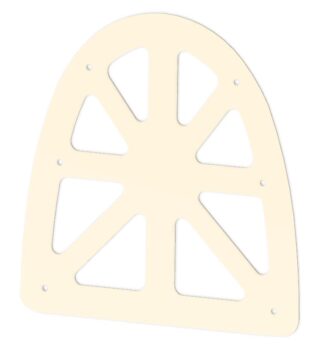
With my paper template above, I then transferred that into CAD. Here is my internal securing frame that I plan on plasma cutting to put inside the pad to secure to the cover. My thinking was that 0.04″ 6061 would be good for this, but alas, I only have that in 2024… which doesn’t plasma cut. My other option would 0.032″ (too flimsy) or 0.063″ (a bit thick, but should work).
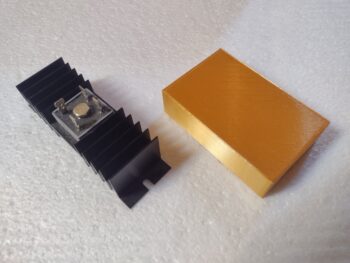
I previously discussed my missing ground wire for the B&C SD-8 backup alternator, which I put the appropriate resistor for that on order and received it (although I don’t have my fuselage on hand currently). An option that a VANs bubba or two did when the “self excitation” feature was having issues was to remove the bridge rectifier and essentially replace it with a small-ish 12V battery.
While I was in CAD drawing up my GIB headrest pad internal frame above, I went ahead and whipped up a model of that battery and 3D printed it out in case I need it for future planning and assessment.
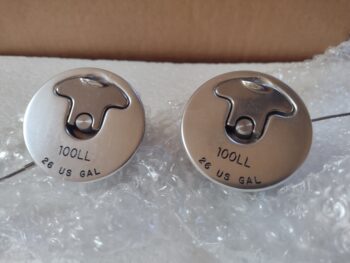
I’m also happy to report that I got my gas caps back from the engravers, and they look very nice. I wanted the verbiage to be minimal and succinct, so any future line boy or gal will avoid loading up my bird with jet fuel!
I then took another 45 minutes to do a final sanding and cleaning of the aft nose cover’s glare shield before taping it up to be clear coated with a 2K matte clear coat.
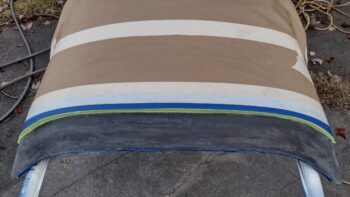
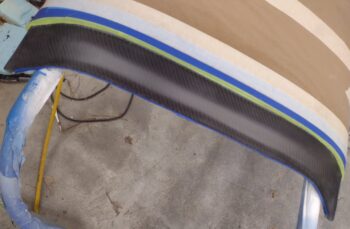
I shot a light coat, a medium coat and 2 wetter coats of the matte clear and then let it dry for a few hours before bringing it back into the shop. Here it is, looking EXACTLY how I wanted it to look. A matte finish with no glare, but a nice sheen with the carbon fiber weave showing through. I honestly don’t even think I’m going to sand this… I’ll just press forward.
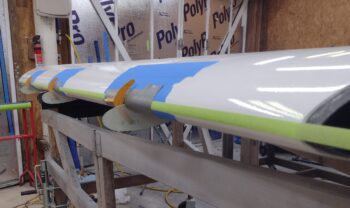
My evening task, after I did my search for parts and documents drill for a good hour, was to tape up the left wing leading edge, mark off the vortilon mounting locations, and then hot glue my 67° 3D printed jigs onto the leading edge.
Then, after sanding and prepping the left wing vortilons, I hot glued them to the lower tab of each template and nicely snugged up against the taped wing bottom.
I’ll note that in my push to get things done I’m following the unintended guidance of both Dave B. and Izzy regarding these vortilons. Izzy noted on the COBA forum that Marc Z. gets on him constantly about his vortilons being on crooked, while Dave noted on his build log that he simply used the contour outline of each vortilon where it intersects the wing to be the ultimate decider for placement onto the wing (my paraphrasing). Thus, I’m trying my best to get them mounted on straight and aligned, but not fretting if they’re off a hair and not perfectly exact.
I made patterns out of the other (right wing) set of vortilons to cut 2 plies of BID for each vortilon and then prepregged those in plastic. I then laid up the outboard side of each vortilon, and on the inboard and middle I had enough epoxy left over to peel ply those.
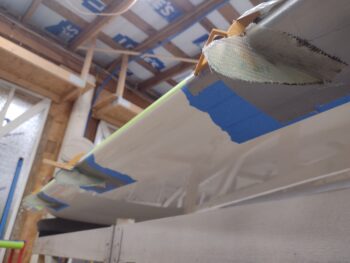
My middle vortilon seemed to be “leaning” just a hair, so I popped it nearly all the way off the template. However, to keep it snug to both the template and the underside of the wing, I secured it with a clothespin.
I then left the left wing vortilon outboard layups to cure overnight. Tomorrow I plan to finish the layups of the left wing vortilons, and get at least one side glassed on the right wing vortilons (hopefully both sides, but we’ll see).