
This post covers the last couple of days.
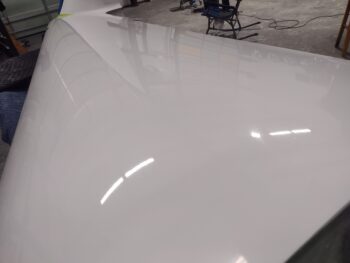
The good news is the dew damage on the top of the right wing has been eliminated, and it’s looking very nice.
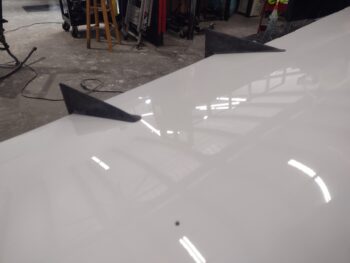
The lesson that I learned was that I should have waited another day or two to deliver the right wing to Phil’s shop, as laying up the carbon fiber on the right wing trailing edge fences off the wing has resulted in them being a bit off in their relationship to the wing.
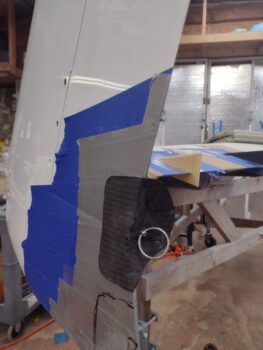
I tweaked both the outboard and middle fence after I checked them a few days ago. The outboard is fine, but the middle one will have to be reworked with it in situ on the wing. The top is fine, but the bottom flange angle is not sitting flat against the wing.
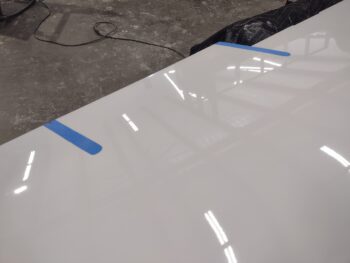
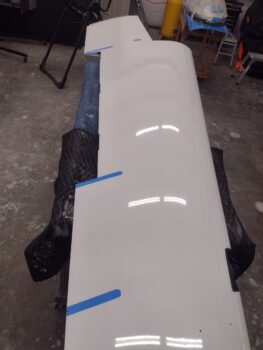
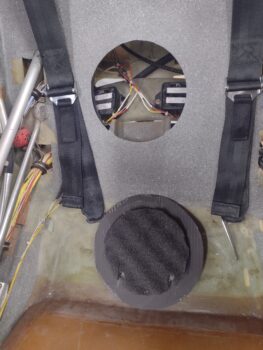
After checking them in place (pic 1), I then added tape to their wing mounting positions to keep any sealer, polish and ceramic coating off of the wing at those points so I can install them later on (pic 2).
I hadn’t finished the inboard fence when I checked the outboard fences, and with a little trimming of the Fein saw it fit on the wing trailing edge with little issue.
It actually works out fine not putting the fences on just now, so I can fly the plane for a few months, get a baseline and then track the difference after the fences get installed.
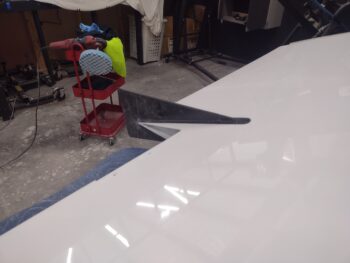
Here’s Phil doing one of the final rounds of buffing out the wing top.
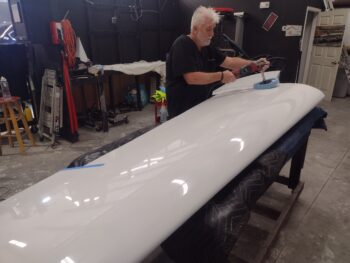
Remember again, this was the dew-damaged wing, just as my strakes were, but now it’s looking nice and spiffy!
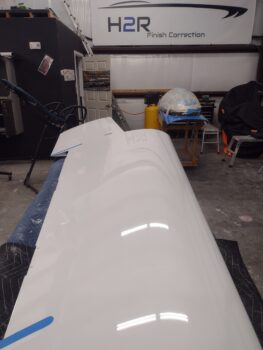
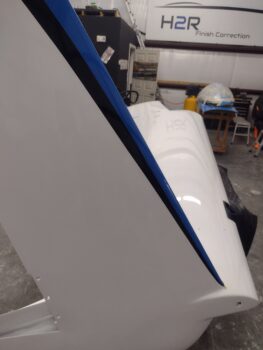
A couple more shots of the wing top, with some reflections showing up nicely. Note the tape on the wing for the inboard fence.
Back in my shop I trimmed the left wing rudder gust lock. I may not have reported that I micro’d the pin sleeve into the aft of the wing-to-winglet fairing. And here is the pin installed nice and snug, securing the gust lock in place. After this pic I slathered up the gust lock with micro and let it cure overnight.
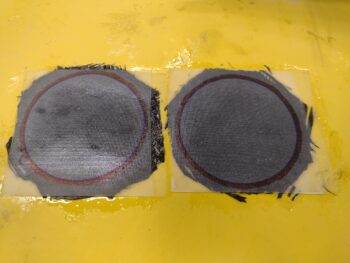
On the underside CS spar wing bolt access holes, I drew out the 2.75″ diameter circles to cut those. Which I did next, and then epoxy wiped them.
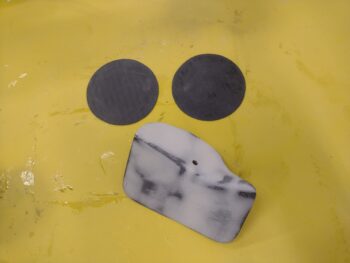
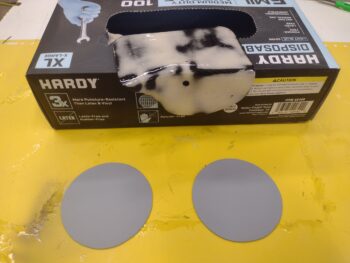
The next day I sanded both the CS spar bolt hole covers and the micro on the left rudder gust lock. I then hit the covers with a couple coats of primer and epoxy wiped the gust lock with 3 coats.
Up until tonight I had the GIB seat hole cover secured in tape with blue painters tape. Over the last week I thought about how to secure it and came up with the idea of simply cutting the ID of the hole out of anechoic foam, and then peeling and sticking it into place.
In this pic I also did some cable management and secured the right sidewall seat heating wire pairs, as well as the fuel probe control head units’ wiring just inside the GIB back seat hole.
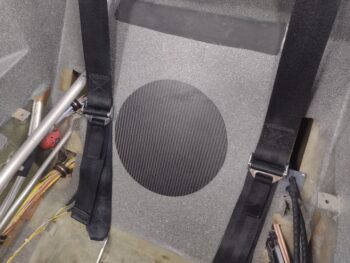
And here is the cover in place, held fairly secure with the foam.
Both the inboard and middle left wing trailing edge fences are “glassed” in carbon fiber and trimmed. Here they are set in place on the left wing. I’ll note that since these were laidup on the wing, they fit with no issues like the right side.
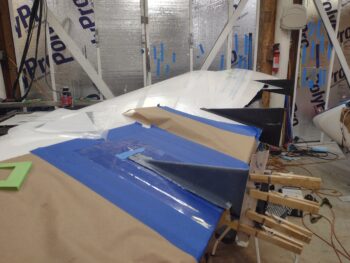
Lastly, here we have the outboard topside fence with a ply of carbon fiber laid up and peel plied. Tomorrow I’ll layup the bottom side.
Pressing forward!