
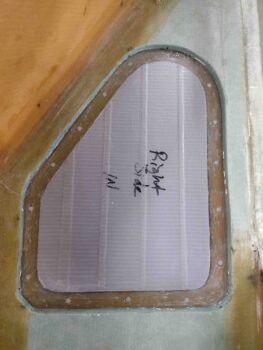
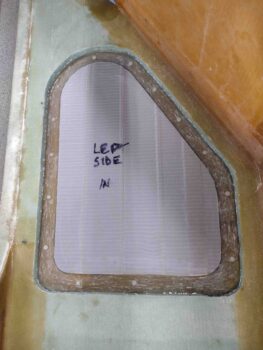
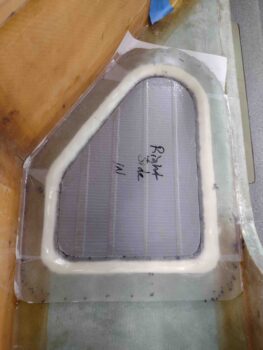
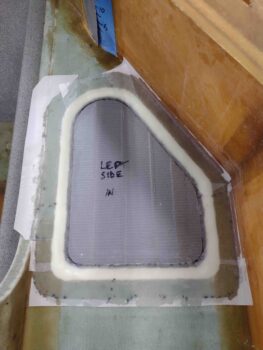
A day after getting back from Rough River I wanted to get right to work, with the goal being to finalize the GIB strake windows install.
I started out by hitting each edge —inside and outside— with a sanding drum on the Dremel Tool. I then hit it with 60 grit and finally 220 grit.
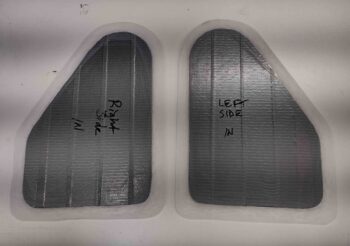
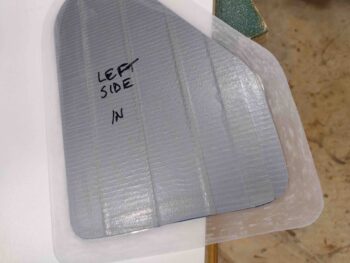
It may be a bit difficult to see the sanded edges above, so I grabbed another shot of it with a darker background.
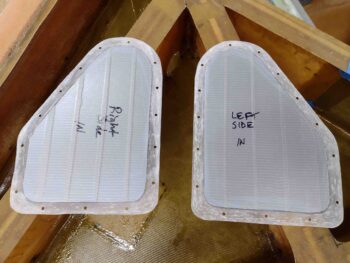
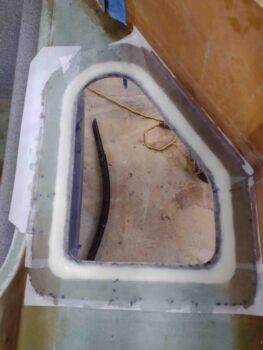
I then drilled holes around the perimeter of each GIB strake window pane to allow a better grip on each window by creating flox “studs” in each hole.
I then whipped up some flox using MGS 335 with fast hardener and laid down a bead on each window flange, one at a time.
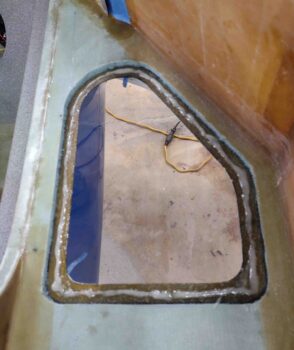
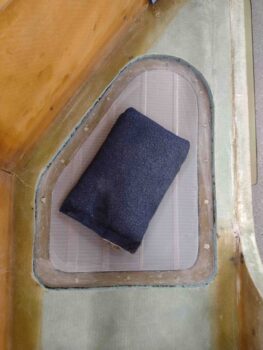
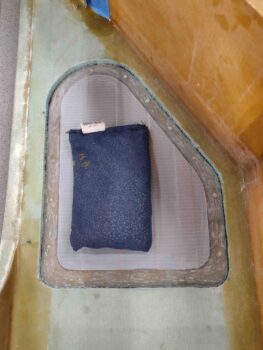
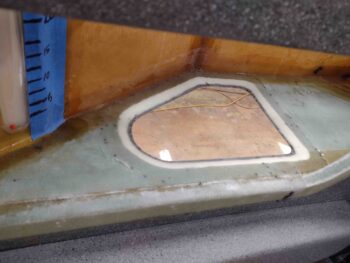
I then set each window pane in place and weighed it down with ~2-pound diving weight bag.
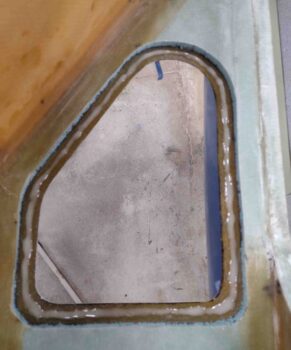
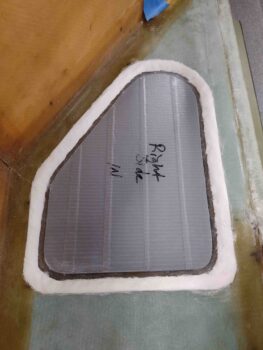
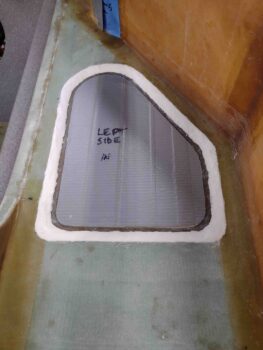
After about an hour I pulled the exterior protective tape panel on each window and cleaned up any excess flox that had squeeze out on the exterior perimeter of each strake window.
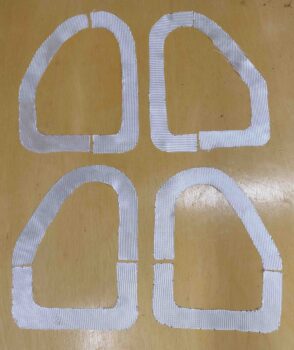
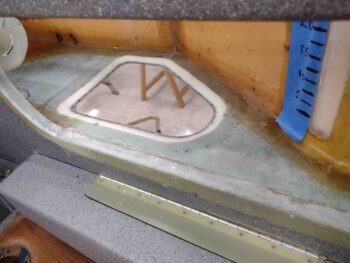
As the GIB strake window pane flange flox cured, I used my window template to cut 2 sets of BID with seams at 90° to each other for 2 plies total to secure the windows in place.
It may be hard to see in these pics, but I then mixed up some wet flox to fill in the gaps around the window panes to more fully secure the panes to cutouts/sides in/of the strake window cutouts.
A big reason I did this was to ensure that from the edges of the window panes down along the opening flanges I wanted secured with flox since from here on out I would be using dry micro for the transition of the strake baggage floor (~3/8″ thick) down to the surface of each window pane (~1/8″ thick).
I then whipped up some dry micro and laid/shaped it in along the edges of the windows to create a sloped transition from the top of the strake baggage floor down to the edge of the window panes, leaving around 1/4″ of the window’s surface to secure the glass to.
I then laid up the 2 plies of BID on each window pane to secure the windows in place. After laying up the BID plies I then peel plied the layups.
After a little over an hour, with the epoxy mostly cured, I then pulled the protective tape panels off the windows and cleaned up the edges of each window to remove any overhanging glass and micro.

A few hours after I pulled the protective tape and cleaned up the layup’s window edges, I pulled the peel ply and cleaned up the layups. With that, I’m calling the install of the GIB strake windows complete.
After completing this significant milestone on the build, I called it a night.