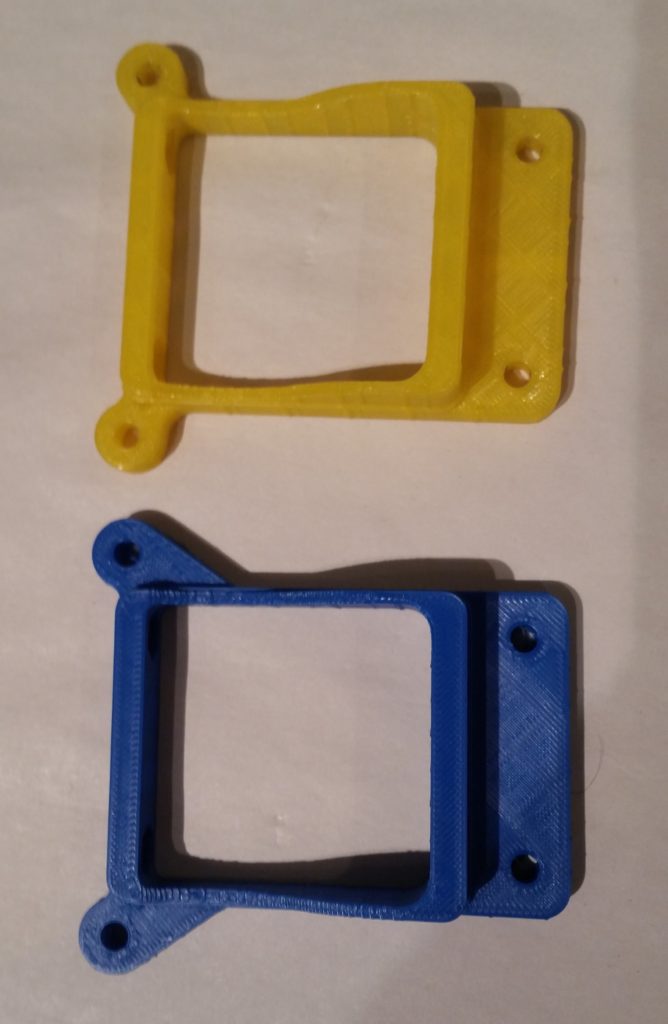
I started out today by 3D printing Version 2 of the starter contactor mount with the dozen or so minor tweaks that I did to improve fit and function.
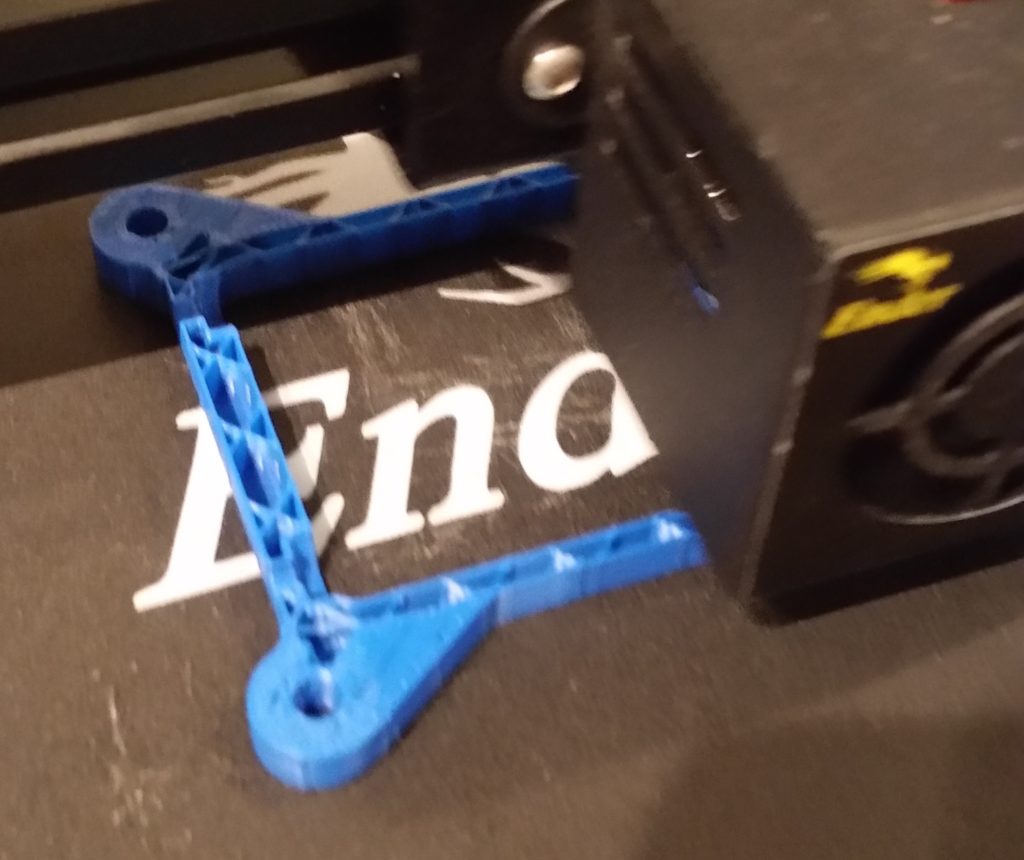
The most noticeable change between Version 1 and 2 is that I added a triangular fillet between the protruding bolt mount and the frame on each side to increase the overall strength of the mount, especially at the attach points.
After the Version 2 mount finished 3D printing I then attached the starter contactor to it. I have to say the fit to this Version 2 mount was noticeable better, with a lot less play –however minor it really was– between the contactor and mount surfaces.
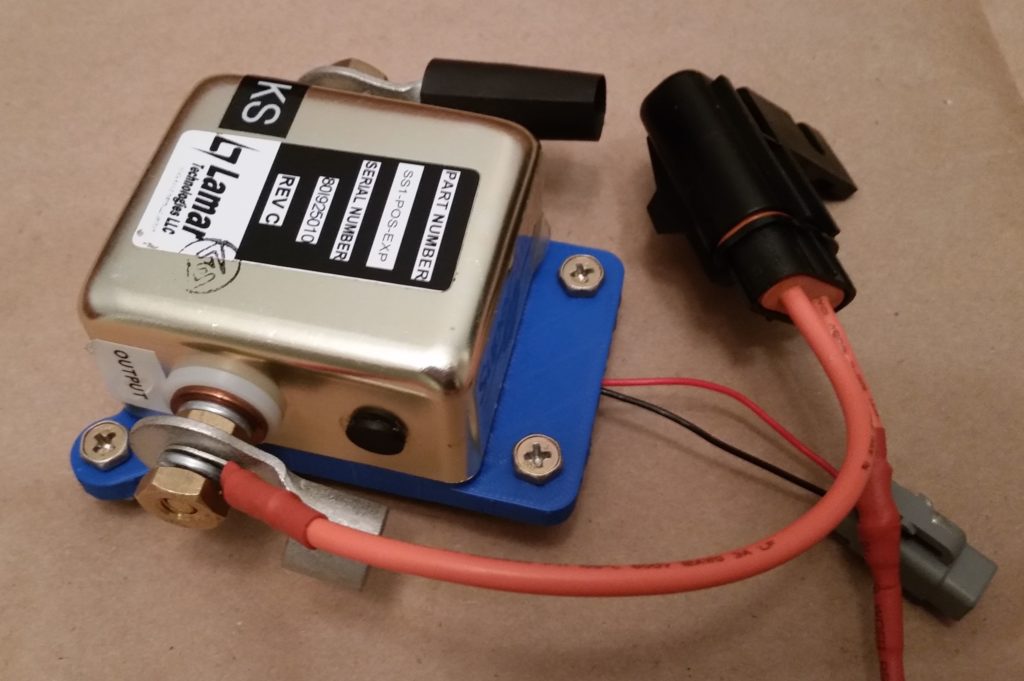
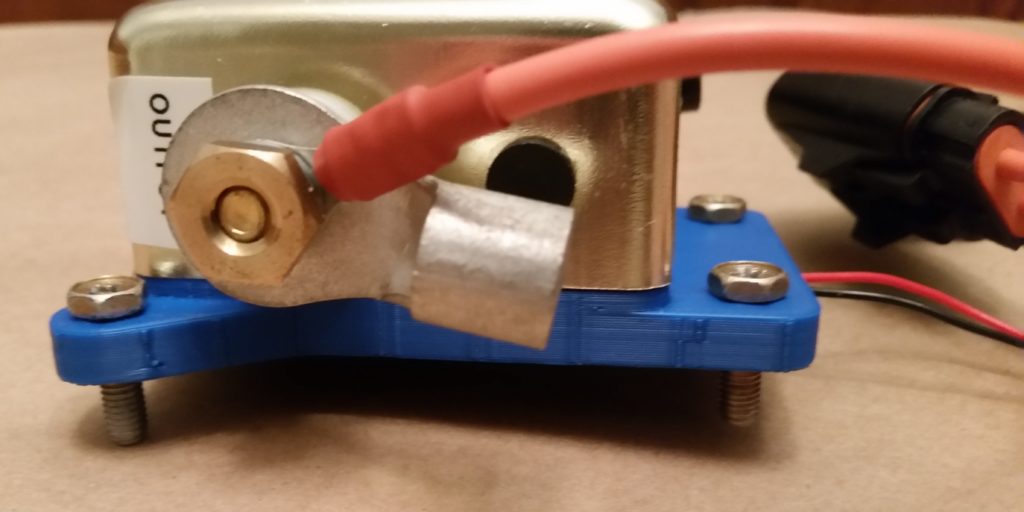
Also on this new version of the mount the 4 securing #6 nuts took a lot less effort to snap into their hexagonal embed depressions as well.
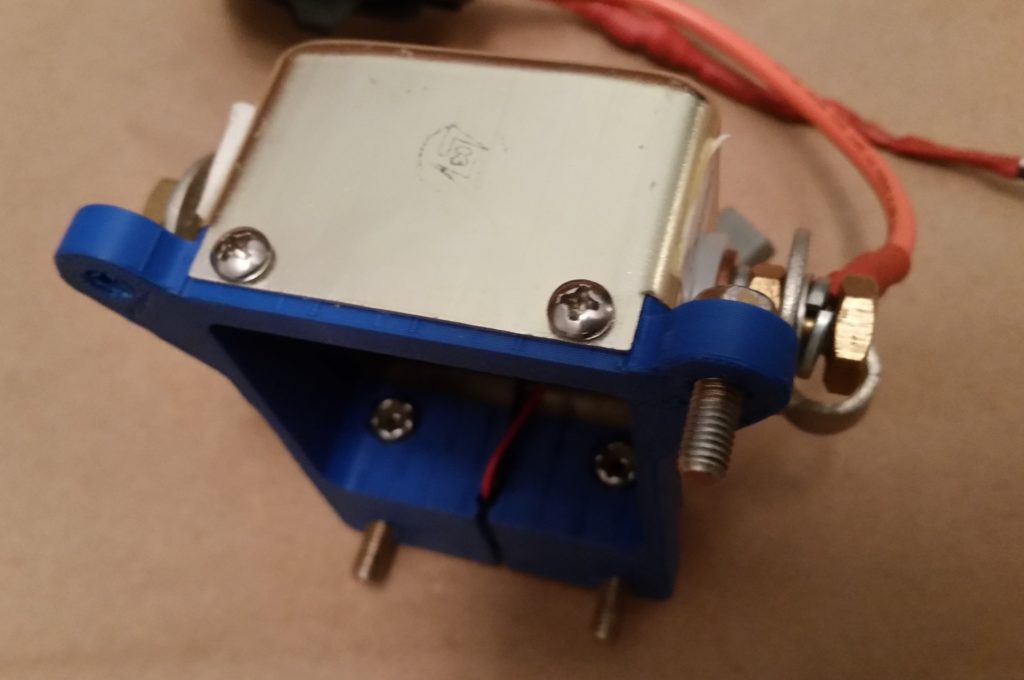
Moreover, I was actually able to get the small gauge control wires to fit into the slot on the underside of the mount. To be fair though, I still ended up taking just a hair more off each side of the slot in the CAD drawing on what should be the final version of this starter contactor mount.
In addition, I added a significant fillet at each each of the wire channel to eliminate any type of corner chaffing or distress on these 2 small control wires (red & black). I didn’t add these fillets in on the planned aluminum version of the mount since there’s no (reasonably easy) way to create them on the mill if this were milled out of a block of aluminum. However, since a 3D printer builds from the table up, versus cuts away material, I can easily add these in to be 3D printed as its depicted in the CAD drawing.
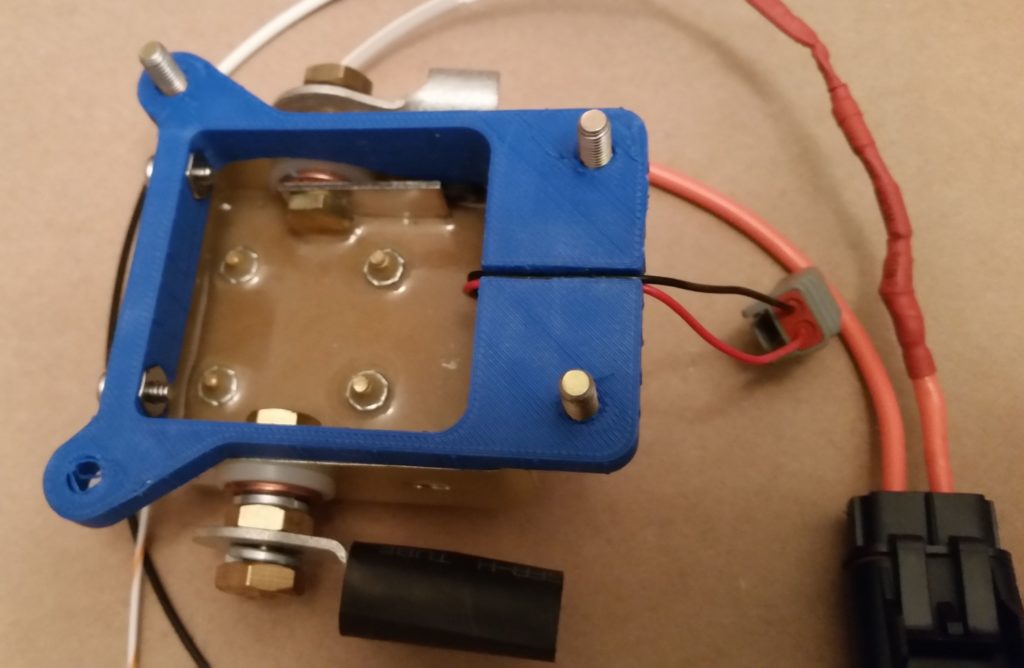
With Version 2 of the starter contactor mount completed and a success in fit, finish, and configuration, the next thing on the list is to simply see if it will fit in the battery compartment of my Long-EZ… which I’ll do when I’m down in North Carolina later this week.
