
I started off this morning at Phil’s shop where I loaded up the canopy, the left aileron and the two front wheel pants to take back to my shop. I ran a few errands on the way, and then unloaded it all when I got back home.
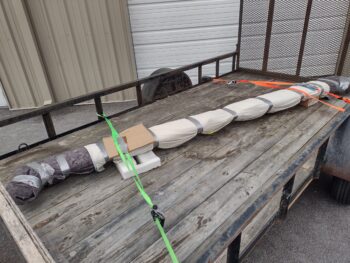
I then swapped out vehicles, grabbing my truck and trailer and headed back to Phil’s shop where I wrapped up the canard in prep for hauling it back to my house.
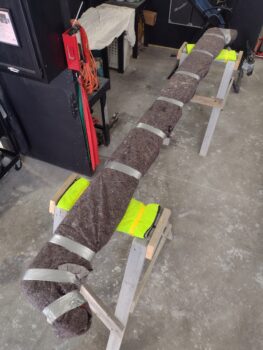 Here we have the canard wrapped up and loaded up on the trailer ready to head back to the shop. I also loaded up the saw horses in my truck bed.
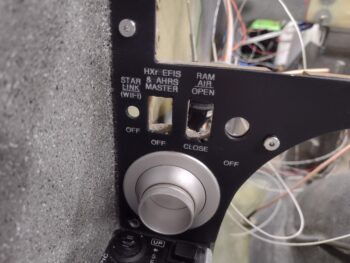
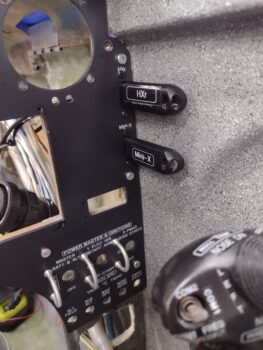
 The weather was very nice today, in the high 60s, so when I arrived back to my house, before unloading the canard, I printed out the labels for the new switch I’m adding on to the instrument panel for the new “HXr EFIS & AHRS MASTER.” After applying the labels, I then hit them with a mist coat of matte clear coat before I started unloading the truck and trailer.
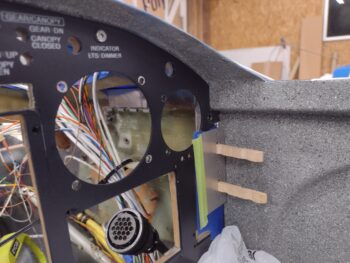
After another couple of rounds of clear coat, I left the panel outside to cure for a few hours before I installed it into the bird.
 Here we have the left side of the panel, with the securing screws in place… which took a good bit of time on the side screws to install due to the lack of clearance with the hex key.
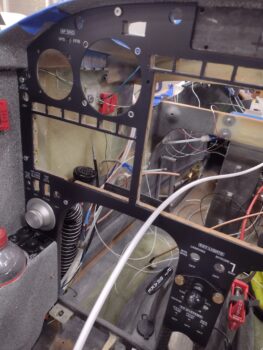 I then ran into another issue in my failing to remember every little nuance of this build, as literally all these little tasks are “coming due” in my final installs of literally every component. This time it was the lack of screw holes to mount the pair of remote USB ports on the instrument panel for the HXr and Mini-X EFIS thumb drives.
My initial thought was that I was going to have to remove the panel, which again involved the very slow process of installing those screws along the side…. admittedly I was quite annoyed, and really didn’t want to go that route.
I ran out to grab a quick bite since I was starving, and while out I brainstormed some possible courses of action other than removing the now installed panel. My plan hinged on finding a hex drive 7/64″ drill bit (which thankfully I had on hand) so that I could use my flexible extension to drill these holes, since I couldn’t get a drill with a standard bit in that tight space to do the job.
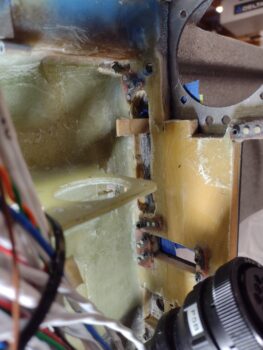
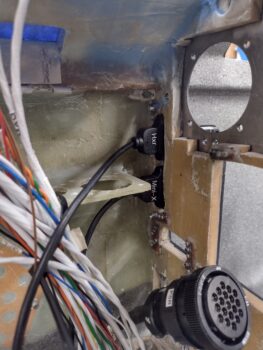
I had a 2-port USB plate that I got from Steinair (IRRC) that I used as a drill template with clothesline pin halves pressed into the holes as alignment pins.
 Here’s how the drill jig setup looked from the front side of the panel.
 I have to say it all worked out great, except for one minor issue in that when I installed the top screws it destroyed my “USB” labels that were immediately under the HXr and Mini-X labels. No big deal as I’ll remake those and apply them under the top screw and then mist them with some clear coat.
As you can see, other than my minor SNAFU it all worked a treat.
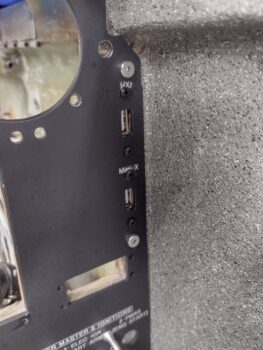 With the remote USB ports installed there was one last step to ensure that they were truly operational… I had to insert the thumb drives to test the actual alignment of panel and USB plugs. Again, they fit great and my sideline task was successful (yet another crisis avoided!).
 Here’s a closer up shot of the installed thumb drives and installed USB ports on the upper right side of the instrument panel both on the aft side (pic 1) and the front side (pic 2).
Yep, another task I figured would take about half an hour that ended up taking over 3 hours…
Again, I’m finding that many of these final tasks require extra effort to accomplish since unforeseen issues are cropping up.
Regardless, I am still PRESSING FORWARD!