
Today was all about completing the long-overdue exhaust pipe surgery to better allow the exhaust pipes to fit inside the lower cowling.
I spent a good couple of hours going over my notes and finalizing the no-kidding plan on how to proceed with getting the engine set and the bottom cowling fitted into place. Step 1 was to trim the exhaust pipes at the top flange on both male and female sides of the slip joint to then assess if the trimming resolved the clearance issue between exhaust pipes and lower cowling.
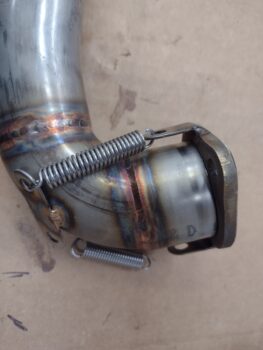
I grabbed these shots of cylinder #1 and #3 exhaust pipes to ensure I captured exactly how the springs needed to go back on. Speaking of the springs, I had whole-heartedly expected to have needed to replace the springs, but due to the comparatively scant amount of trim material (more on that below) and the twist of the pipes stretching the springs when mounted on the cylinder, I don’t see that new springs will be required.
After speaking with Clinton from Custom Aircraft Parts in early February about my exhaust pipe vs cowling clearance issues, he told me that they couldn’t custom re-weld my exhaust pipes without my bird physically there… and I get that. If one or two welds or angles needed to be tweaked, as would have invariably been the case, then sending the pipes back and forth for the mods would have been a few hundred dollars just in shipping alone.
Clinton told me about the option of trimming the inner and outer slip joint tubes to lessen the overall height of the pipes, but cautioned that I should leave at least 3/4″ of mating tube between the flange side and the pipe side to ensure no exhaust leaks.
While I was talking to Clinton on the phone, and what I reported in my 3 Feb blog post was that I had 1.2″ of slip joint tube between the underside of the flange to the end of the weld where the outer slip joint tube was clearly visible. Thus I planned on removing a 1/2″ and leaving 0.7″ for the slip joint. EZ-PZ.

However, when I actually disassembled the exhaust pipes and measured the slip joint from the INSIDE, I found a slightly different story. I didn’t have 1.2″ worth of slip joint tubing, but rather just under an inch: about 0.97″ on average. To maintain 3/4″ material between inner and outer (male and female) mating tubes of the slip joints, this only gave me 0.23″ to trim off.
Well, a 1/4″ is better than nothing in the tight, confined spaces of my cowling situation, so I got to work. I marked 0.23″ from the edge of the slip joint tube and then taped around my marks. I used my Dremel Tool with a cutoff wheel and carefully cut up close to the line. I then used a file and finalized the trim before cleaning it up with emory cloth.
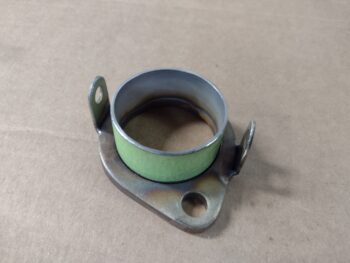
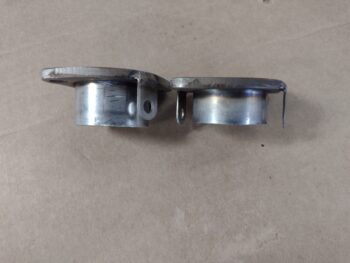
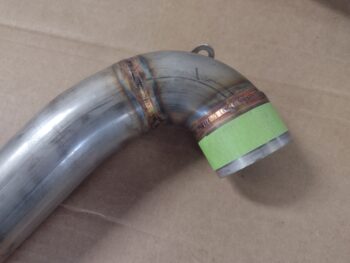
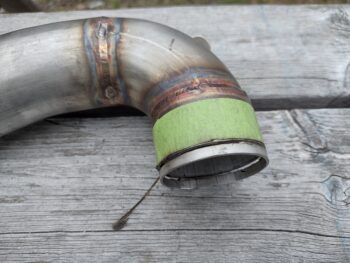
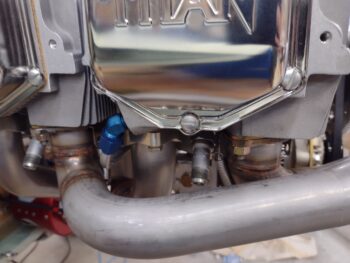
Here we have cylinder #1’s (on the right) exhaust pipe flange side of the slip joint trimmed by 0.23″ and cleaned up. Cylinder #3’s untrimmed flange-side slip joint is on the left.
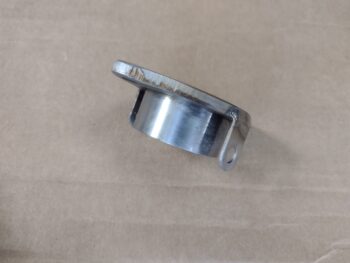
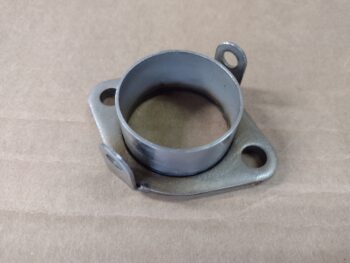
I then repeated the same process on the actual exhaust tube side: marking 0.23″ from the edge and then carefully cutting the tube with my Dremel tool.
I then test fit the trimmed cylinder #1 exhaust pipe. The springs were still somewhat of a PITA to get back into place, which told me they had at least some decent spring holding action. With the slip joint design, the pipes have to be turned at an angle from the mounting flange which stretches out the springs even more… so even though I removed 1/4″ out of the distance that the springs were holding, I don’t see any noticeable difference between the trimmed exhaust pipe’s spring holding power vs cylinders 2 and 4 on the other side (clearly I compared them).

After declaring cylinder #1’s exhaust pipe trim successful, I proceeded with trimming the height of cylinder #3.
I’ll note that the slip joint on cylinder #3 couldn’t really be classified as such since it was too tight of a fit and I had to use considerable force to get the flange side out of the tube side. After I trimmed off 0.23″ from the flange side, I spent a good 10 minutes wet sanding the interfacing surface of the slip joint tube. I then did the same on the inside of the exhaust tube side of the slip joint after I trimmed it, and also worked it back and forth a bit as well to ensure it was in fact a true “slip joint” in operation as well name. All the slip joint fits on the other cylinders’ exhaust pipes were fine.
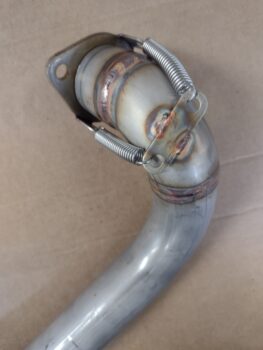
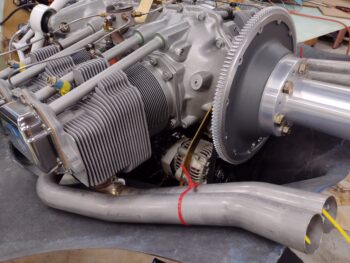
I then trimmed the exhaust pipes for cylinders #2 and #4 as well (right pic). Here we also have both exhaust pipes on cylinders #1 and #3 in place too (left pic).
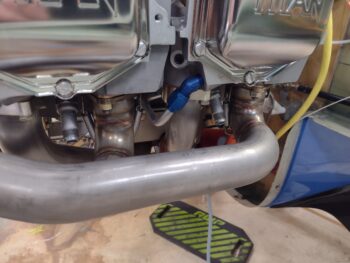
Some wider angle views of the trimmed exhaust pipes mounted onto the engine.
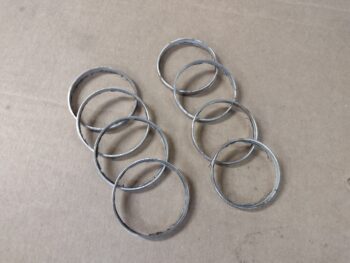
And a shot of all the trimmed 0.23″ rings I removed from the pipes. I of course had to weigh them out of curiosity: 1.6 oz of weight savings!
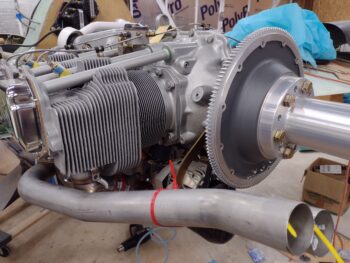
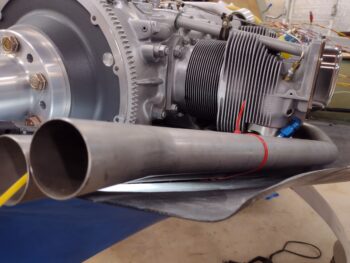
Then came the real test: would the lower cowling fit with the exhaust pipes mounted in place?
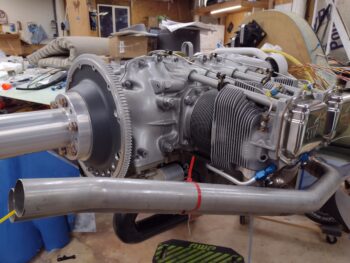
The good news is that I was able to easily mount the lower cowling with the exhaust pipes in place, which I wasn’t before if the left exhaust pipes were mounted.
The bad news is that the left exhaust pipes are still too low and too close to the cowling to simply press forward with the engine and upper cowling install. The bottom line is that I’m going to have to do a considerable amount of bottom cowling rework, about the aft 25% I’d guesstimate. Since I will now have to engage in significant cowling rework anyway, part of my rework will be to open up the lower cowling center aft area to allow me to fit the flow guide of the bumble bee/Hershey kiss spinner in place.
I still have the lower engine mount bolts that need final torque and cotter pin (left side) replaced, which I will do tomorrow as well as start the initial sanding of the cowling and planning for just how I will modify the cowling to provide the proper clearance for the exhaust pipes and spinner flow guide.