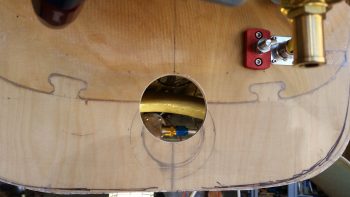
Today, after a fair amount more research, I got down to the shop and pulled the trigger on drilling the 3-1/8″ hole in my firewall for the nose flange of the RAM air canister to fit into. As you can see by the original marks on the firewall, my new location is significantly higher on the firewall than where I had planned to place it originally.
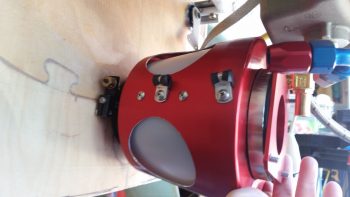
I then test-fitted the RAM air canister and as I’ve mentioned many previous times, it does just fit . . . barely. But it fits!!
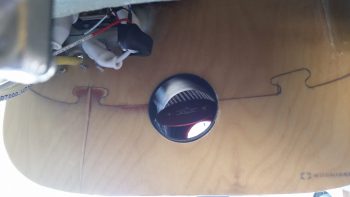
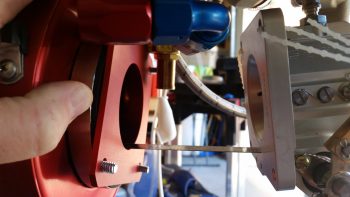
Here we have the RAM air canister peeking through the firewall from the Hell Hole side.
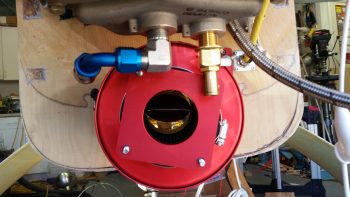
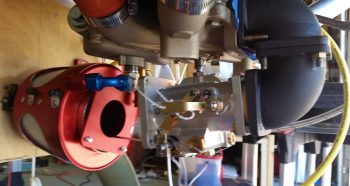
And even though the RAM air canister is tilted down a bit on the aft end –since I’m not holding it in place– you can see the position of the aft air exit hole and how a piece of tubing from the RAM air box to the fuel injection servo will be clear of any entanglements from above such as the oil drain valve and the oil heat feed fitting.
Since I moved the fuel injection servo forward to position the top 90° outlet fitting into a “V” groove on the bottom side of the Superior cold air induction plenum for clearance, that reduced the distance between the aft face of the RAM air canister to the front face of the fuel injection servo from 5.5″ down to only 3.7″. Still enough to allow flexing between the firewall-mounted RAM air canister and the engine-mounted fuel injection servo.
Also note in the pic below that the tubing in-between the 2 units will need to curve upward at the aft end about 1/4″ due to the position and angle of the fuel injection servo. I don’t see this as being an issue since I will be using flexible SCEET tubing.
Here’s a wider angle shot showing a close view of how the units will look in their final installed configuration.
I then spent a good 30 minutes dialing in the location of the firewall mounted MAP sensor/ fuel pressure sensor/oil pressure sensor manifold block. I think I’ve pretty much got it’s mounting spot located, but need to check just a couple more things.
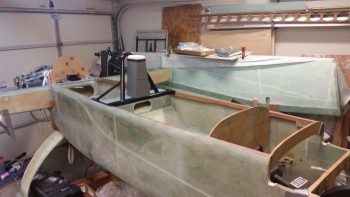
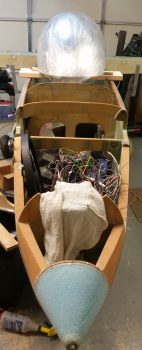
I then started reviewing my canopy install and build plans. I set the 4130 steel rollover assembly in place as well as the headrest to prep for putting the canopy in place and assessing clearances [A couple notes: A) the headrest will get repainted since I had that issue with 2 different paint styles coming from cans with the same label, and B) the white thing on top is my GPS Antenna “radome”… in case you were wondering.)
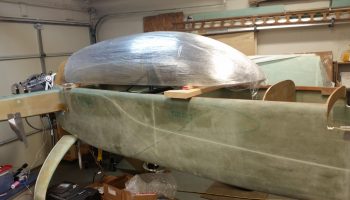
I then grabbed my canopy out of the back room and set in place on two 2x boards. Although the angle is still a tad bit shallower than I’d prefer on the front of the canopy, I still like this canopy much better than my first one.
Here’s a canopy shot from the front that I was curious to see.
With that, tomorrow I’ll be finalizing my engine-related tasks in prep for pulling the engine off the fuselage and mounting it to its engine stand, and concurrently I’ll be prepping for the nose and canopy install/build.

