
I started off today with a quick task to dial in the fit of the left gear fairing. For some reason the top aft edge was raised just a hair, maybe 0.030″ off the surface of the fuselage as compared to the lower aft surface (remember, everything is reverse with the plane inverted). I suspect as I added dry micro during the last glassing session that it must have pushed the top edge out just a hair and remained that way while it cured… unnoticed of course by me.
So I got to work on the very minor tweak of the left gear fairing by simply taping off the fuselage again and adding some micro up under the edge of the top aft gear fairing (after sanding and prepping it of course). I then left it to cure.
Now, often in the course of my build days I take an opportunity to diverge from the main task at had to knock out a minor task, especially, say, if I have a bit of extra micro or West 410 fill that I can use.
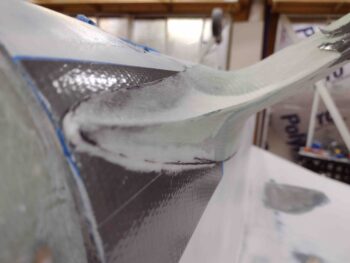
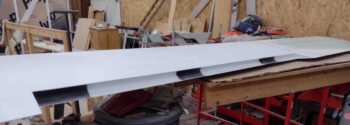
Thus is the case where within the last couple of days I used some excess West 410 to fill in the TE of the wing at the aileron pocket, where it definitely needed some TLC… all for cosmetic reasons of course.
Back to my original point… until I come back around to the main task I’m doing the sideline prep for —in this case laying down primer into the aileron pockets— I forget about the sideline prep task: the West 410 application I did… to report on it until I come back around to completing the main task.
So I started off today sanding down the filler along the bottom edge of the aileron pocket, which with the wing inverted is the top edge. I also did a quick sand of the internal glass, then did a couple rounds of cleaning to ensure the surface was prepped for primer.
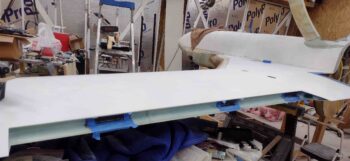
This resulted in nearly 2 hours of prep just on the aileron pockets alone. Note that I also taped up edges of both inboard wing root flanges for primer to allow paint to be applied to cover the seam between cowling and wing. I also removed and prepped the nose gear well door hinges for primer as well.
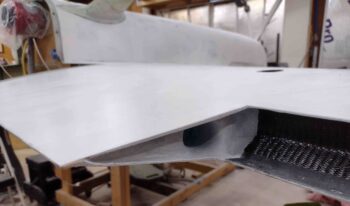
I then mixed up some primer and went to town on my list of components requiring it. Here we have the wing aileron pockets in primer now. I left the carbon fiber bare simply to minimize paint weight and just for a bit of variance (aka fun) whenever this area may be visible (which it’s not really once the ailerons are in).
Here’s a shot of the inboard side of the aileron pocket… I’ll be hitting just these inboard and outboard ends with a single coat of white paint since they are more visible when the ailerons are deflected up or down.
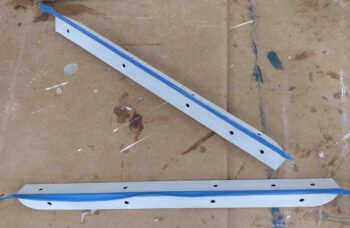
Here we have the pair of nose gear door hinges that I removed for priming. Note that I’m not messing around with priming or painting the actual hinge interconnecting pivot points simply because it’s too much hassle for an area of low visibility. A strip of aluminum-colored metal isn’t going to break the bank design-wise in the wheel well!
Of course these too will get a coat of white paint before being permanently re-installed.
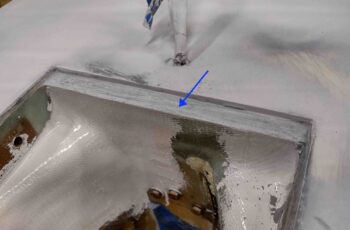
Related to above, the aft ledge of the wheel well that the hinge doors press up against was bare, so I added a quick coat of primer to that as well.
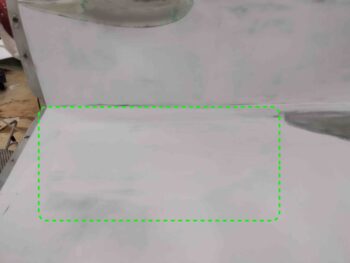
Finally… although for a bit I wasn’t sure if I was going to have enough primer mixed up to complete all my tasks, I actually had just enough left over to allow me add a good bit of micro to thicken it up. Then, with my home-brew high build primer, I slathered it onto the area of the aft inboard bottom left strake that has had some issues with an irregular surface… that I didn’t catch fully until I wet sanded the white primer.
Hopefully with this wide application of thick primer I can get this area dialed into a nice smooth surface for final paint.
I then left my various components/areas in fresh primer to cure.