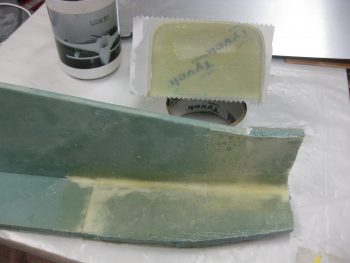
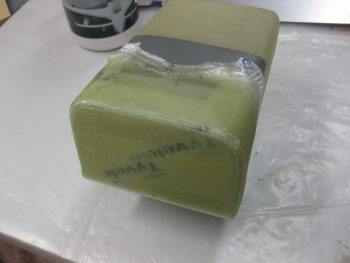
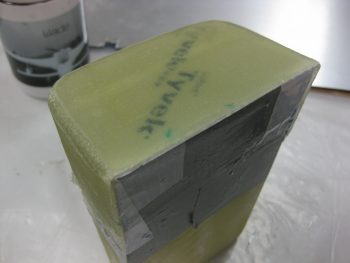
Today I started by checking last night’s layups on the GIB left inside armrest layup & the layup for the nose tool box lid.
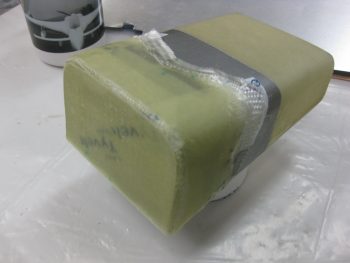
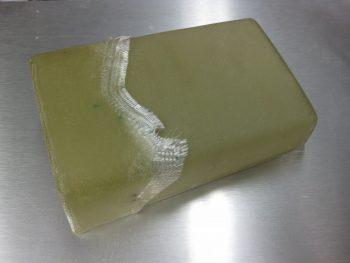
I pulled the peel ply on the nose tool box lid layup and was glad to see that the layup looked good.
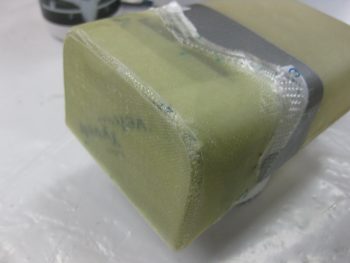
Here are few more shots of the tool box lid at different angles.
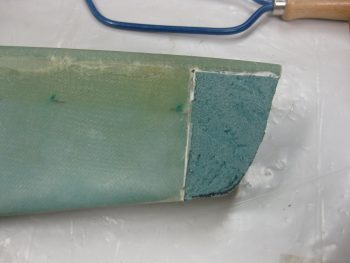
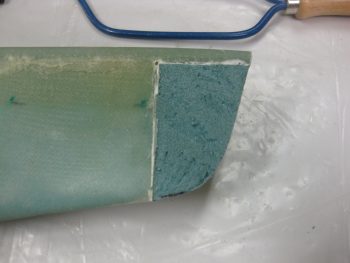
I then got to work on the final piece that needs to be glassed on the GIB left armrest extension. I drew up what I wanted as the profile outline.
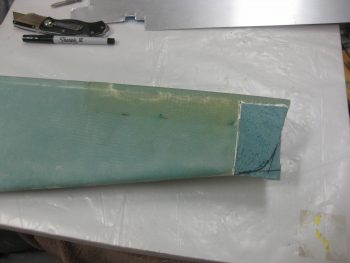 Then cut the foam & shaped it a bit.
I then sanded a nice round over on the lower edge and the adjoining glass to transition it nicely in prep for glass.
It took a bit of effort, and a few choice words to finally get the lid pried off the protective tape I had covered the top of the tool box with. I needed to get the lid off so that I could consolidate my glassing efforts.
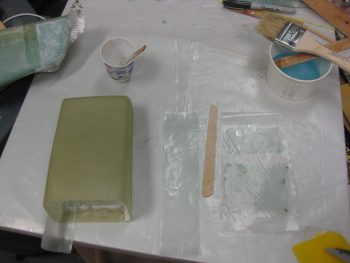
Here’s a shot of the big layups in action! To the left you can see I have a ply of BID laid up on the front edge of the GIB left console. In the middle I have a few prepreg setups ready to get laid up on the inside of the tool box. In fact, after these layups, all the interior tool box layups are complete.
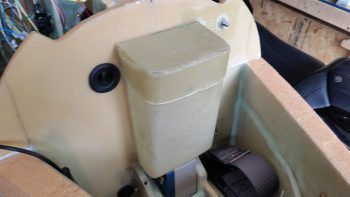
The shot below was taken a few hours later after I knife trimmed the internal tool box layups and pulled the peel ply. I did a quick trim job on the tool box lid and wanted to see how it looked installed.
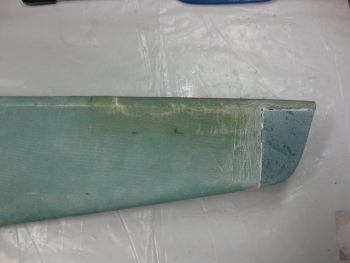
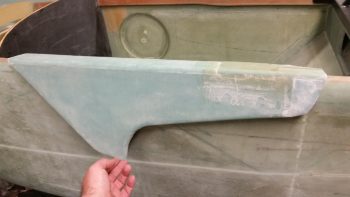
Below is the shot of the final glassed extension on the GIB left side armrest. Yes, it looks a tad rough, but once it’s cleaned up and finished it will look stunningly normal!
I do have some details on the nose tool box that I still need to work, but for the most part tomorrow I really do plan on starting back on the full-on canard & elevator install.

