
Today I had to attend my weekly broker’s meeting at the office. On the way home I stopped off at Lowe’s, Michael’s and Home Depot in search of some springs for my ratchet pawls for the fuselage dolly. No joy. I guess I’ll have to look online for them.
Once back at the house, I started off with finishing about an hour’s worth of research on some of the electrical components, updating my nose wiring/component placement diagram, and a little research on the ADS-B & GRT EFIS interface.
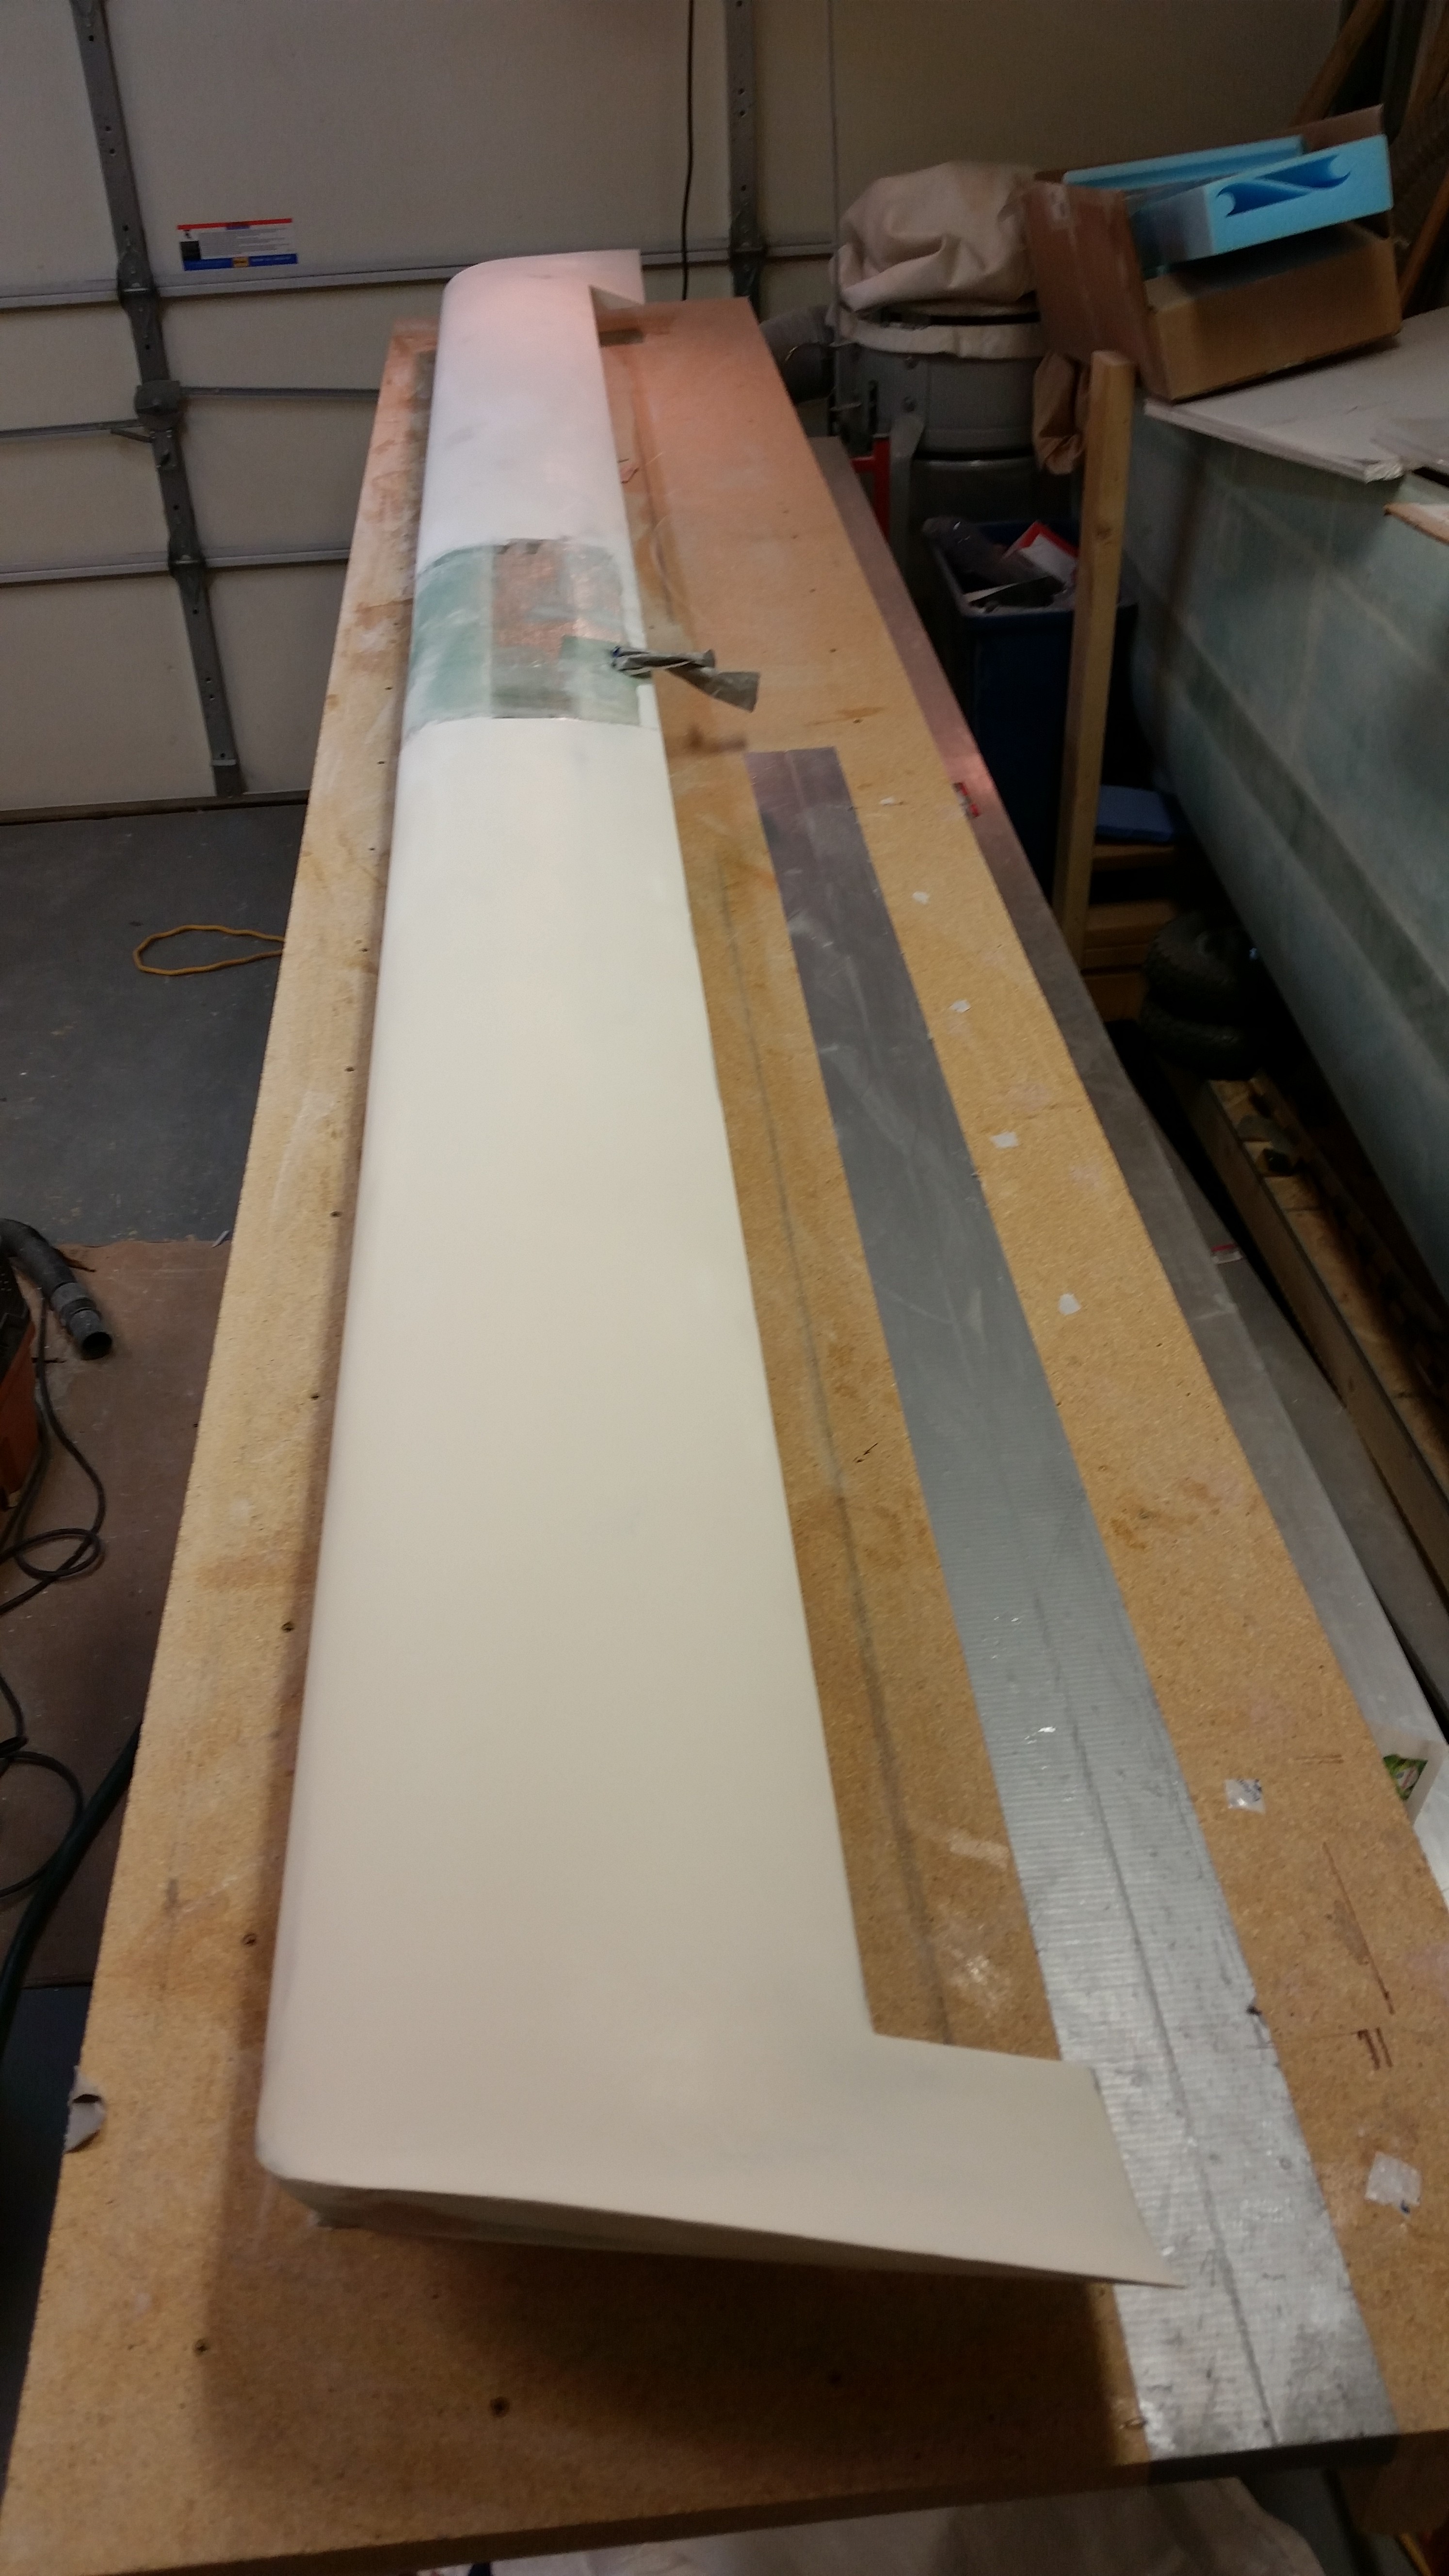
I then spent about 45 minutes sanding the top of the canard with 120 grit paper using the long board. I’ve got to tell you that sanding it this time around with the primer completely cured was so much easier than the first time around. The primer sanded very nicely and I was able to get a bunch of it off and the canard top very close to its final shape.
At this point I was at a bit of crossroads: I still needed to get the canard flipped to mount the elevators, but I also wanted to finish the surface of the canard top as much as possible. Since I haven’t yet decided on a paint system, and thus the required primer, I couldn’t very well just apply a final coat of primer.
Since there are still surface imperfections & depressions, I decided to fill those before moving forward on any other finish actions. Normally, after a good sanding where so much of the original primer coat has been sanded away, I would simply apply another couple of coats of high build primer and greatly minimize the surface imperfections. But again, since I’m not sure which primer I’m using at this point, I punted and went with filling all the low areas on the canard top surface.
I started by angling a shop light at the surface from each end of the canard and looking at the surface at a very low angle to find all the imperfections. As I found each low point I circled it lightly with a pencil.
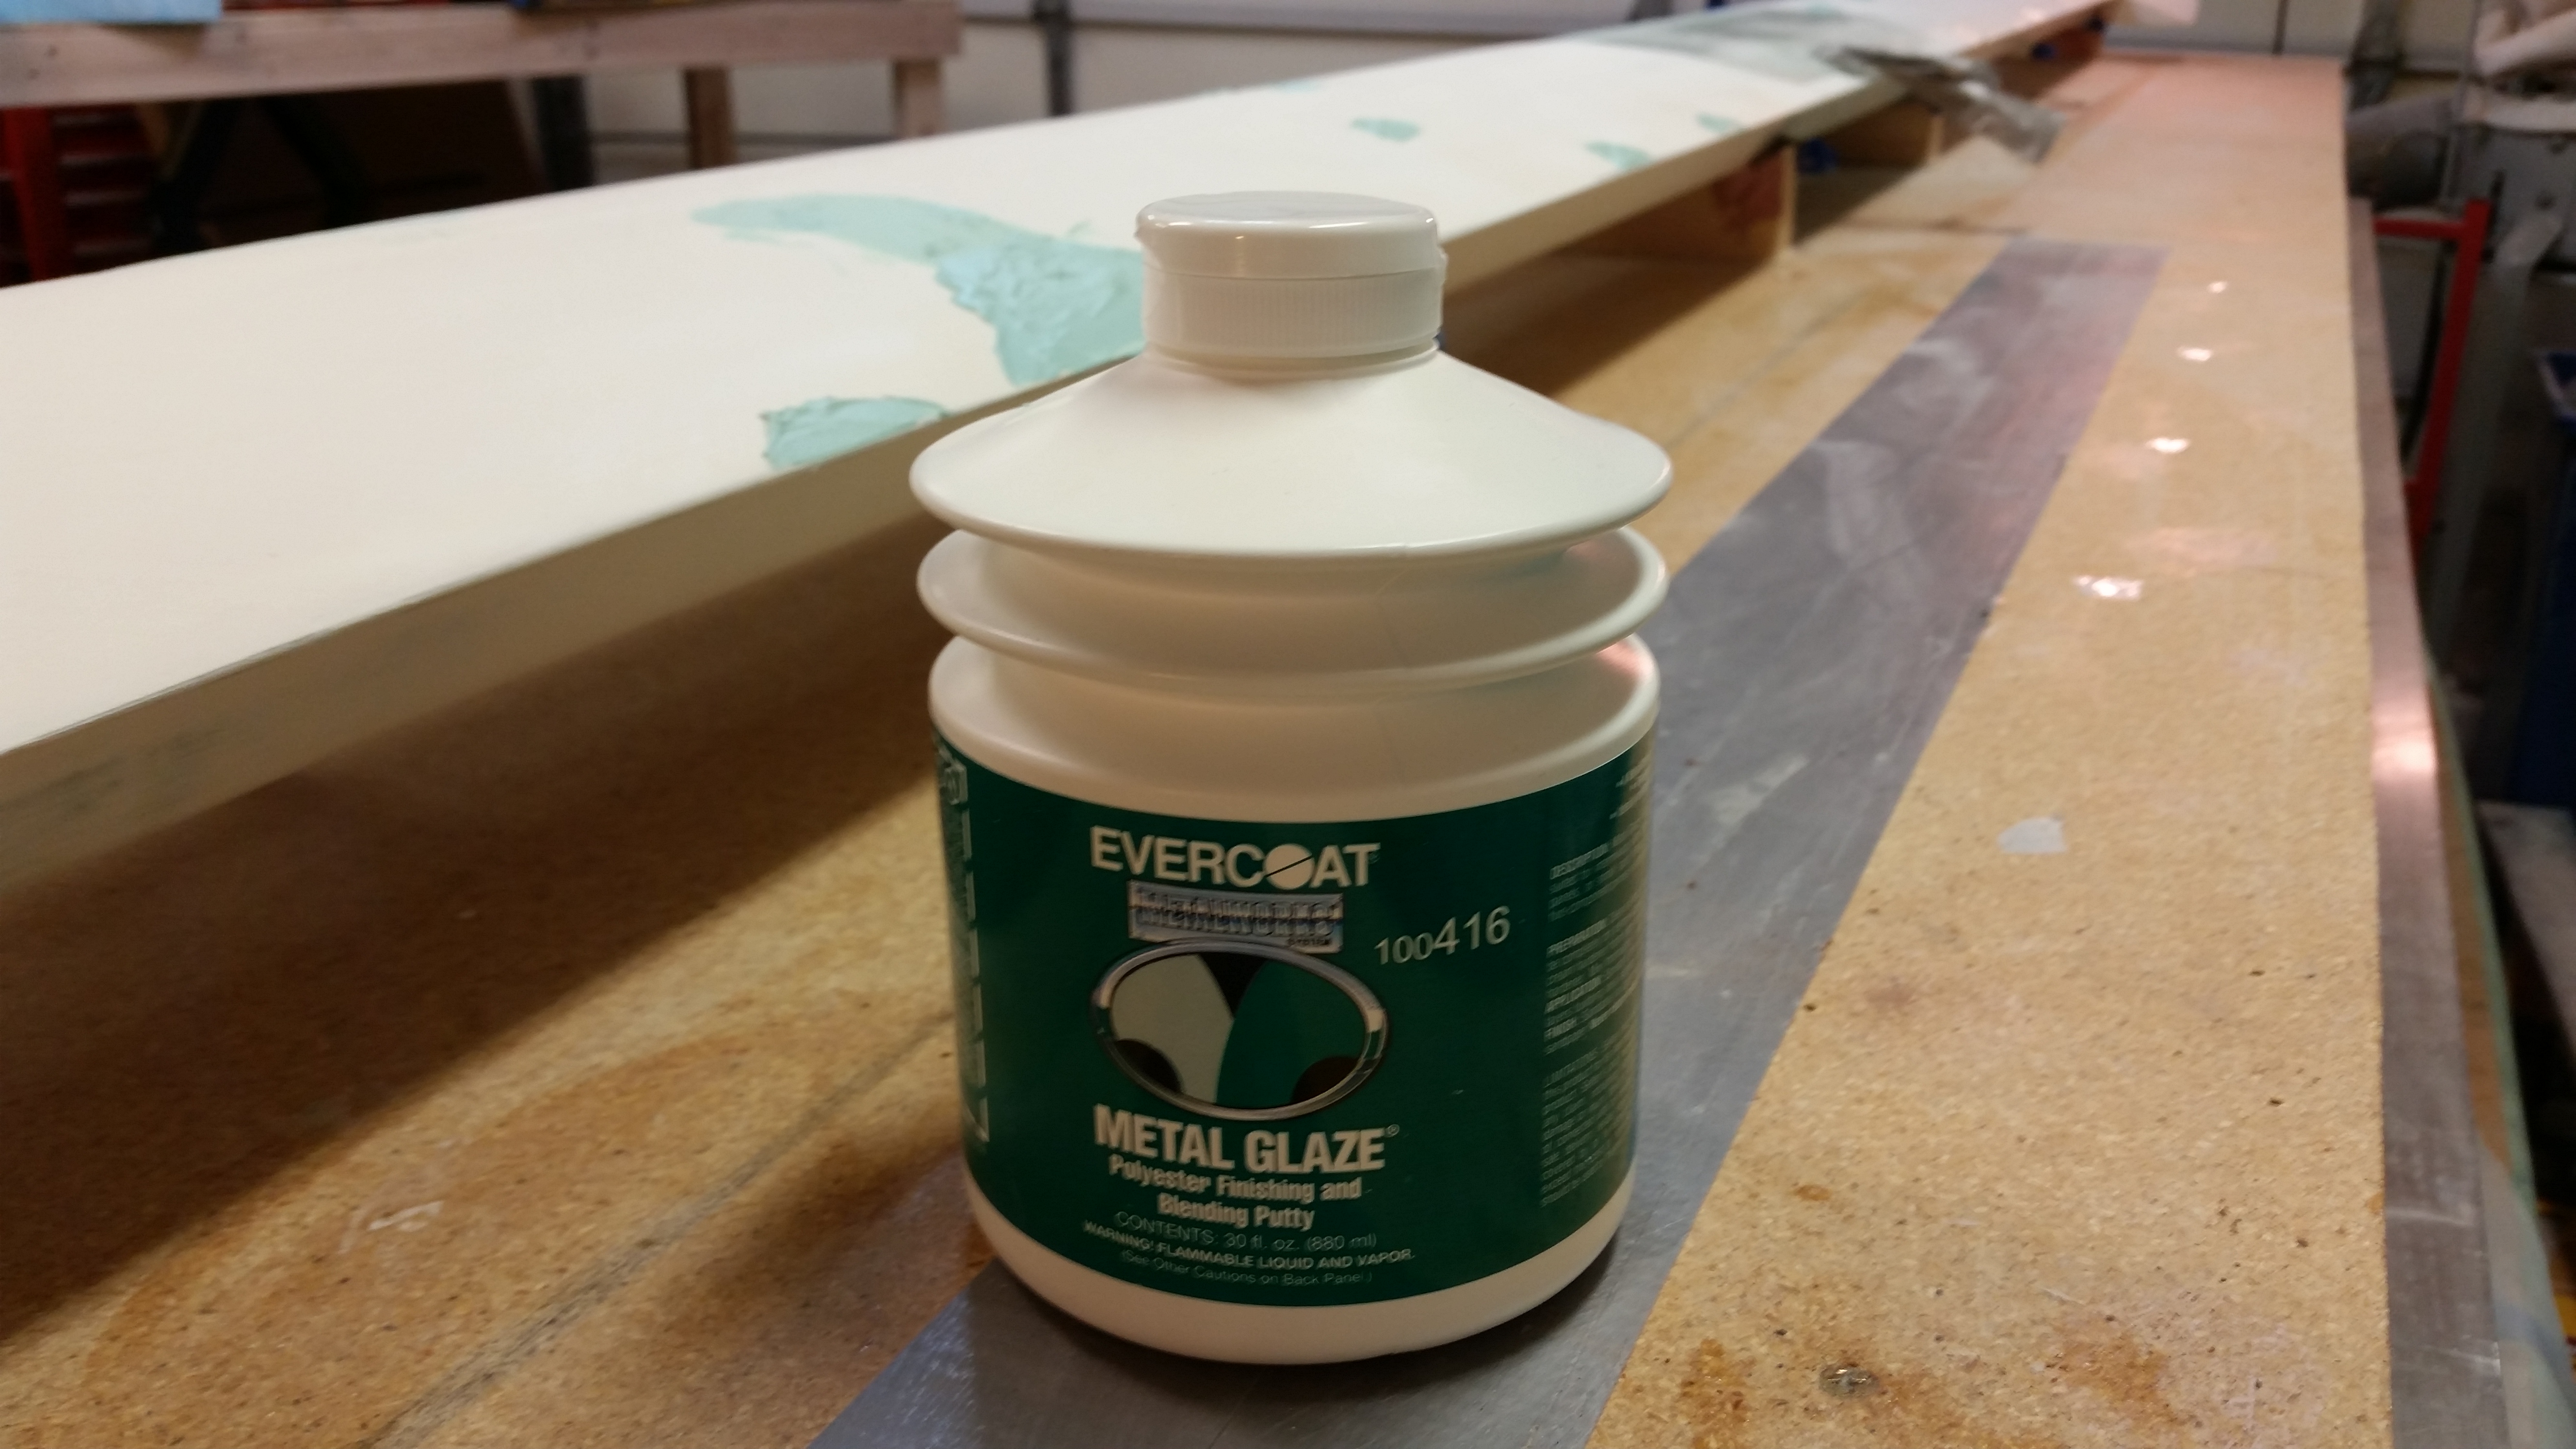
I then popped open a can of Z-Grip that a buddy of mine was storing in my shop and said I could use if I ever needed it. I swore that I had used this in past 9 months, but apparently not! I tried stirring this to see if I could revive it, but the ship had sailed on the usability of this stuff.

I had even picked up a tube of hardener for the Z-Grip when I picked up the Evercoat Metal Glaze Finishing Putty, and yes, even though it has “metal” in the title, this stuff is a standard high quality glazing putty and works like a champ on fiberglass applications.
It actually turned out better that the Z-Grip was a pile of goo since for my filling requirements the Metal Glaze worked perfectly. It took 3 separate mixing sessions and about 15 minutes to get the low lying areas filled.
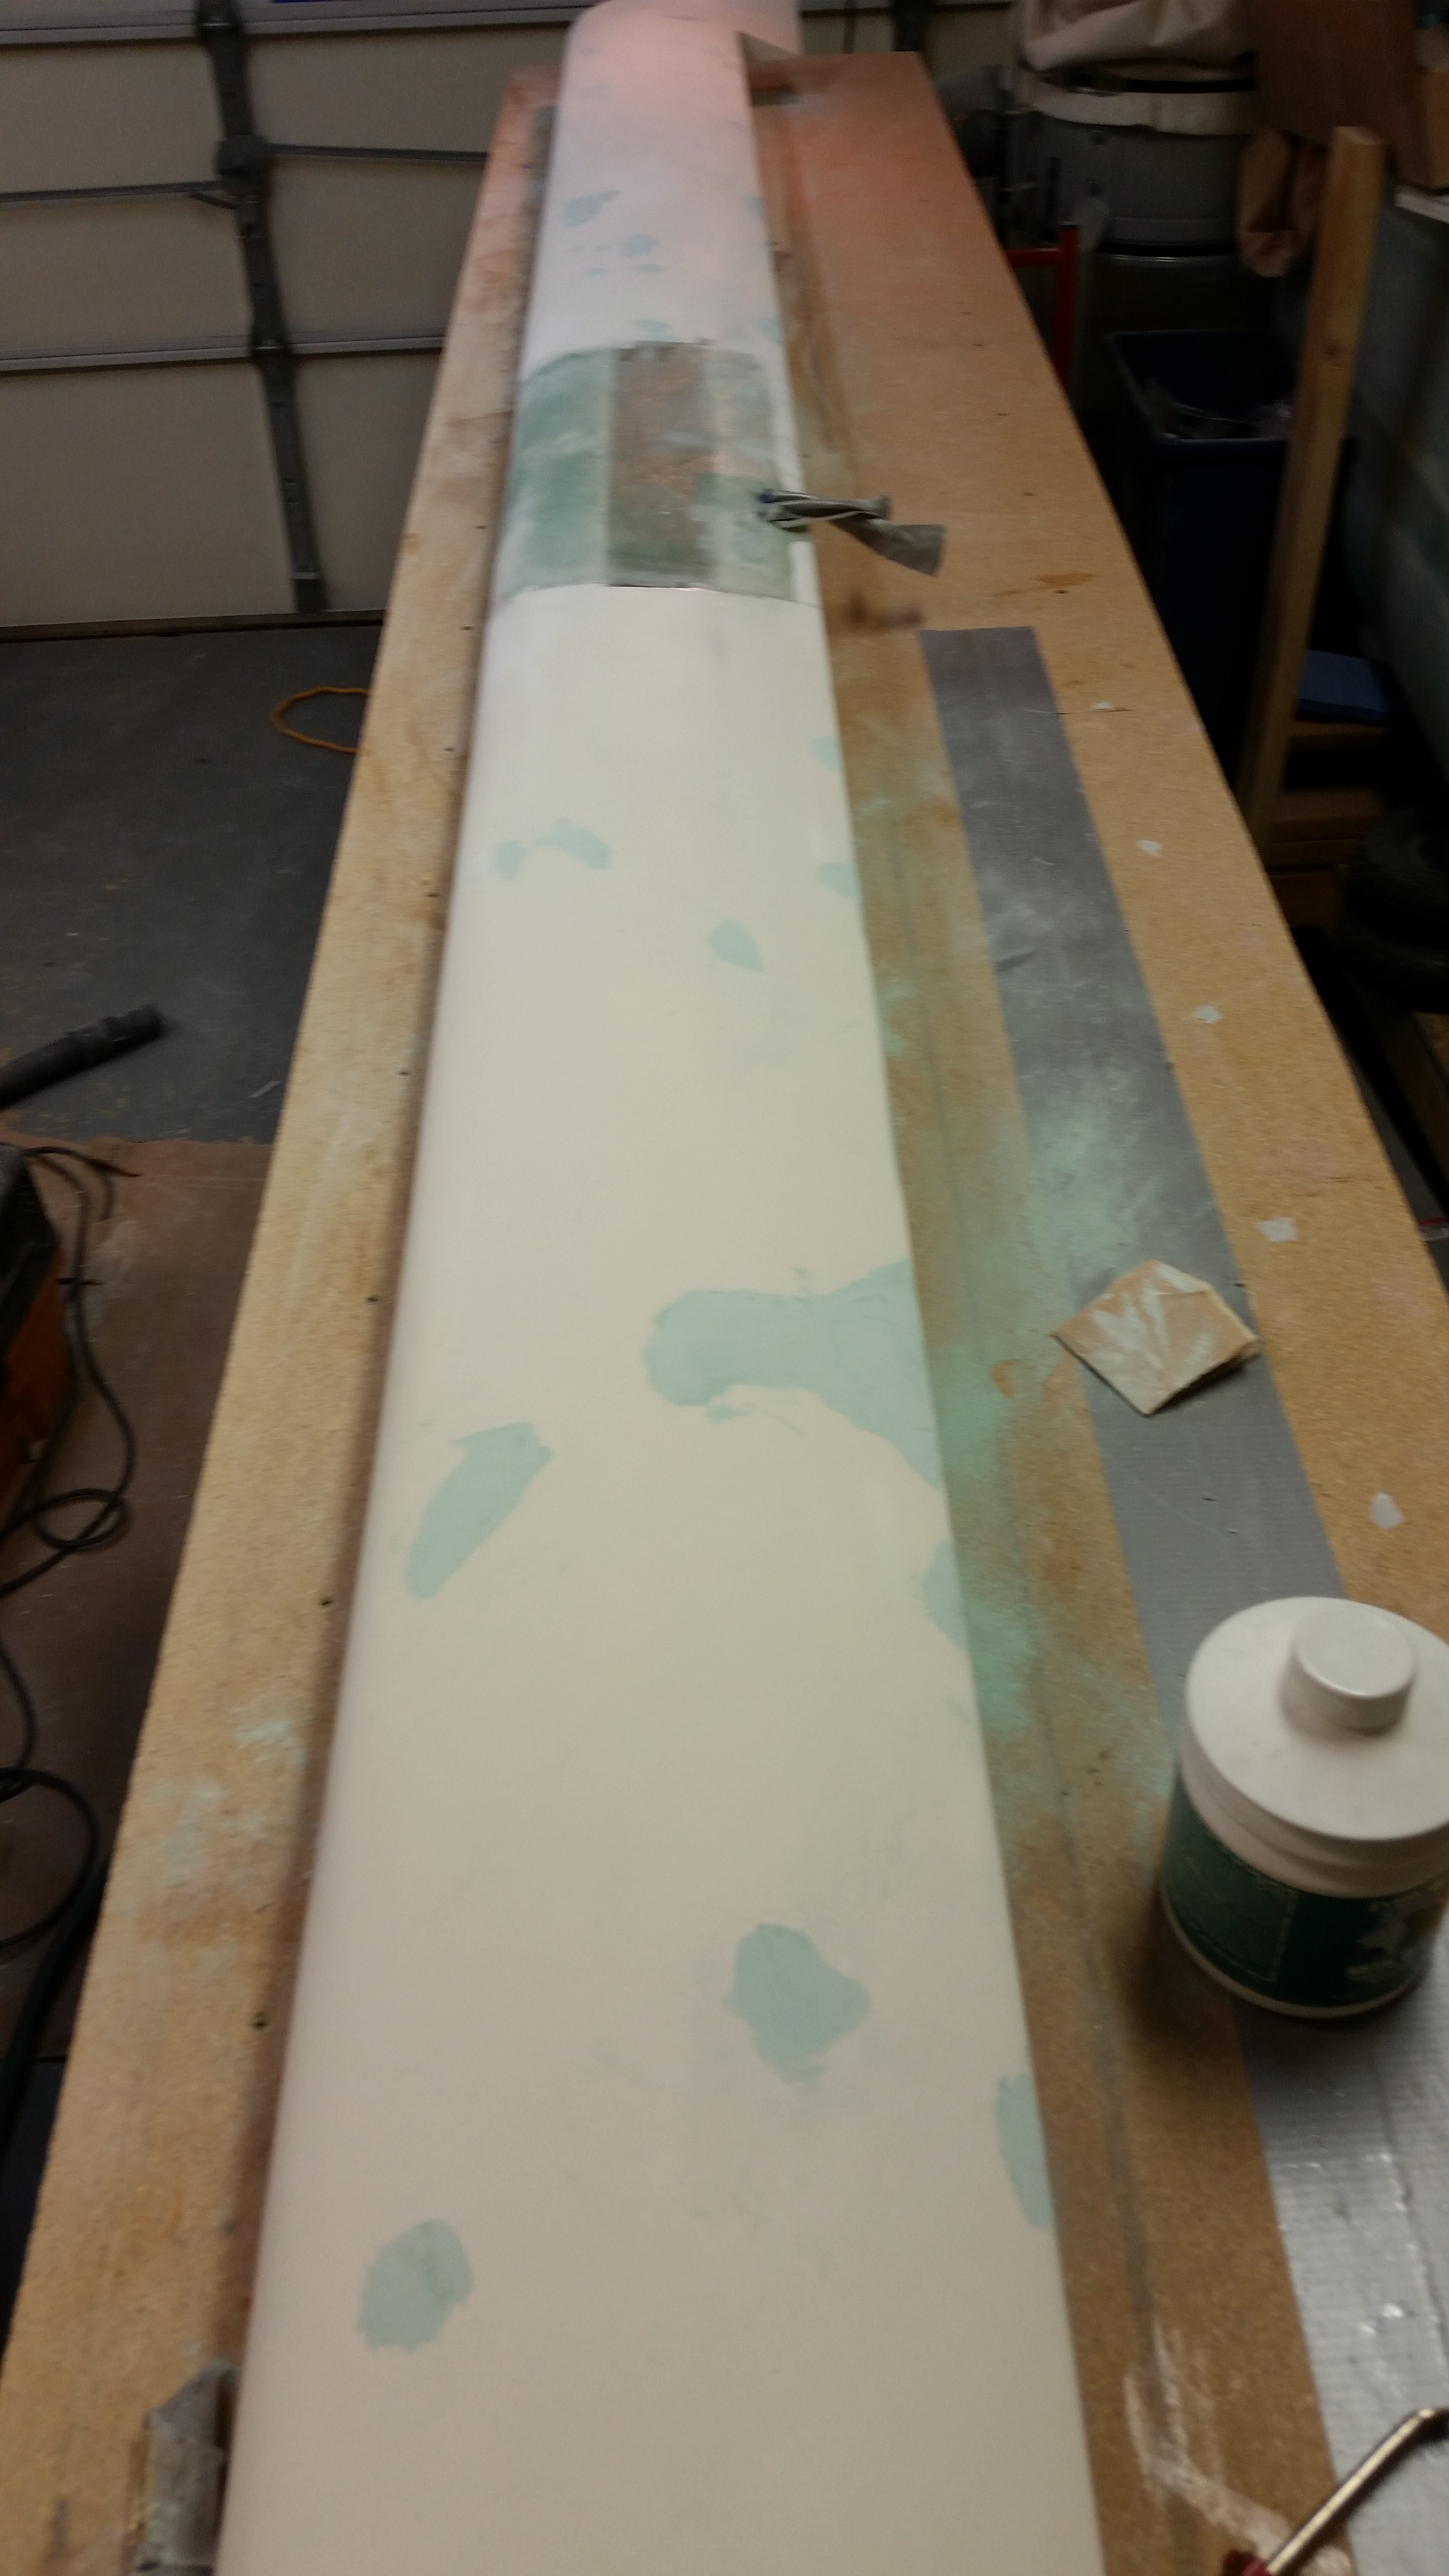
Since the glazing putty cures so quickly, I immediately started cheese grating it to get each spot down close to its final level, using 80 grit strips that I cut out from some used long board sandpaper that I was going to throw away

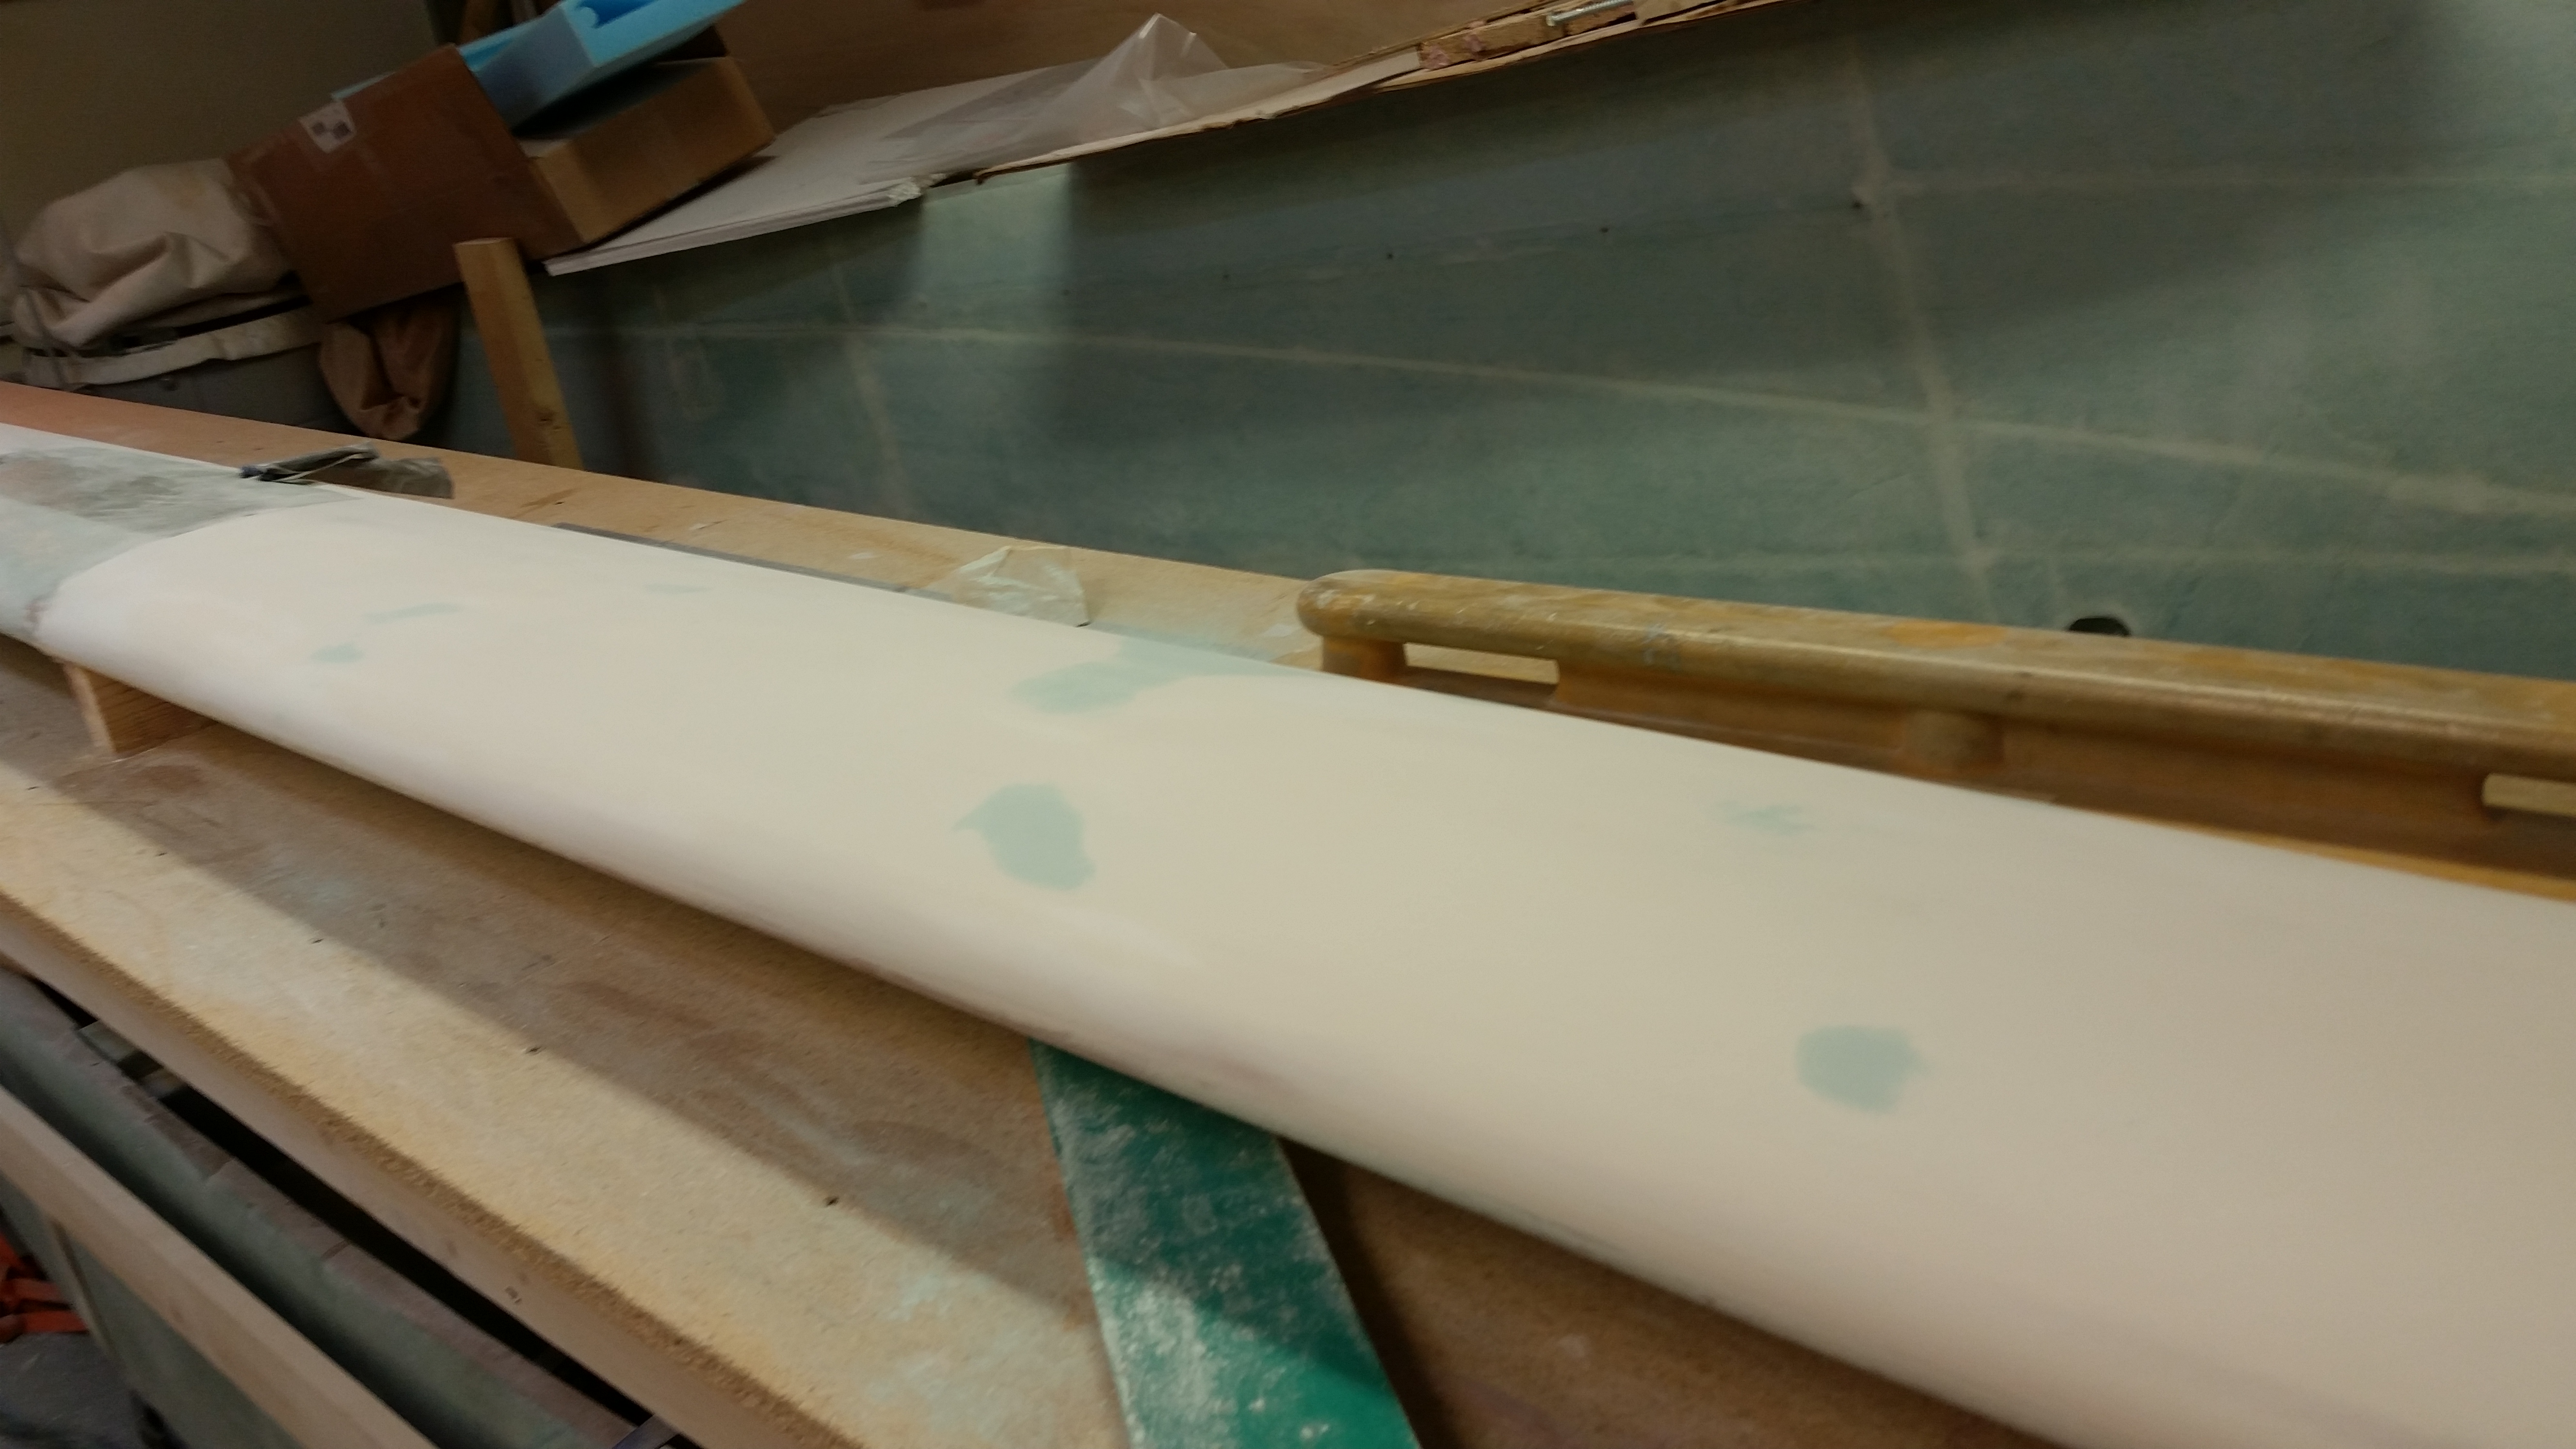
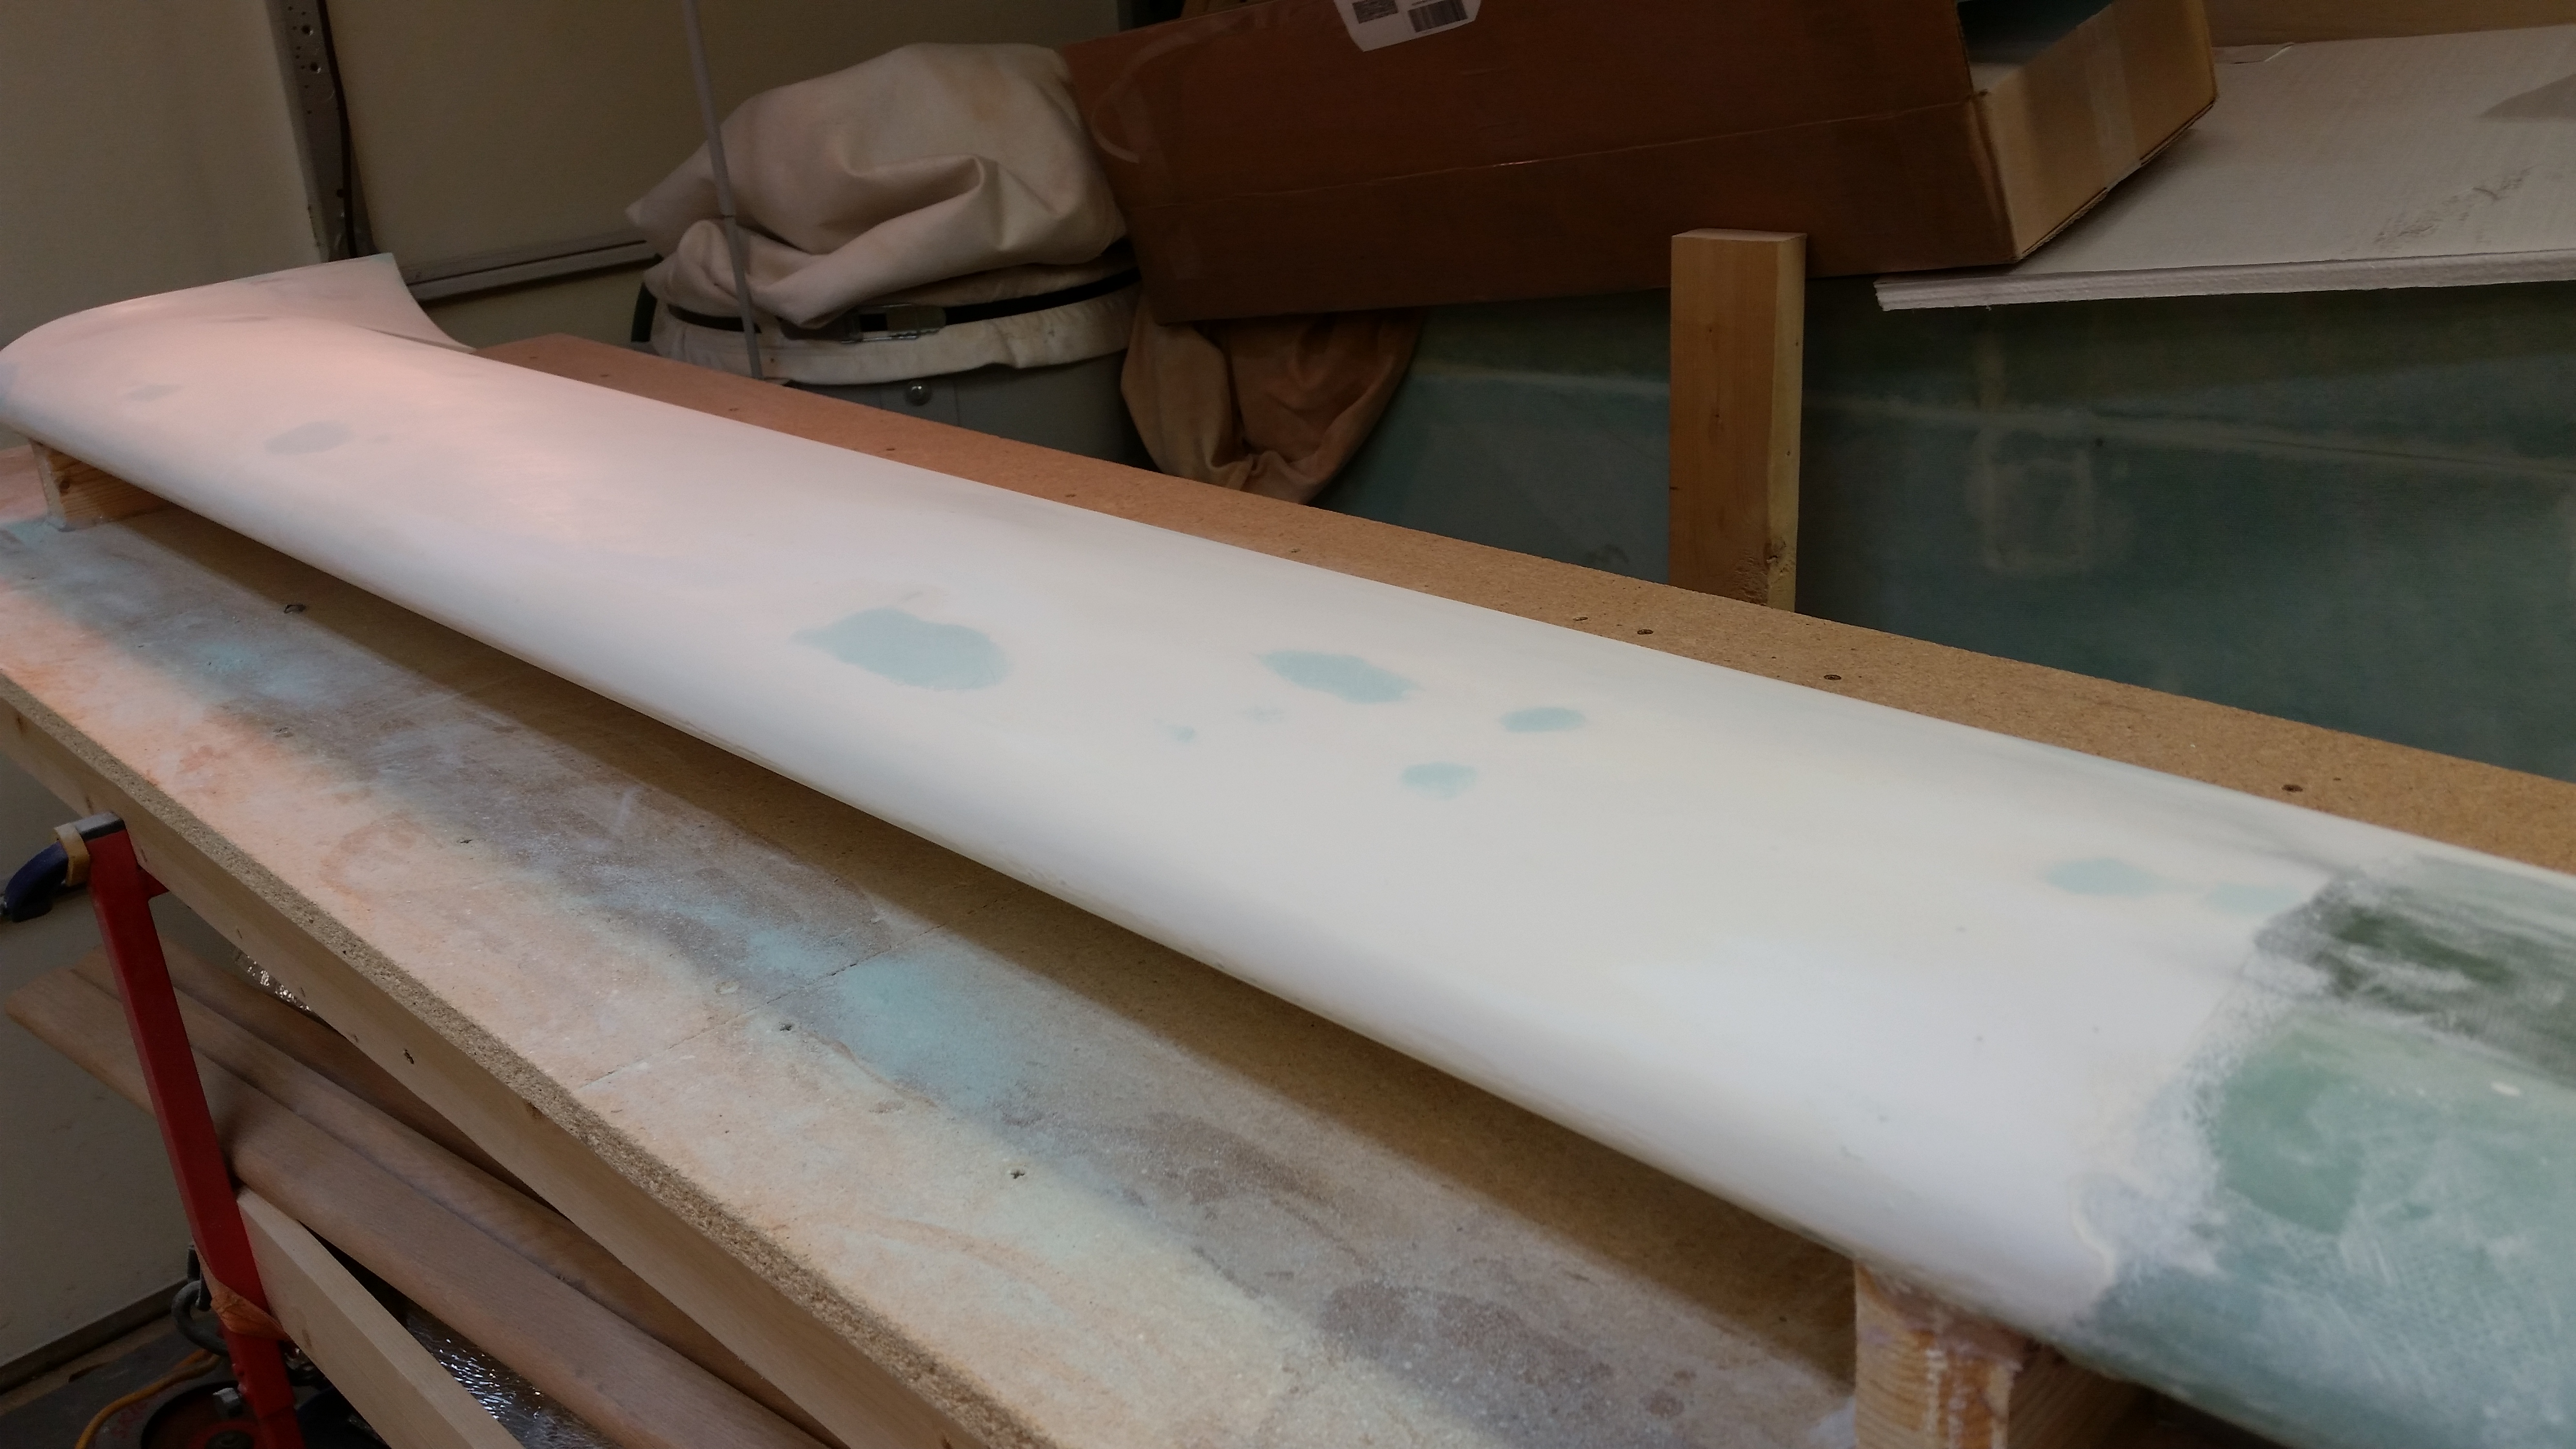
Here’s a shot of the right side after cheese grating the glazing putty spots.

After returning from dinner, I mounted some peel-n-stick 80 grit paper to my sanding block and sanded just the puttied areas. I got them really close to their final level, feathering the edges of each puttied spot to the existing canard surface.
After the lion’s share of the feathering was completed with the 80 grit hard board, I then loaded up another sheet of 120 grit on the stiff long board and sanded down each side of the canard, focusing of course on ensuring that the puttied areas were blended nicely into the existing canard surface.
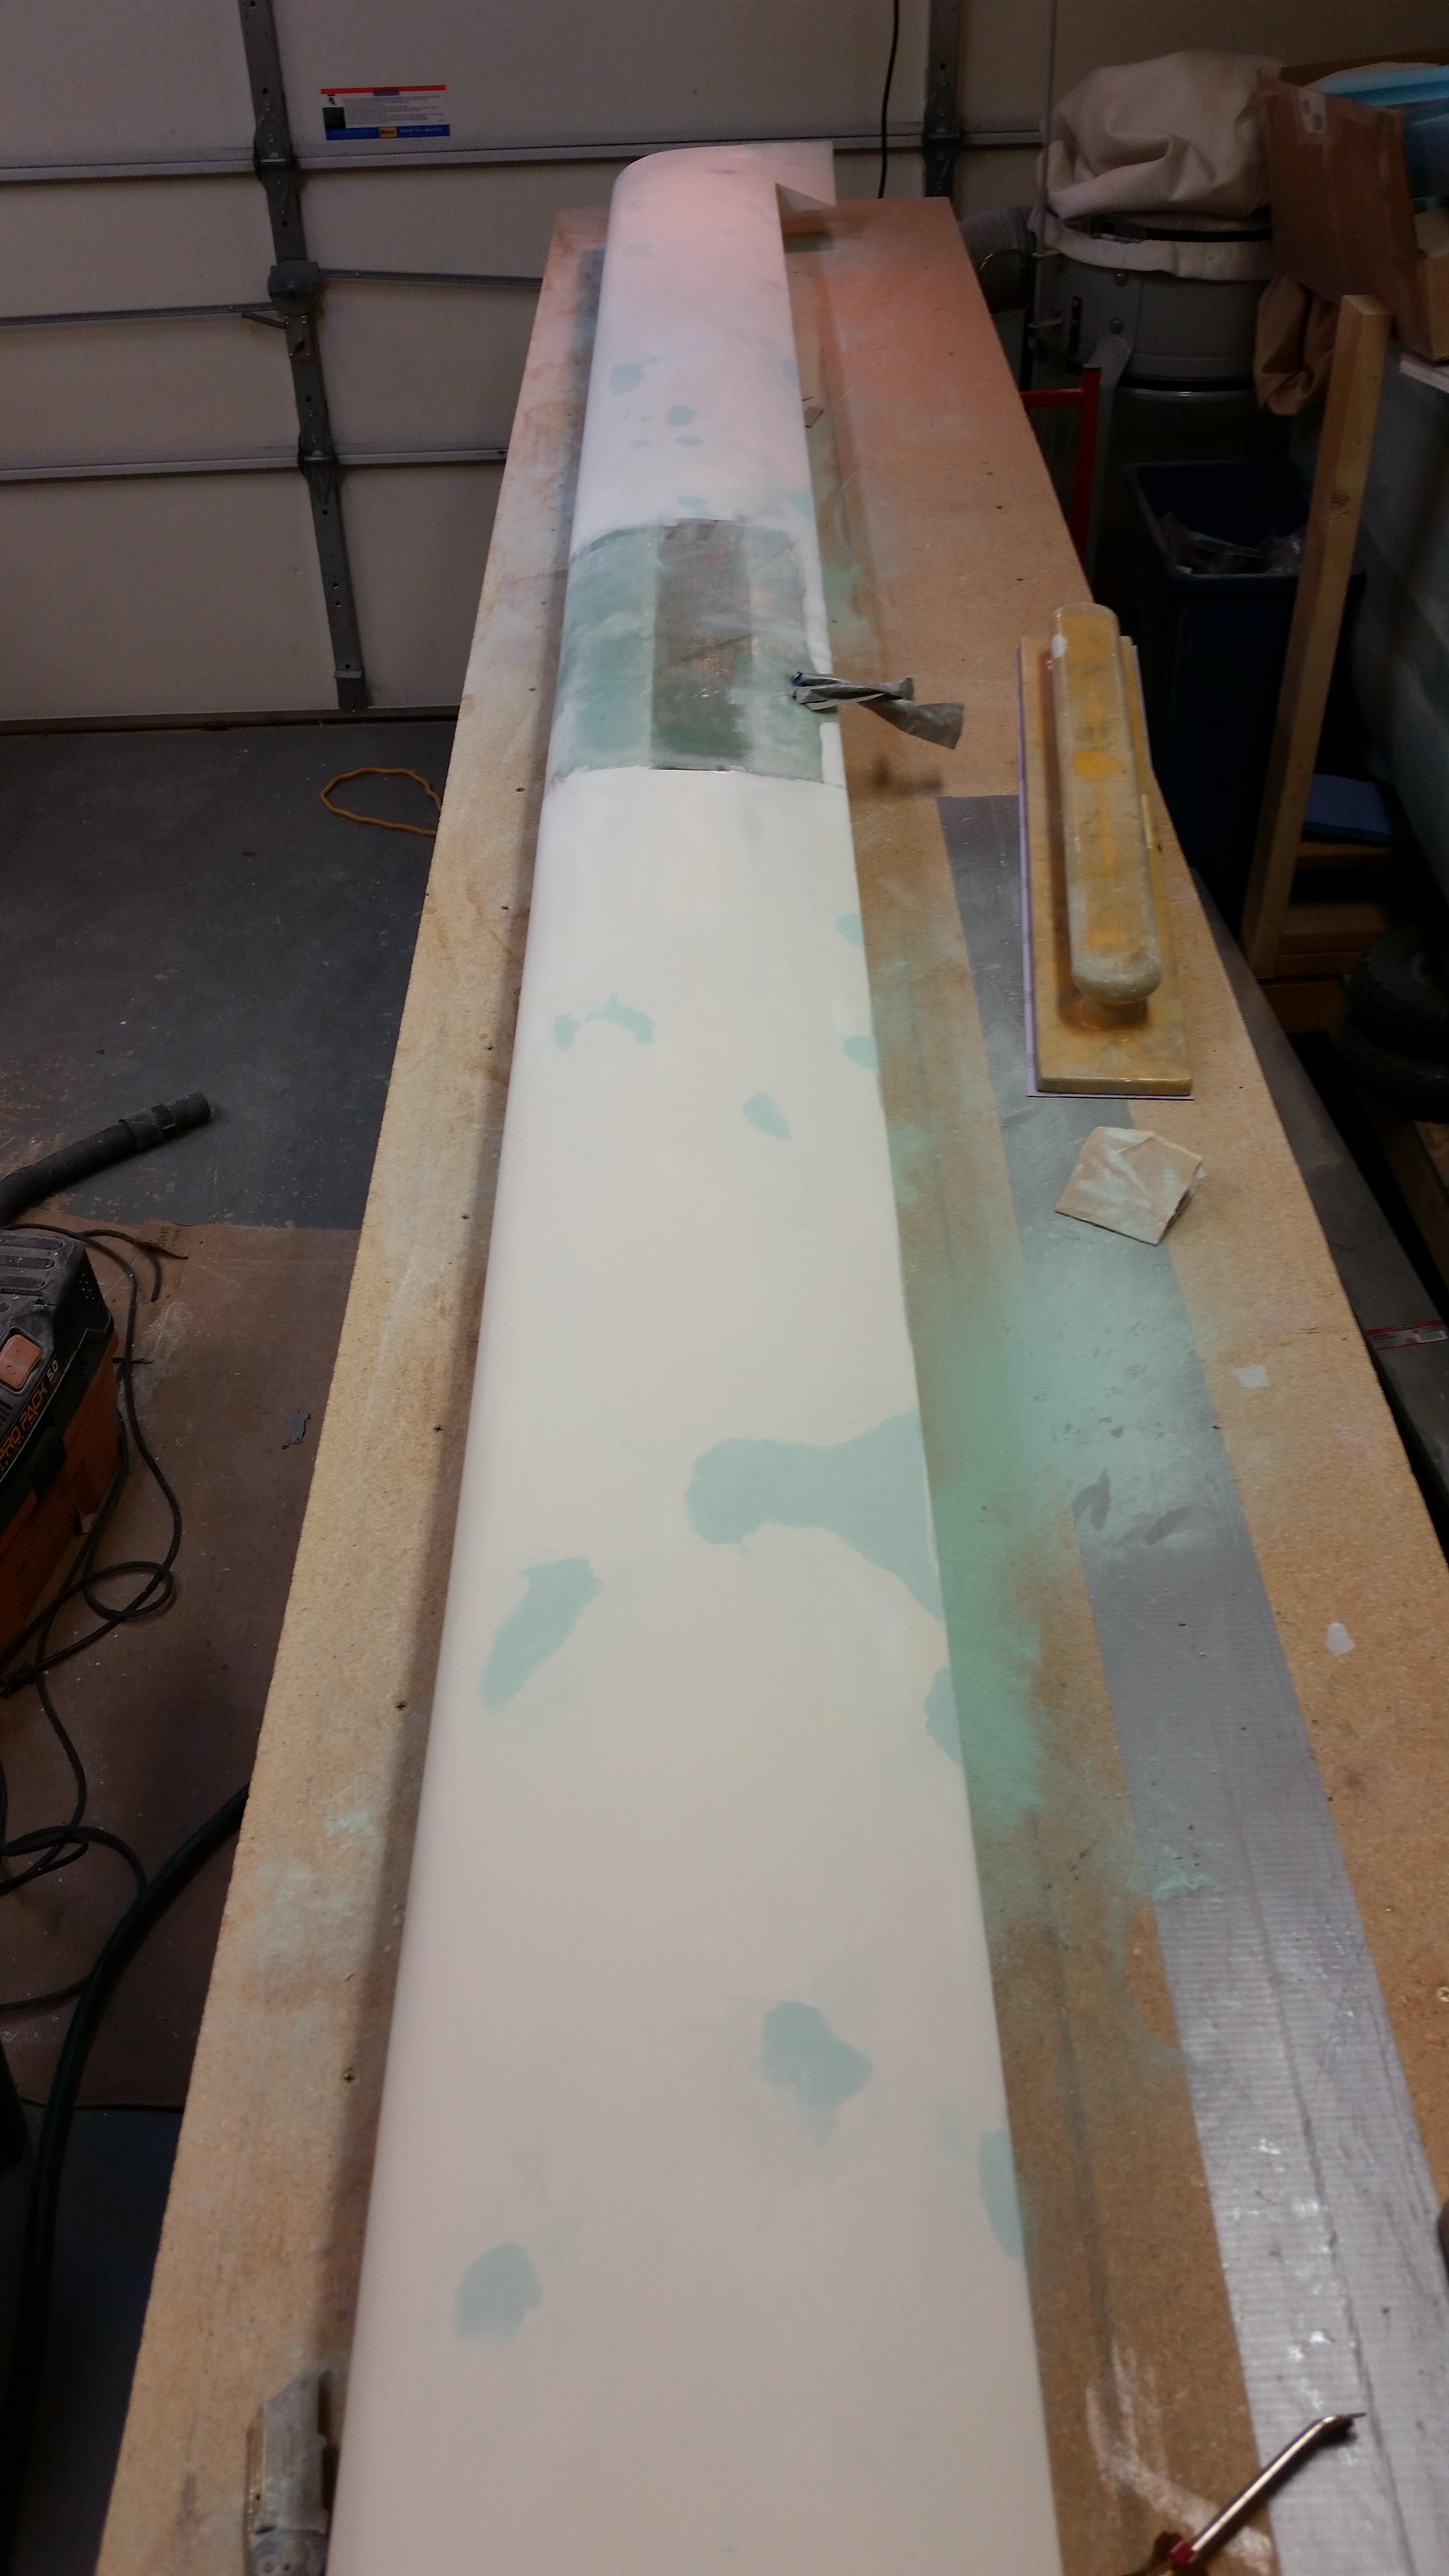
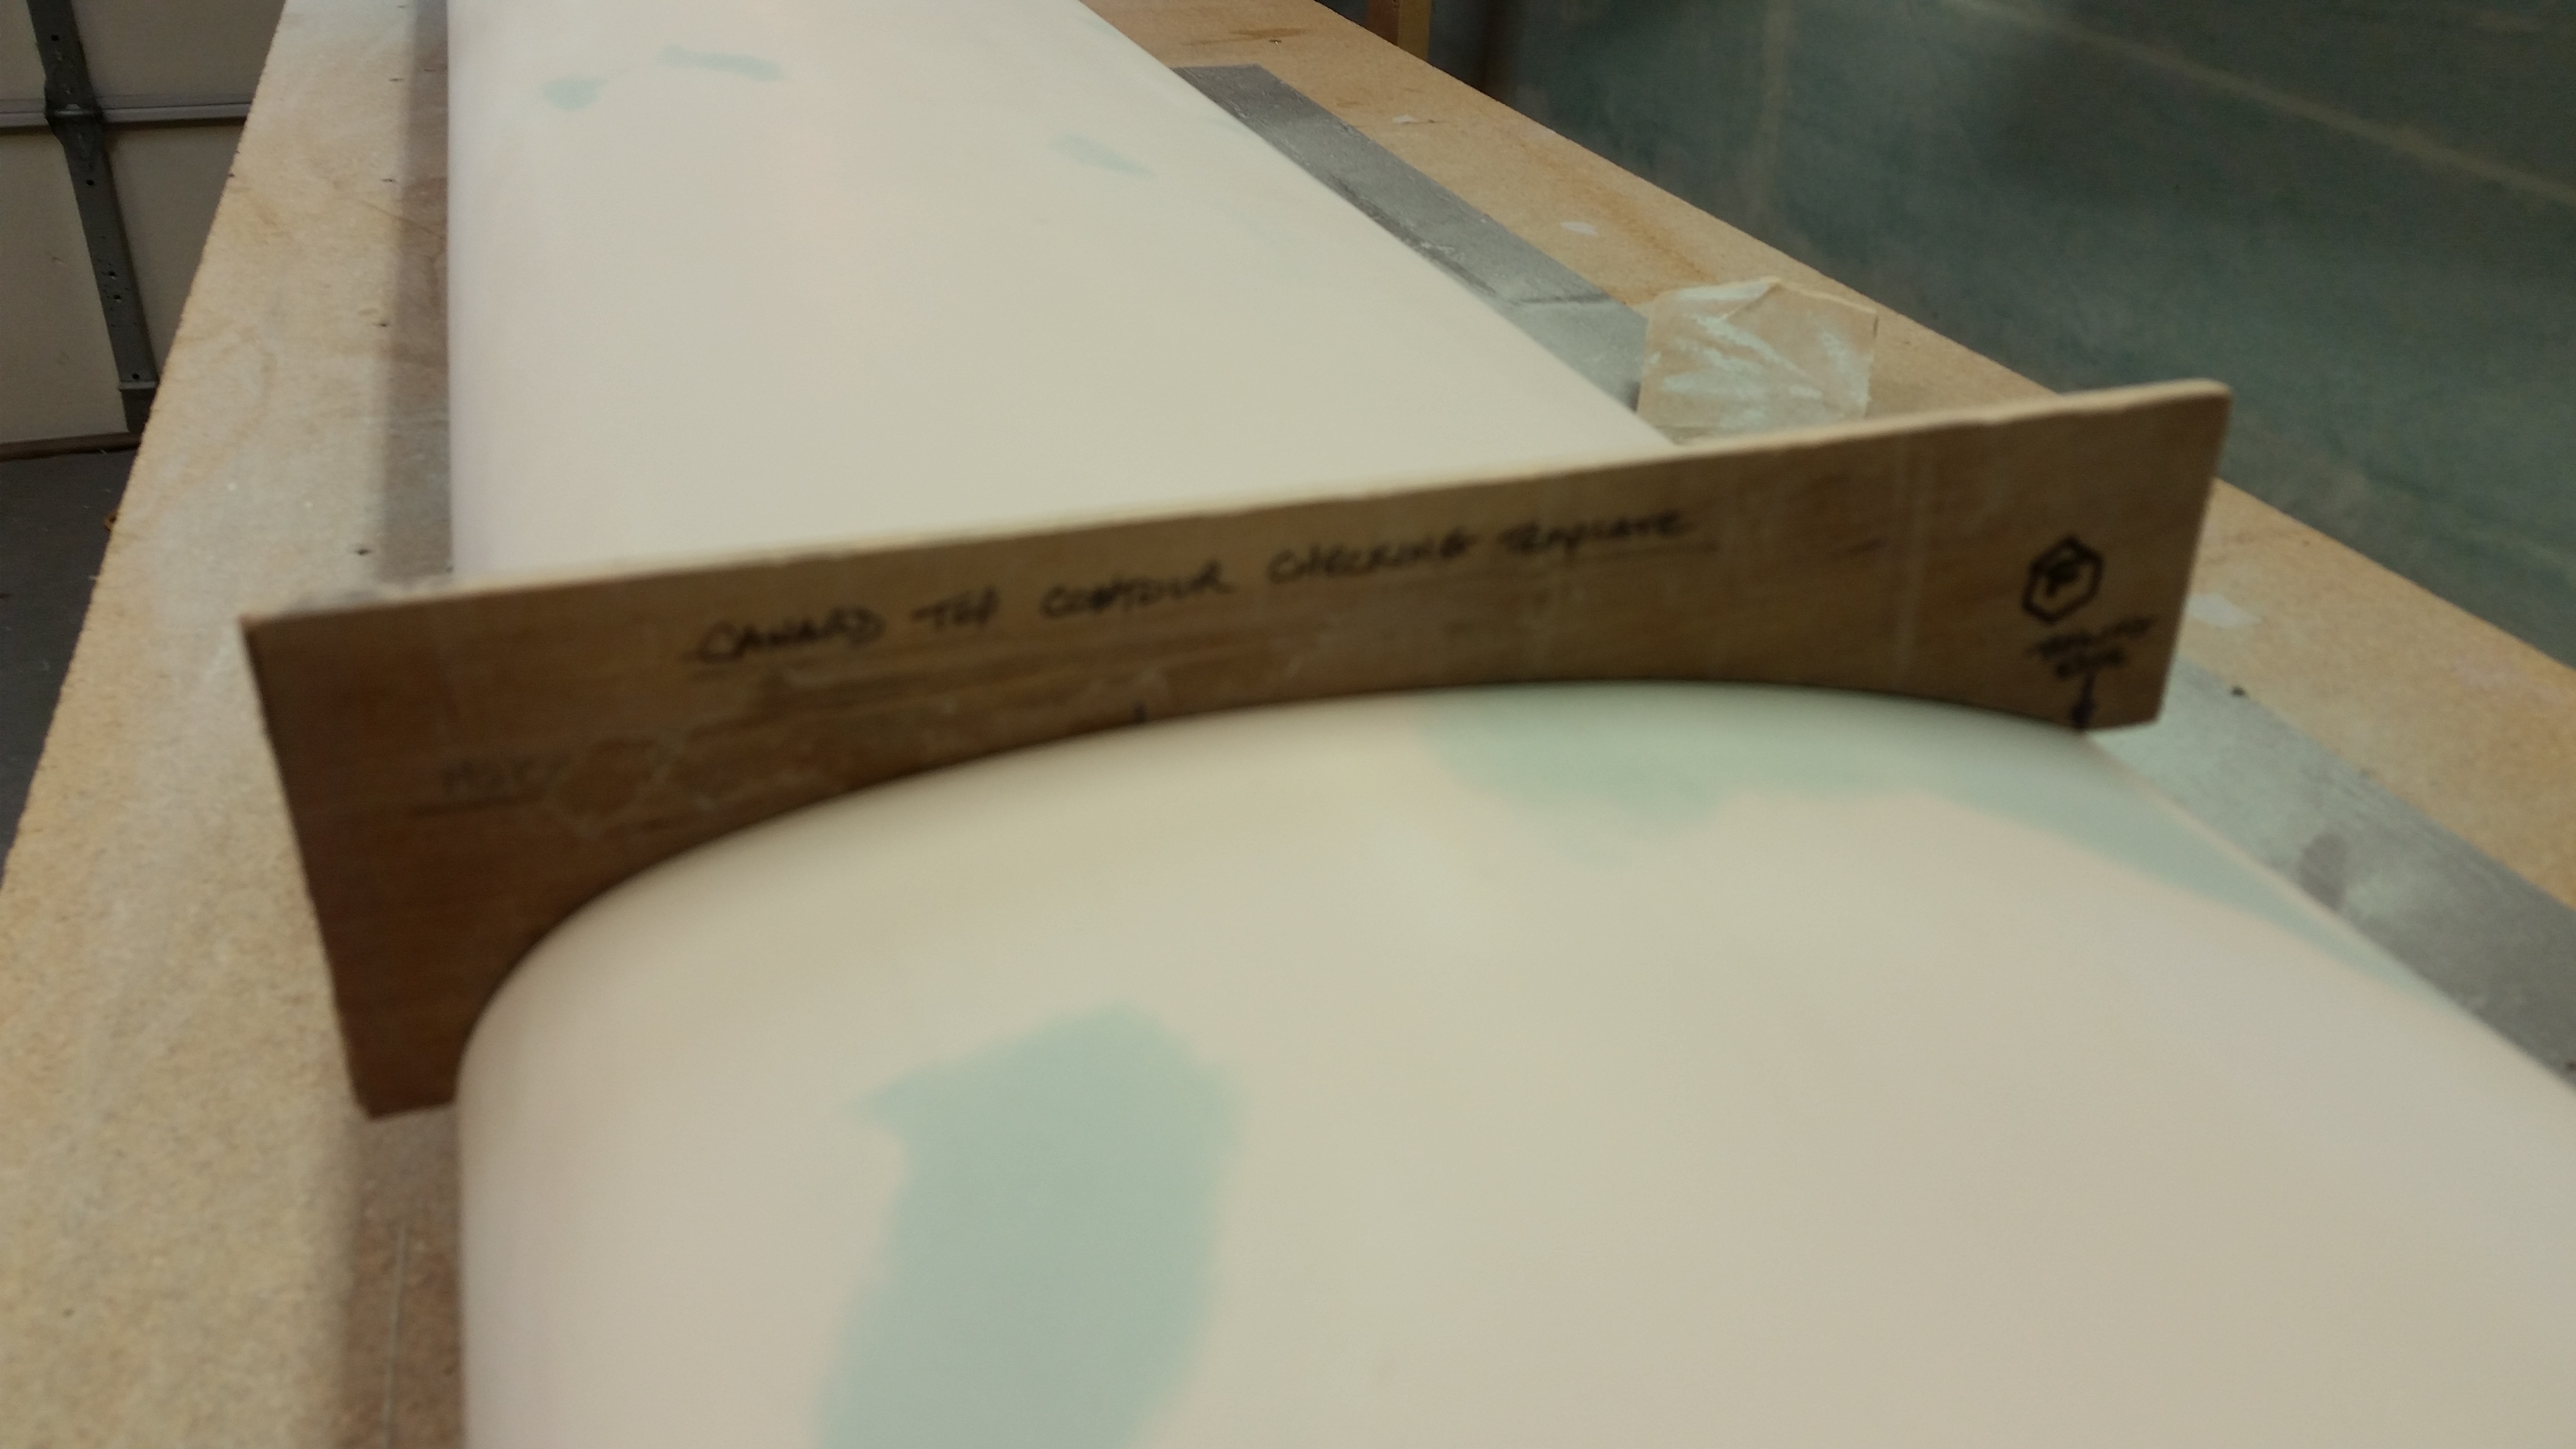
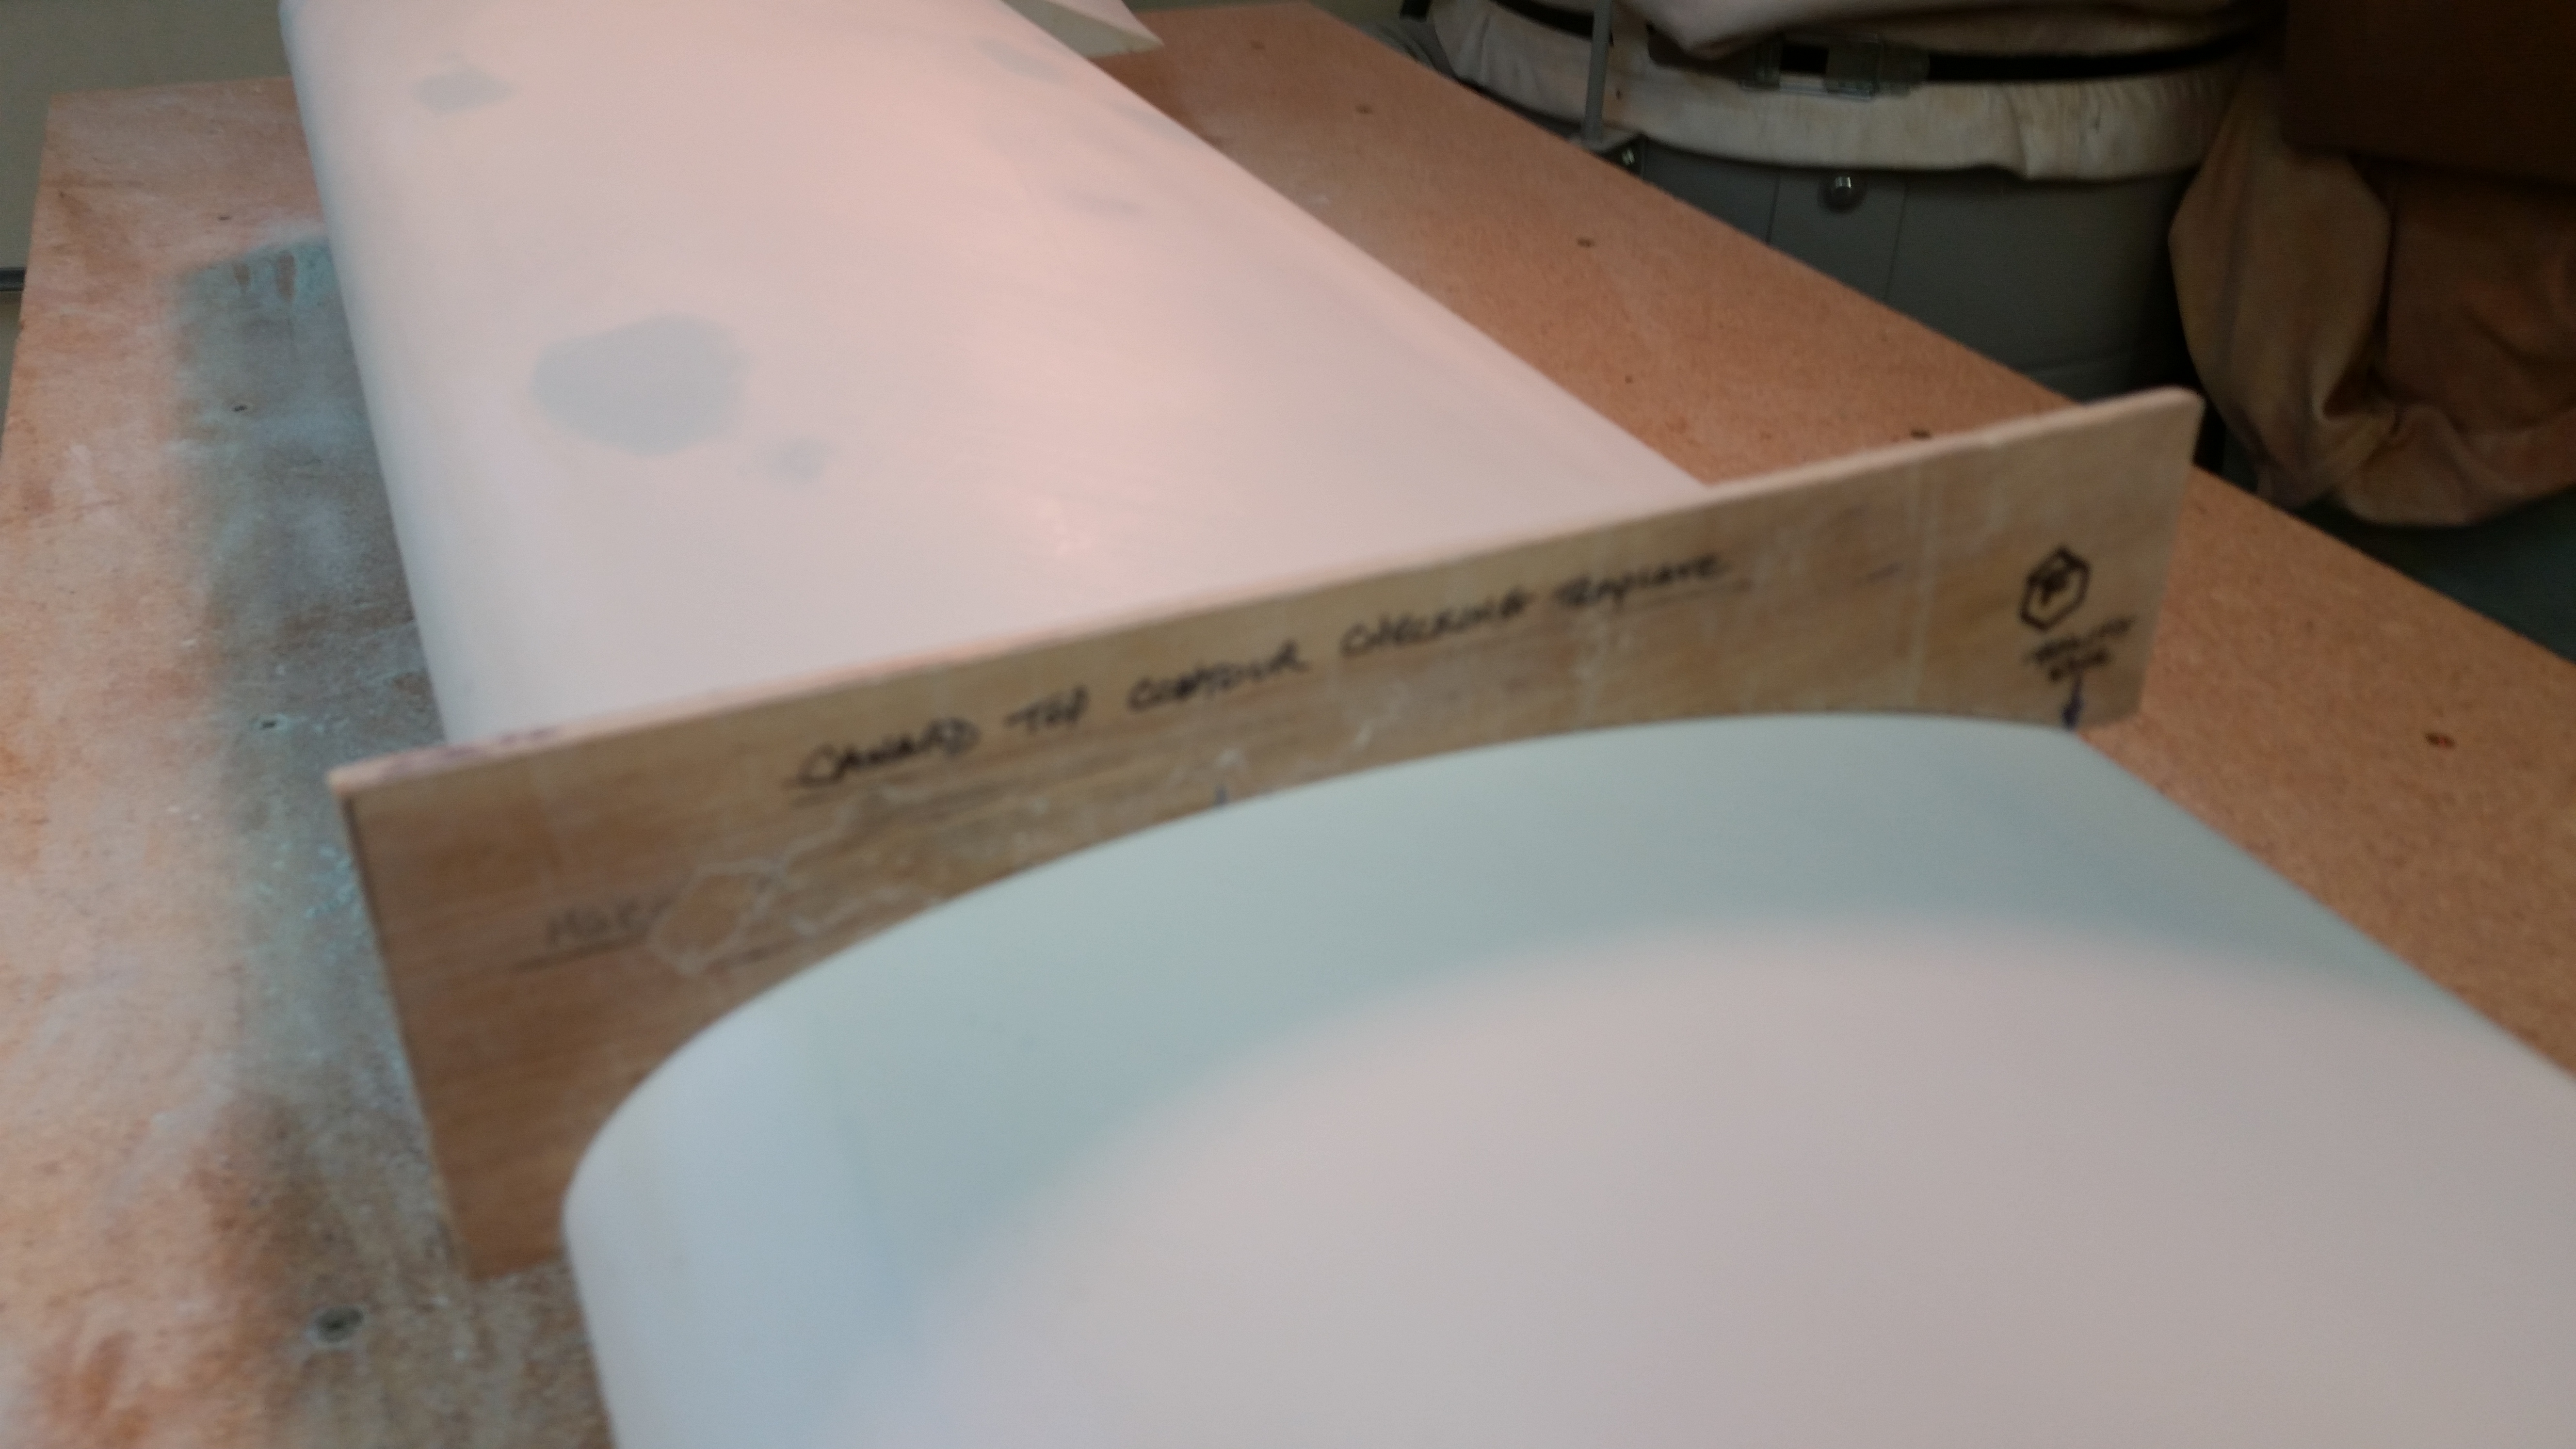
I then checked the profile with the top canard contour template on each side, and was very happy with the results.
I cleaned the top of the canard off of any sanding dust, and really took my time feeling the surface with my hands for any imperfections. I then went over the entire canard top surface again lightly with the 120 grit long board focusing on any minor issues left to be dealt with.
I then focused on the edge of the right swoosh tip to feather in the two spots I had filled with glazing putty.
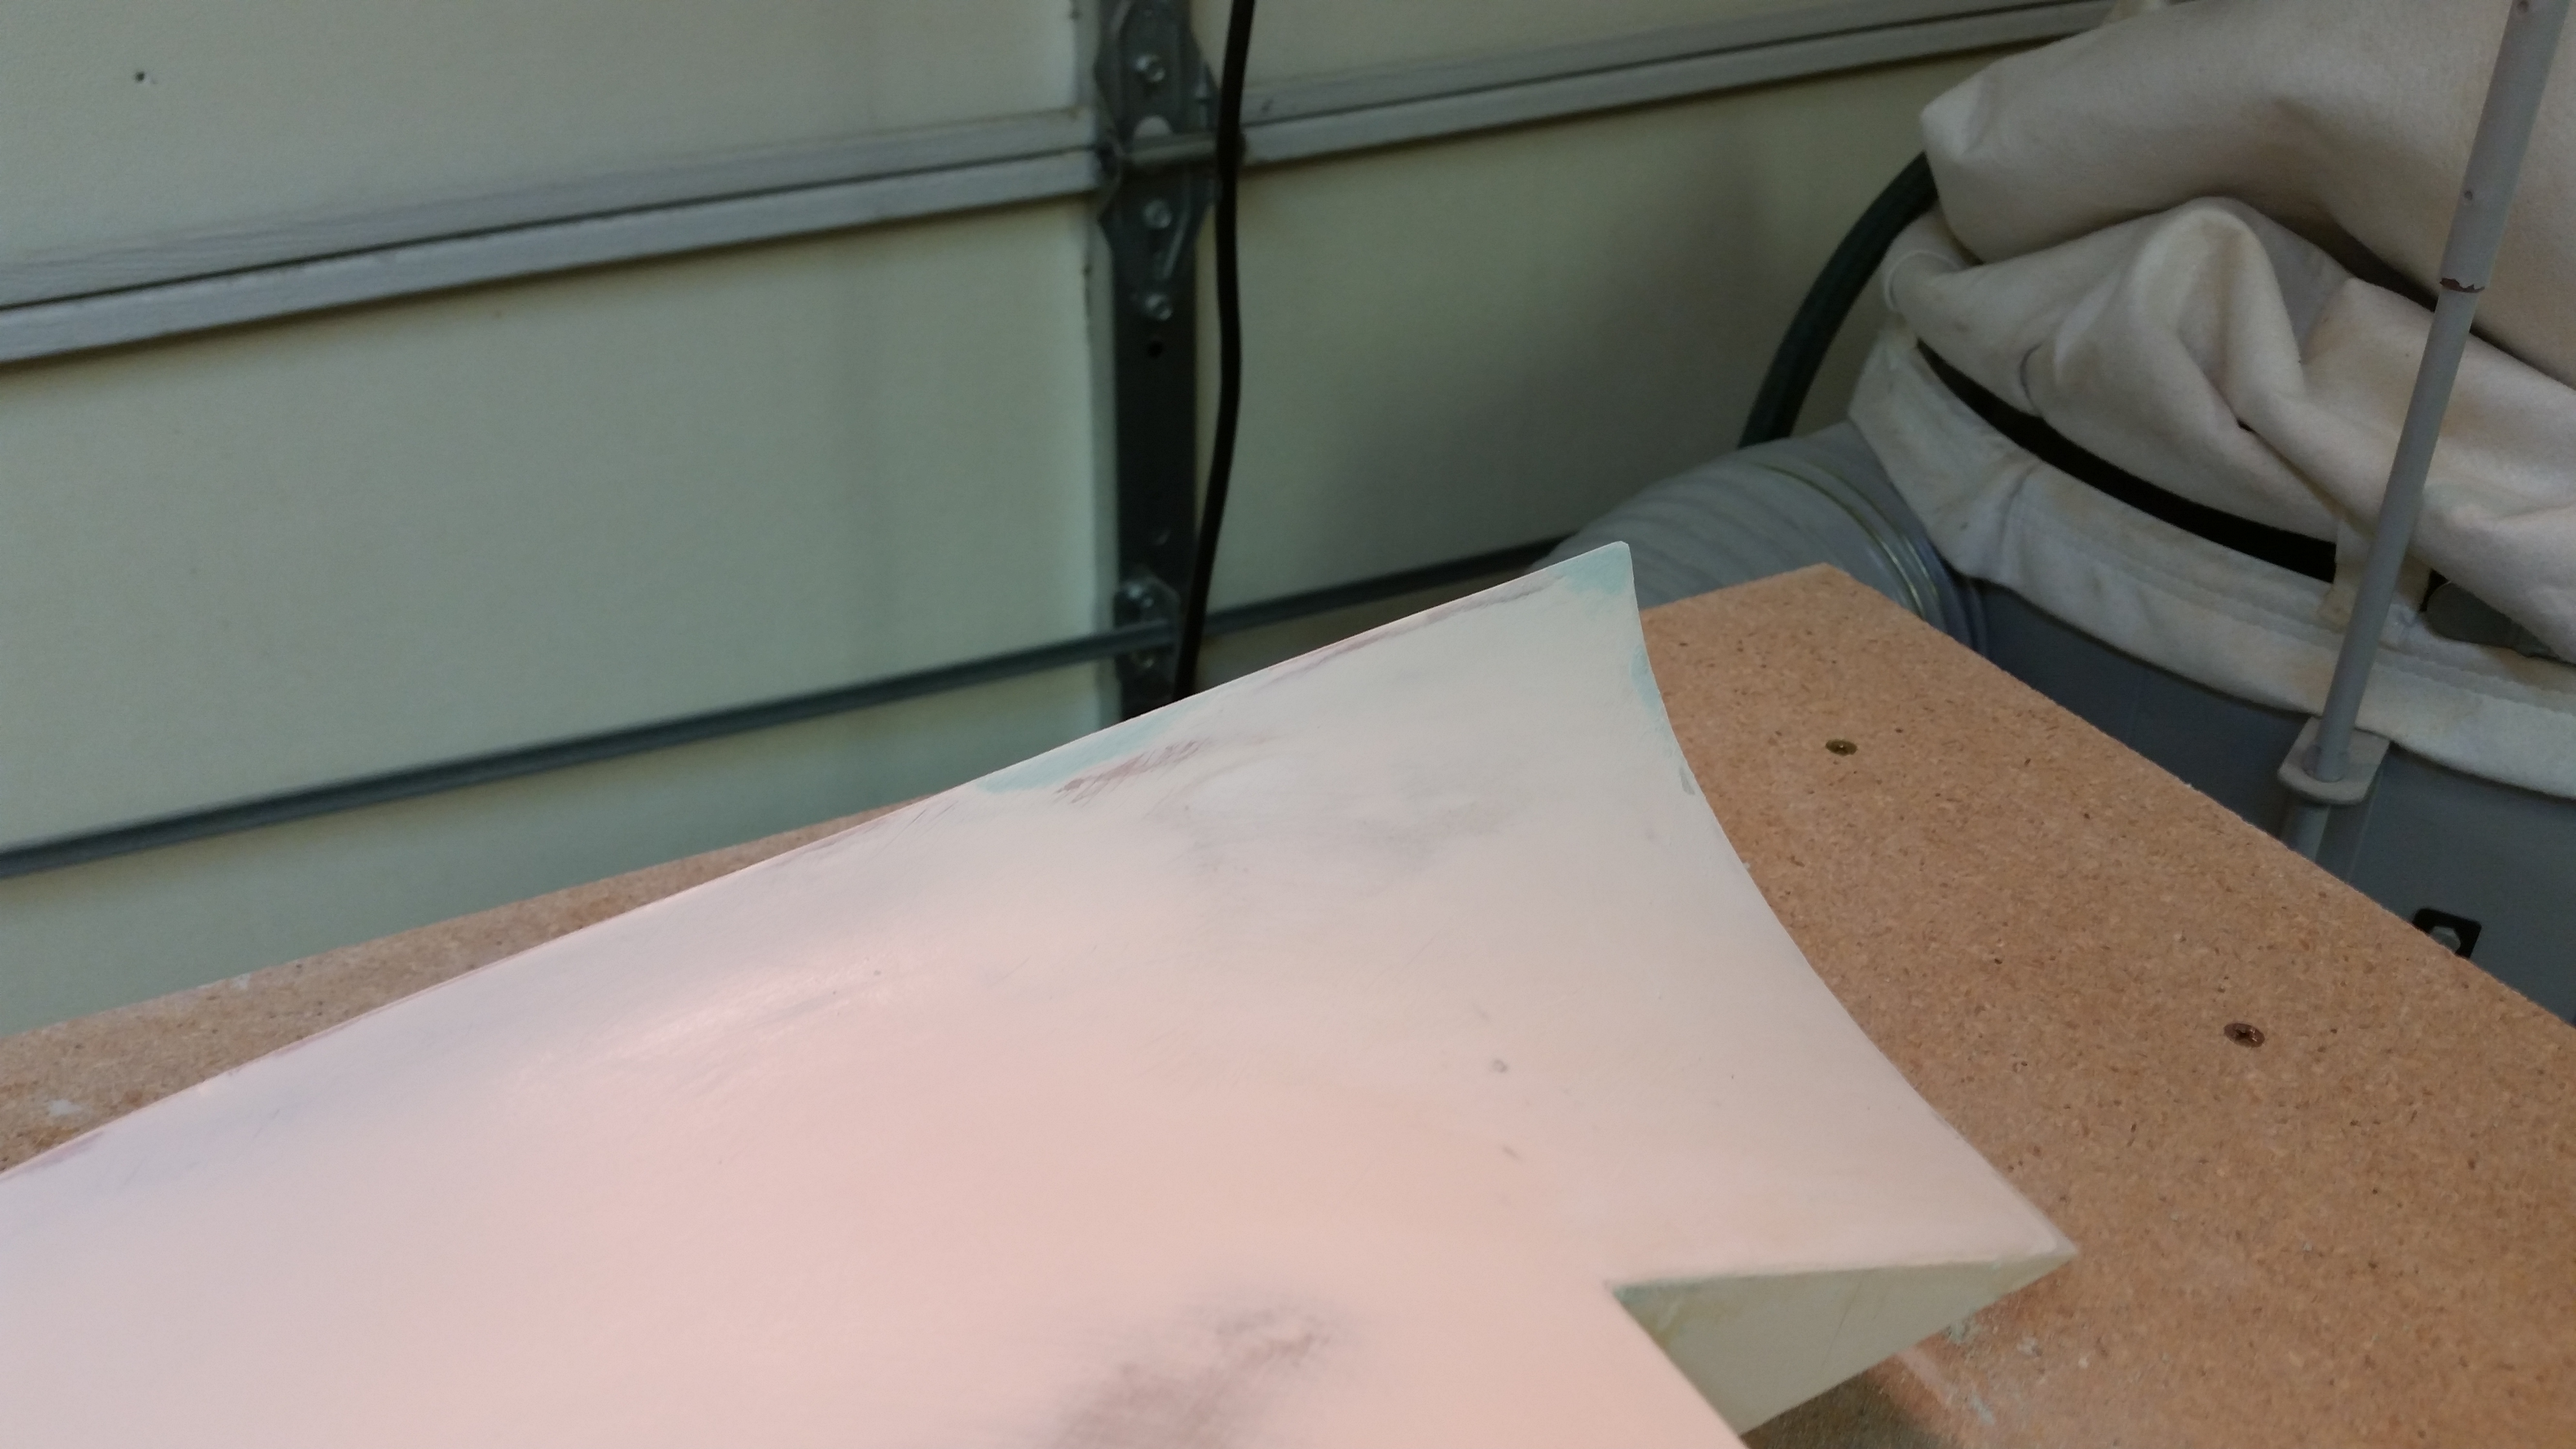
I’m very satisfied with the final fill of the canard top surface. Although I’m sure a few minor elevation differences will rear their ugly heads during future final sandings and surface prep, the top of the canard is ready for a final coat or two of primer, some final wet sanding, and then paint. Obviously, as per above, I just have to figure out what primer & paint that will be!
Now that I’ve got my electrical component curiosity satisfied for the internal nose configuration, I was finally able to focus on getting the fuselage pulled out from under the canard build table and mounted onto the fuselage dolly.
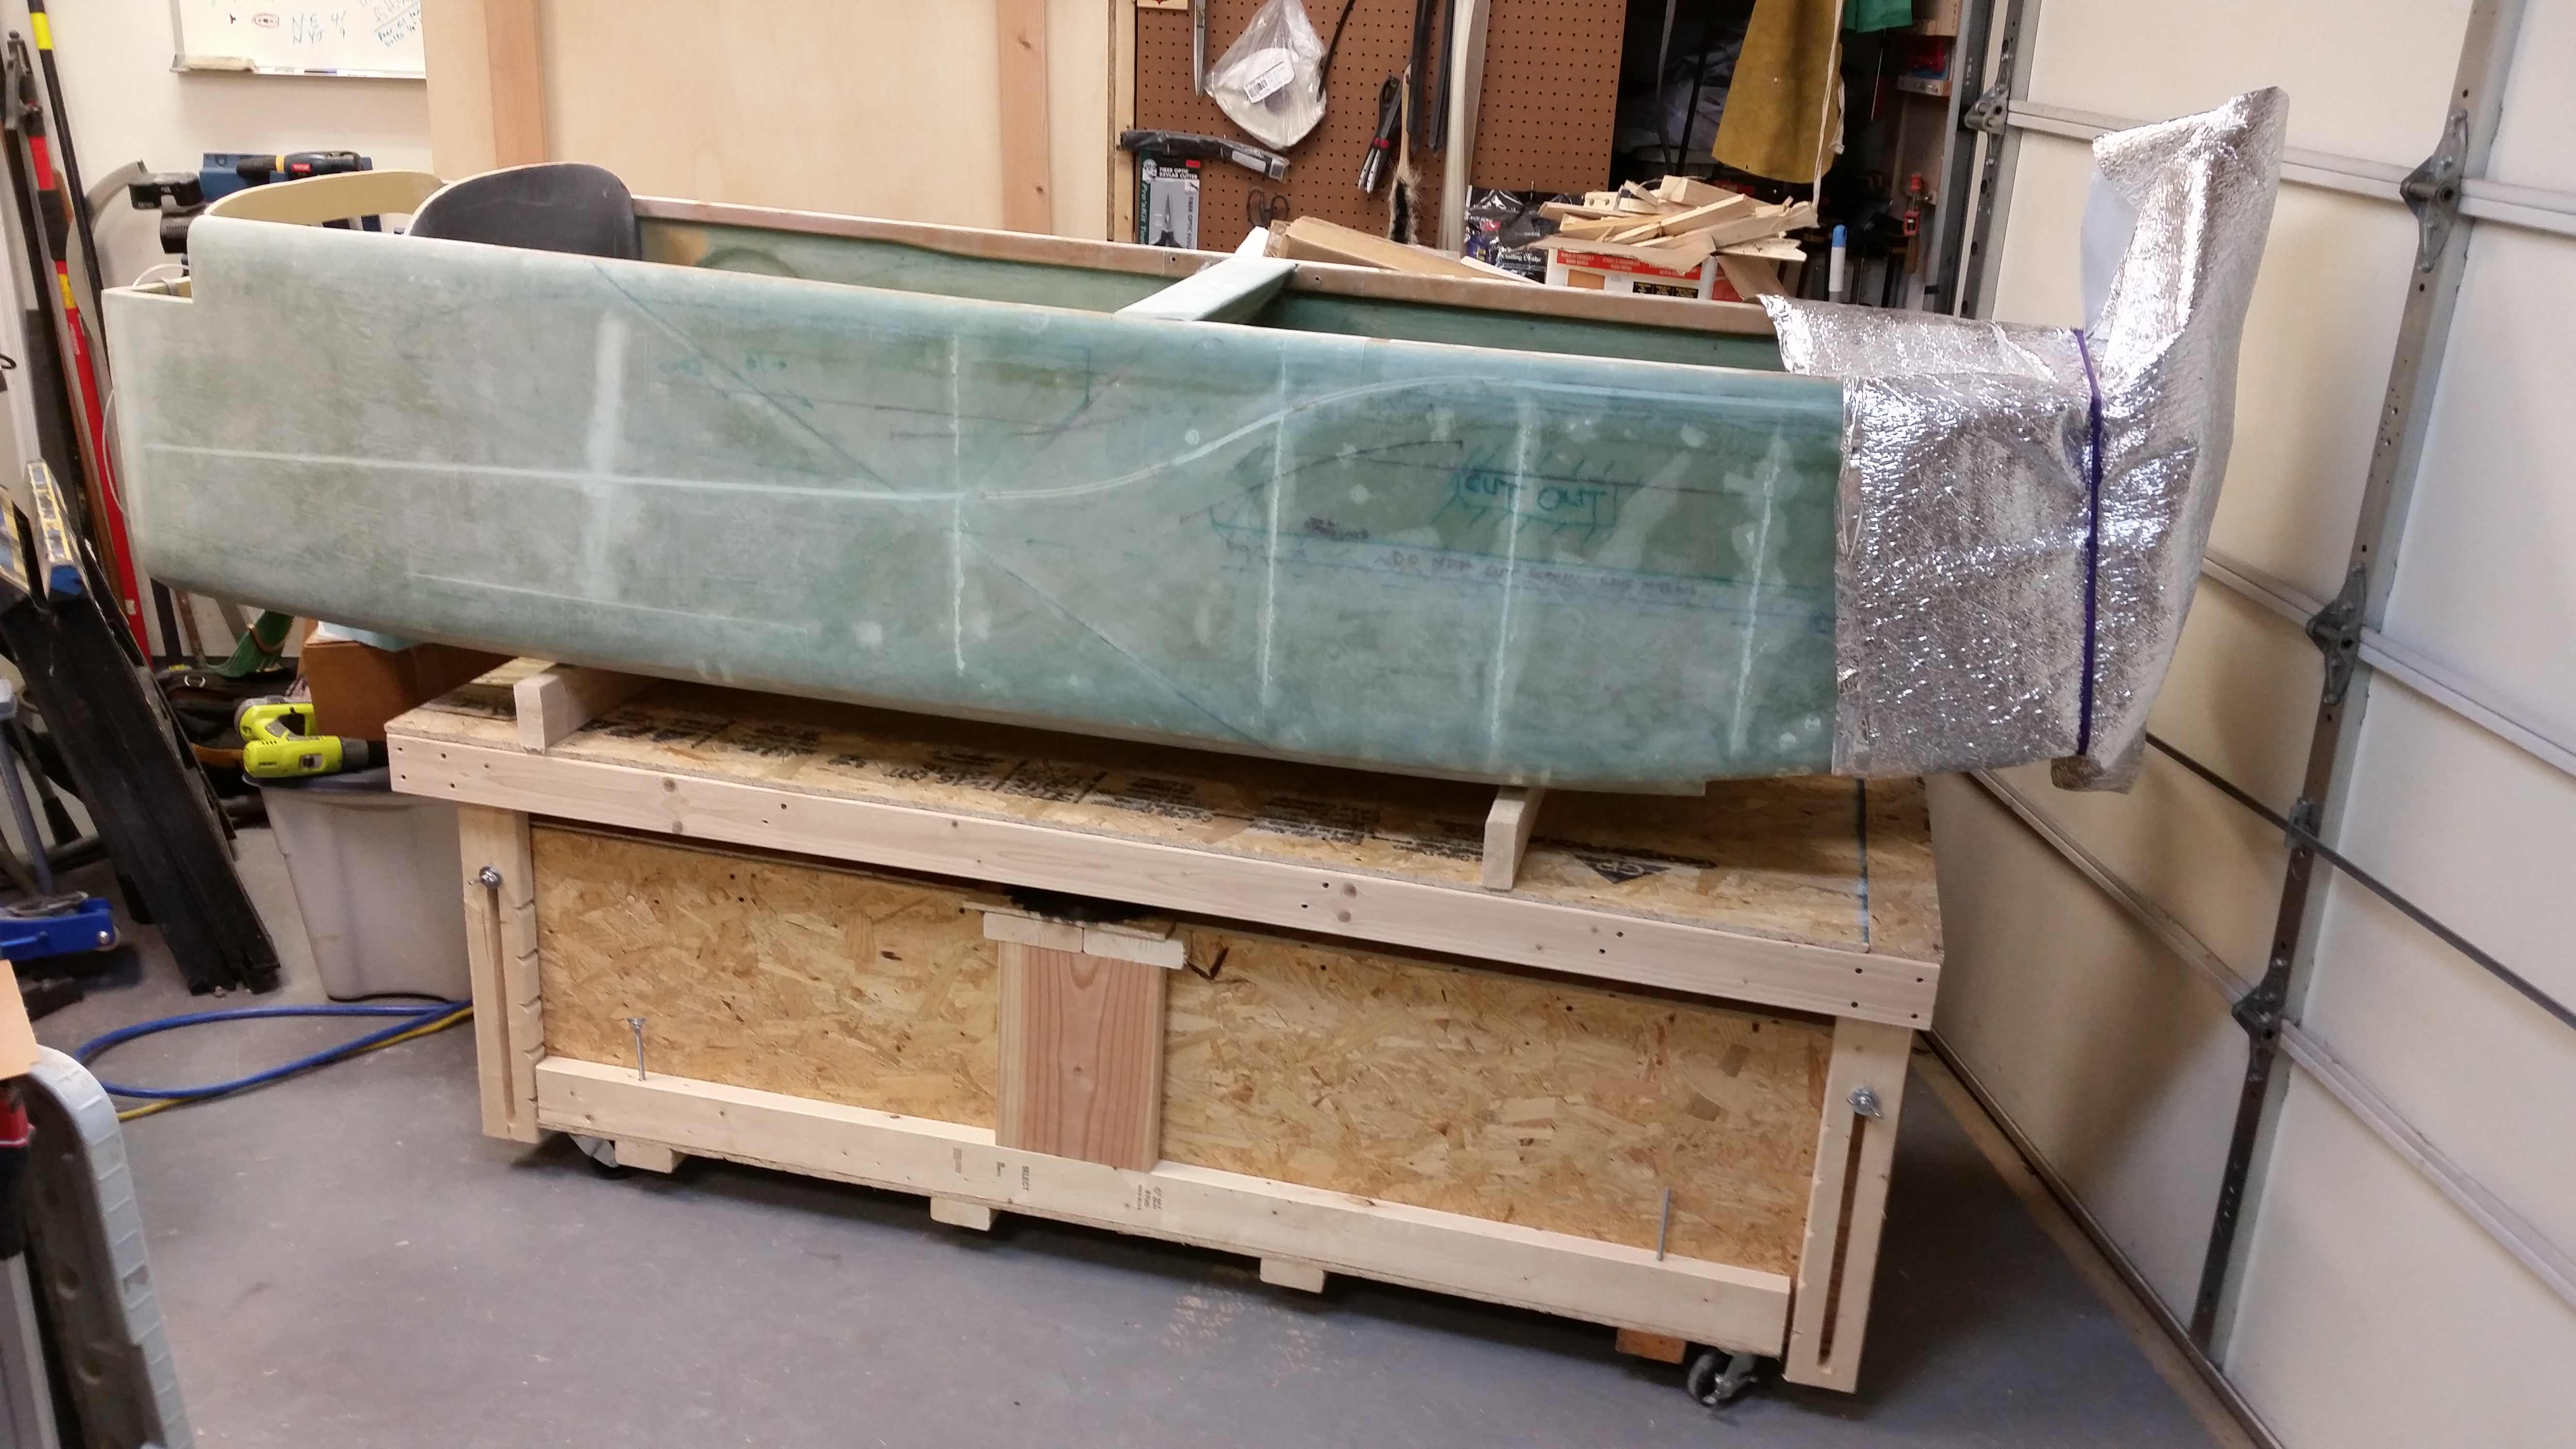
Over the next few days I’ll be focusing primarily on the bottom of the canard: getting all the divots filled and sanding it for final paint prep. I’ll also be remounting the elevators, checking alignment, and rebuilding the left elevator. Finally, I’ll finalize the mounting of the fuselage on the dolly, reconfigure the shop to allow for room to work on the fuselage, and get moving on the nose build.