
I took a couple of hours starting off today to uncover the fuselage/nose/strakes and pull all the tape and protective paper off the painted parts from last night.
On the strake hatch doors I carefully scored the paint around each latch button with a razor blade as to not have any big unsightly chunks of paint breaking off when I popped them into the open position for the first time.
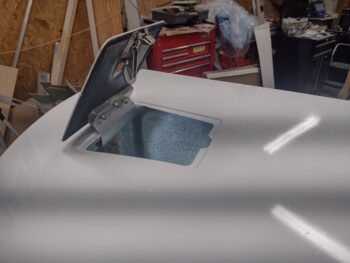
For the right side (pic 1) I merely had to clean up around the edges a little bit and pull the inside tape off. I’ll note that on my foam hinge spacer I had drilled some holes through and filled those with micro to ensure the spacer didn’t squish on me. Well, apparently I only did that on the outboard sides because when I finished ratcheting on the middle nut by feel as compared to the outboard nuts, it felt the same when I stopped… but it had squished the foam down a good bit. Oh well, it’s still mechanically sound and operational. Plus I have a good “Boy, was I dumb!” build story to tell.
On the left side (pic 2), after cleaning up the latch buttons I then installed the hatch door with 2 nylock nuts.
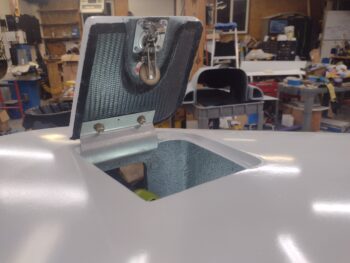
Here we have the outside of the strake hatch doors showing, both in the open position.


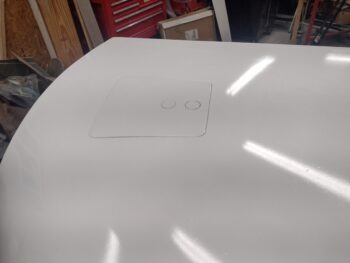
And the real test: How do they looked closed?? Not too bad at all (IMO). Done and pressing forward!

Here we have the top cowling outboard strips painted white as well as the lower sidewall “wings” (or “flaps”) on the aft nose/avionics cover. I have to say I’m really pleased with how my color scheme is turning out on this bird (smile!).

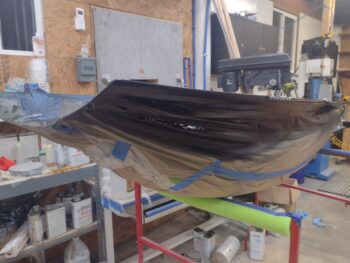
So I didn’t grab a pic yesterday of my shooting the black stripes along each outboard edge of the canopy… which was probably a good thing. The dew/humidity/(rain?) was so bad last night, and got to my black paint before it cured well enough that when I checked the stripes this morning they were all mottled and cloudy. A big NO-GO.
Thus, I sanded the stripes with 400 grit sandpaper, hit them with degreaser and shot the stripes again. Before early evening I moved the canopy back into the shop to avoid any dew issues again . . . live and learn, eh?
Last night I spent a good 30 minutes getting some initial measurements annotated for my titanium firewall. I had also removed the CS124 aileron pivot bracket from the firewall.
Well, tonight I spent a good hour-plus utilizing an old paper cutout I had made of the firewall to fit in place on the existing firewall to map out all the components and thru-holes. Here is the initial fitting, with the top area aligned.

I then worked downward, finding and marking all the the holes and using blue tape to mark the edges (width) of the firewall. Tomorrow I’ll continue working my way downward and then soon put all this into CAD and start the trial and error iterations of plotting out thick paper templates until it’s spot on… then plasma cut the titanium sheet.

Inching closer!