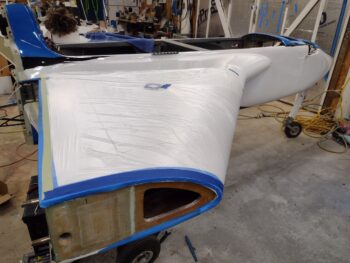
With my recent decision to paint the wings, I was back to figuring out just how to mount them prior to painting. You see, unlike hitting the wings with primer, one side at a time, when it comes to painting it needs to be done all at once. Although my painting skills, the weather and the environment rarely meet the quality of a skilled painter inside of a paint booth.
Some builders, like Shane Banquer, have made wing stands that they have shared pics of with me… both wings mounted with the leading edges either up or down, and on a roll around dolly. Probably good if at an airport to roll them out of the hangar, paint them and then back in for cure. But if I were to make one it would most likely be stationary… and I thought about doing that… but that’s a lot of work.
Seemed much easier to just mount the wing on the CS spar/strake, protect the strakes, gear, fuselage, nose . . . see where I’m getting to. After I started taping and covering everything up, I realized what a HUGE job (and PITA) it was going to be just to cover up everything on the strakes, fuselage, nose, etc. just to paint the wings.
After some pondering and a bit of measuring I decided to make a fairly quick wing painting mount that I could use for both wings, for about $20.
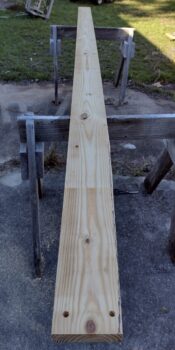
What would I need to buy? Well, one 16-foot long 2×8.
I then trimmed one end to match the wing/CS spar mating shape and determined where the bolt holes needed to go, and drilled those.
My mounting location for the my new temporary ‘centersection spar’ fill-in wasn’t perfect, being over grass and all, but at this point with the days getting shorter and weather getting colder daily, I need to get a move on it.
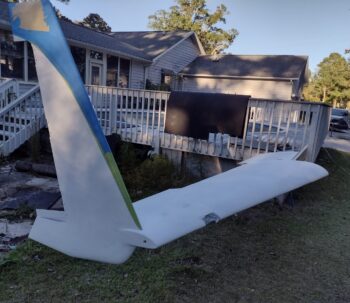
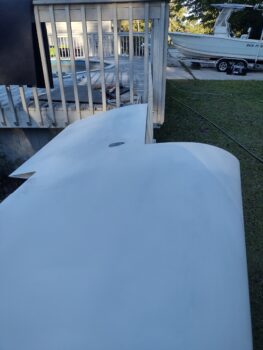
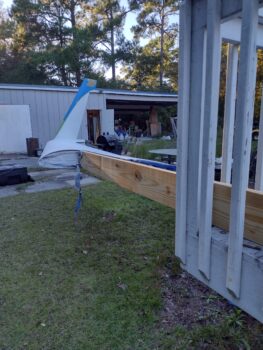
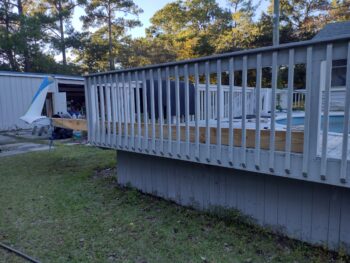
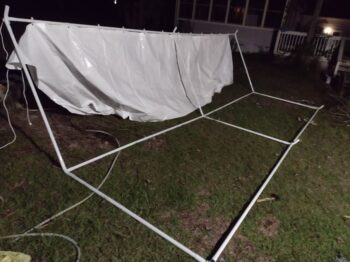
Here is the wing mounted to the 2×8, which in turn is mounted to my above ground pool deck railing….
which you can see in these pics here,
and here.
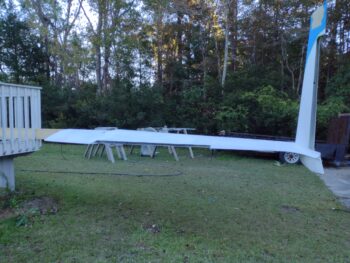
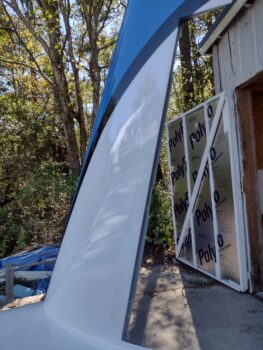
Clearly enough room for me to get up under the wing and paint it (note the blue and black winglet accent stripes taped up).
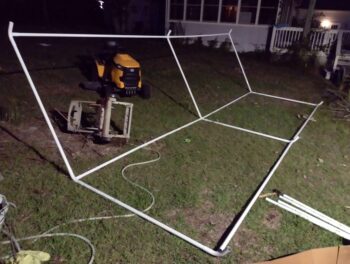
My late night operation was getting the 10′ x 20′ carport/canopy assembled to keep any moisture off the wing while it was curing. I failed to get a pic of the finished canopy over the wing.
I started painting the wing the following day, and after wet sanding the underside, and cleaning/degreasing, final prep, and tape up, some spot shooting sealer coat, and two coats of white paint, I finished about 2:30 in the afternoon. The weather temp was in the high 60’s during the afternoon and started cooling quickly by mid-evening. The coldest forecasted temp was at 7am the following morning at 50° F.
Since this Nason paint can be shot anywhere above 50° F, I wasn’t worried about the temp, and I had the canopy over the wing for any moisture.
OR so I thought.
The paint turned out REALLY well. I had a few bugs after the first round, that I extracted successfully. And then maybe a few very small aphids after the second and final coat. I didn’t have a super glossy coat (but acceptably shiny), and therefore NO runs, but it was a solid outing.
I left for Jess’s place a little after 11 pm and everything was looking good. Temp was about 58° and the paint still looked very nice.
But I’ve realized something about our foam filled aircraft components: they attract moisture… dew to be exact. While everything else in the vicinity can be bone dry, the wings outside will be wet with dew. I mistakenly thought if I had the wing under a canopy, completely covered, with it having already cured for over 8 hours, that the paint would be fine.
I was wrong.
This shot of the inboard winglet is typical for how the rest of wing paint job looked when I left last night.
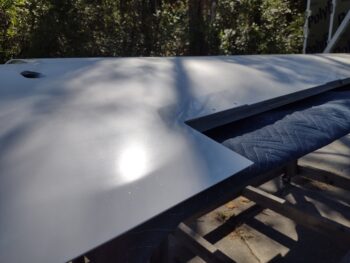
But when I arrived this morning, the center top section of the wing was covered in dew, a few inches in from all edges. It’s hard to tell by looking at the actual wing trailing edge on the left, so focus just forward of the aileron cutout center right of pic. See how shiny it is along the edge? And how dull it is in the center? It still looks like it has a coat of dew on it, even though it’s completely dry.
In talking with the paint guy at NAPA he told me about a guy down the highway from them that is reportedly an export in buffing out just about any paint, including single stage. With this latest fun fiasco, I will be giving him a call to see if he can bring this dull, dew-damaged center wing area paint (and every other spot) back to life: nice and shiny.
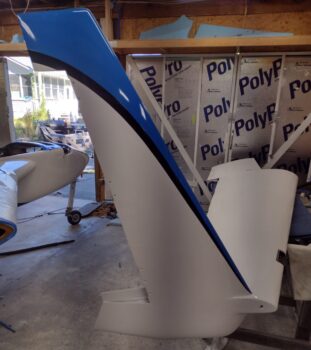
Regardless, here is a requisite shot of my painted wing. I am happy that it’s done, but clearly my frustration factor of playing constant Johnny-F***-Around with all this paint stuff is high.
Anyhoo … still pressing forward, even with all the BS that keeps popping up!

