
Today was all about getting a good bit of primer laid down on both wings. Thankfully I was able to meet my goal in doing that.
In the continuation of my “combat painting” to get this bird flying, I went ahead and put plastic under the inverted right wing and then prepped it for epoxy primer. Besides being inverted, the difference between this primer shoot and the left wing is that I left the rudder installed in the winglet.
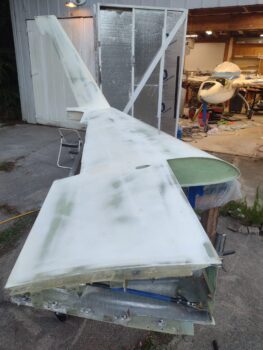
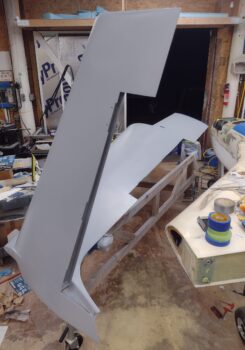
Here we have the BOTTOM of the right wing, the inboard and outboard winglet with rudder all in primer. If you’re looking at the middle and inboard wing areas and thinking that I’m a horrible with a paint gun, the white peaking out is the remaining boat paint primer… which will get a sealer to transition to top coat vs the epoxy primer shot here.
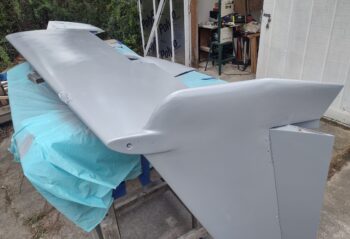
Here’s a better shot of the outboard winglet and rudder after 2 coats of epoxy primer.

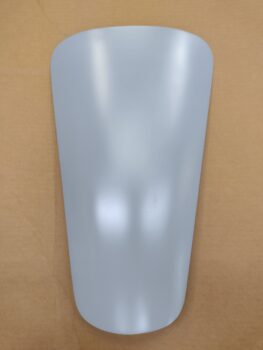
Along with the right wing underside, I also shot the nose hatch door, the top cowling’s oil check door, and the right strake hatch door with epoxy primer as well.
Here’s a better shot of the nose hatch door. While it looks great in the pic, there are a view visible imperfections (mainly along the edges) that will need addressed before the top coat can be applied.
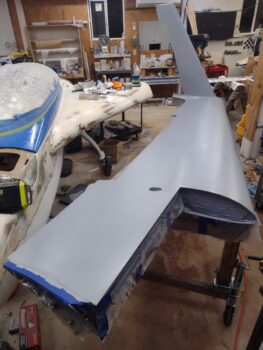
I’m jumping ahead many hours —after I stowed the right wing in the shop for the evening— to grab a shot of the primed right inboard winglet and rudder.
And a shot of the right wing’s leading edge after primer.
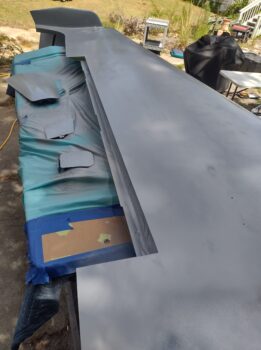
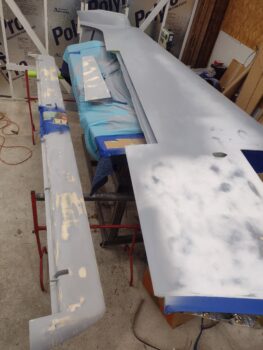
Here we have the bottom the right wing in full view with the canard topside after I sanded away most of the high build 2K primer. Also shown is the outboard left rudder also with its 2K primer sanded (pic 1).
I then flipped both the canard and the rudder to show the other sides with the 2K primer sanded to shape (pic 2). I can say that both canard and rudder are VERY close to final contour for final primer and paint coats (while the wing will need a bit of work!).

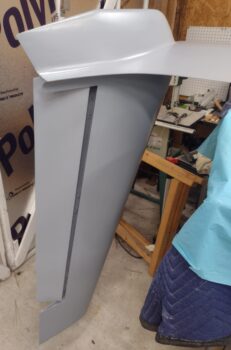
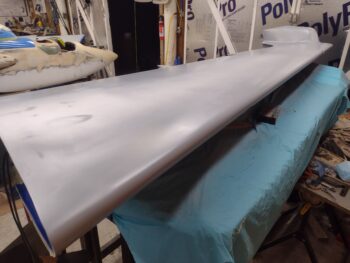
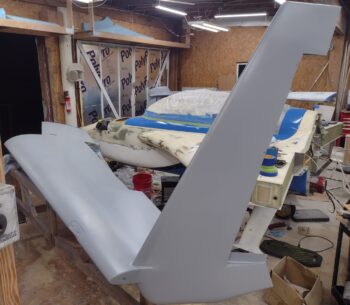
Later in the afternoon (early evening by the time I got started) I finally got the upright left wing prepped to receive a couple coats of epoxy primer (pic 1). And here is the result of that round of paint gun slinging (pic 2)… and although I could spot a number of areas that will need to be tweaked, overall I’m VERY happy with how the left wing and winglet first coat of epoxy primer came out.
Here is a shot of the outboard left winglet with 2 coats of epoxy primer. There are some runs, since I was trying to balance lighting and viewing angles vs keeping the bugs off of it (it is the initial coat of primer so no major issues on any of that).
And a wider angle view of the left wing top surfaces and winglet in epoxy primer.
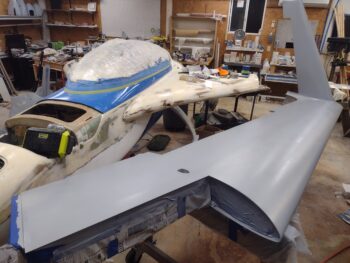
And a parting shot of the left wing top side and winglet in epoxy primer. This pic has a good view of both the leading edge and the wingtip-to-winglet leading edge interface.
Tomorrow will be more sanding and hopefully more primer shooting as I attempt to get this bird painted ASAP.
Moving onward!