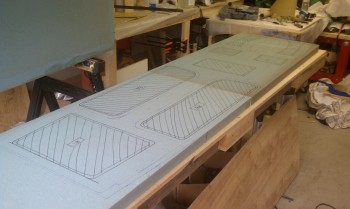
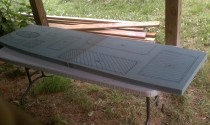
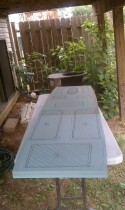
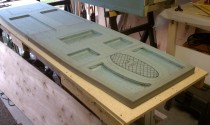
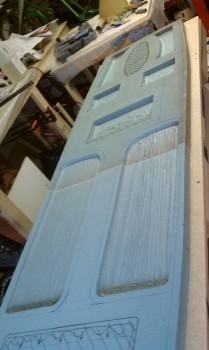
The fuselage bottom is made up two pieces of 1-3/4″ thick Divinycell foam micro’d together, then shaped into a boat, or football, shape. Although my fuselage is shaped a little differently than the plan’s shape, it really doesn’t matter with the steps used to figure out the outline of the fuselage bottom.
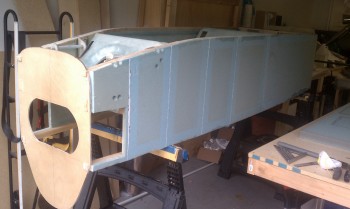
The fuselage assembly is simply turned upside down and the fuselage bottom is placed on the bottom (which is now the top) of the fuselage and positioned equidistant from each side and abutted to the front bulkhead F22.
Once the fuselage bottom is in place, it’s weighed down to conform to the shape of the fuselage bottom.
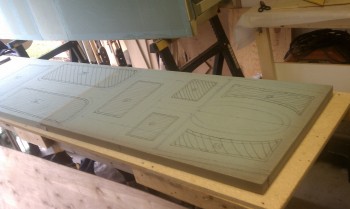
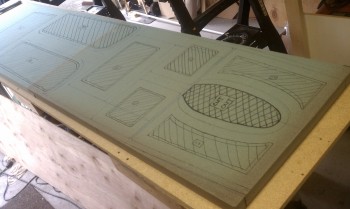
Then I climbed up underneath there with a Sharpie and marked the outlines of each compartment. Then the weights came off and I followed the dimensions spelled out in the plans to create the marked up areas that will be formed into its final shape.
With the mark-ups complete, now it’s time to actually cut out the outside shape of the fuselage bottom. Once I got the outside shape cut, I took it outside to start getting all that foam out of the marked-upped areas.
There are specific depths for each area, and obviously all the transitions need to flow together smoothly. The process definitely takes a bit of time, and it does get fairly messy with all that blue foam!

