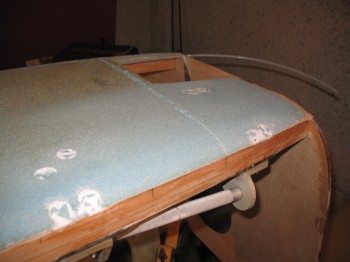
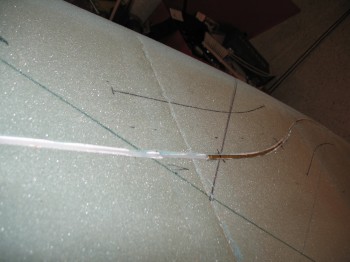
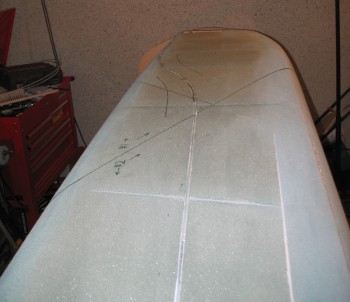
I checked the micro now embedding the rudder cable conduit that I laid into the channel along the Left-side fuselage last night. I knocked off a couple of errant spots of micro that intruded into the airspace above the surface of the foam. I also checked the foam chips micro’d into the main gear bolt holes and snapped a picture of them after I cleaned up the area and sanded down the bolt hole inserts.
It all looks really good. The only downside is that 3 of the 4 pictures for today’s post are of the Left side of the fuselage. Regardless, the Right side was merely a repeat of the left.
 For the Right-side fuselage I simply transferred the template over and used the Dremel in the same fashion for the Nylaflow rudder cable channel. Also like the Left fuselage side, I drilled the fore & aft holes, and then laid in 128″ of Nyloflow conduit, with two 9-7/8″ brass tubing sleeves installed at the ‘S’ curve section of my Nylaflow run.
In prepping for the micro, I made foam cylindrical plugs vs. the plans called-for ‘foam chips’ for covering the main gear bolt holes in the outer fuselage foam (no pic).
I then micro’d in the foam plugs for the main gear bolt holes and the Nylaflow tubing into the rudder cable conduit channel along with the 2 brass tube sleeves. Again, I held the conduit in place with toothpicks while the micro cured.
After 2-3 hours, I removed the toothpicks that were imbedded into the micro (much easier BTW when the micro hasn’t fully cured!)
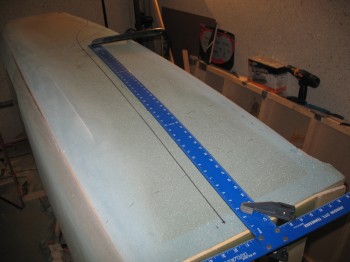
Then in preparation for yet another mod, I drilled two holes along the bottom fuselage’s centerline, one fore and one aft of the landing brake, to install two threaded aluminum inserts so that I can mount a long, straight bar that will denote my extended centerline when I build my nose and my strakes, and also when I rig my wings and canard. I also threw one of these lightweight inserts into the fuselage sidewall, just aft of the upper pilot’s seat, to provide for a future threaded sidewall mounting hard point.


